Fluppy Pro by Saade
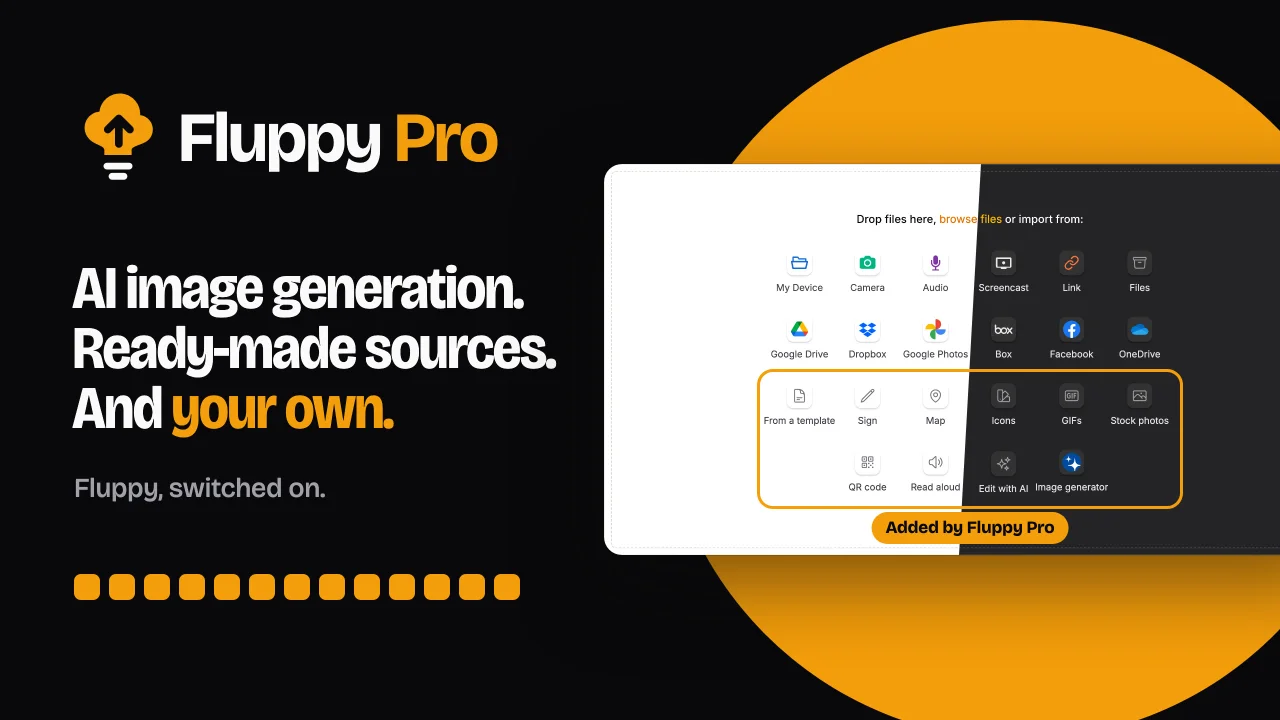
CommunityFluppy, switched on. AI image generation and editing, ready-made sources and sources of your own for the Fluppy upload field.
filament/
namespace. Review the source and install at your own risk. Found
malware or an unresolved security issue the author won't
address?
Report it
.
 Author:
Saade
Author:
Saade
Documentation
- Version compatibility
- Table of contents
- Installation
- Usage
- Generating images
- Custom sources
- Ready-made sources
- Using Spatie's media library
- Security
- Translations
- Security Vulnerabilities
- Credits
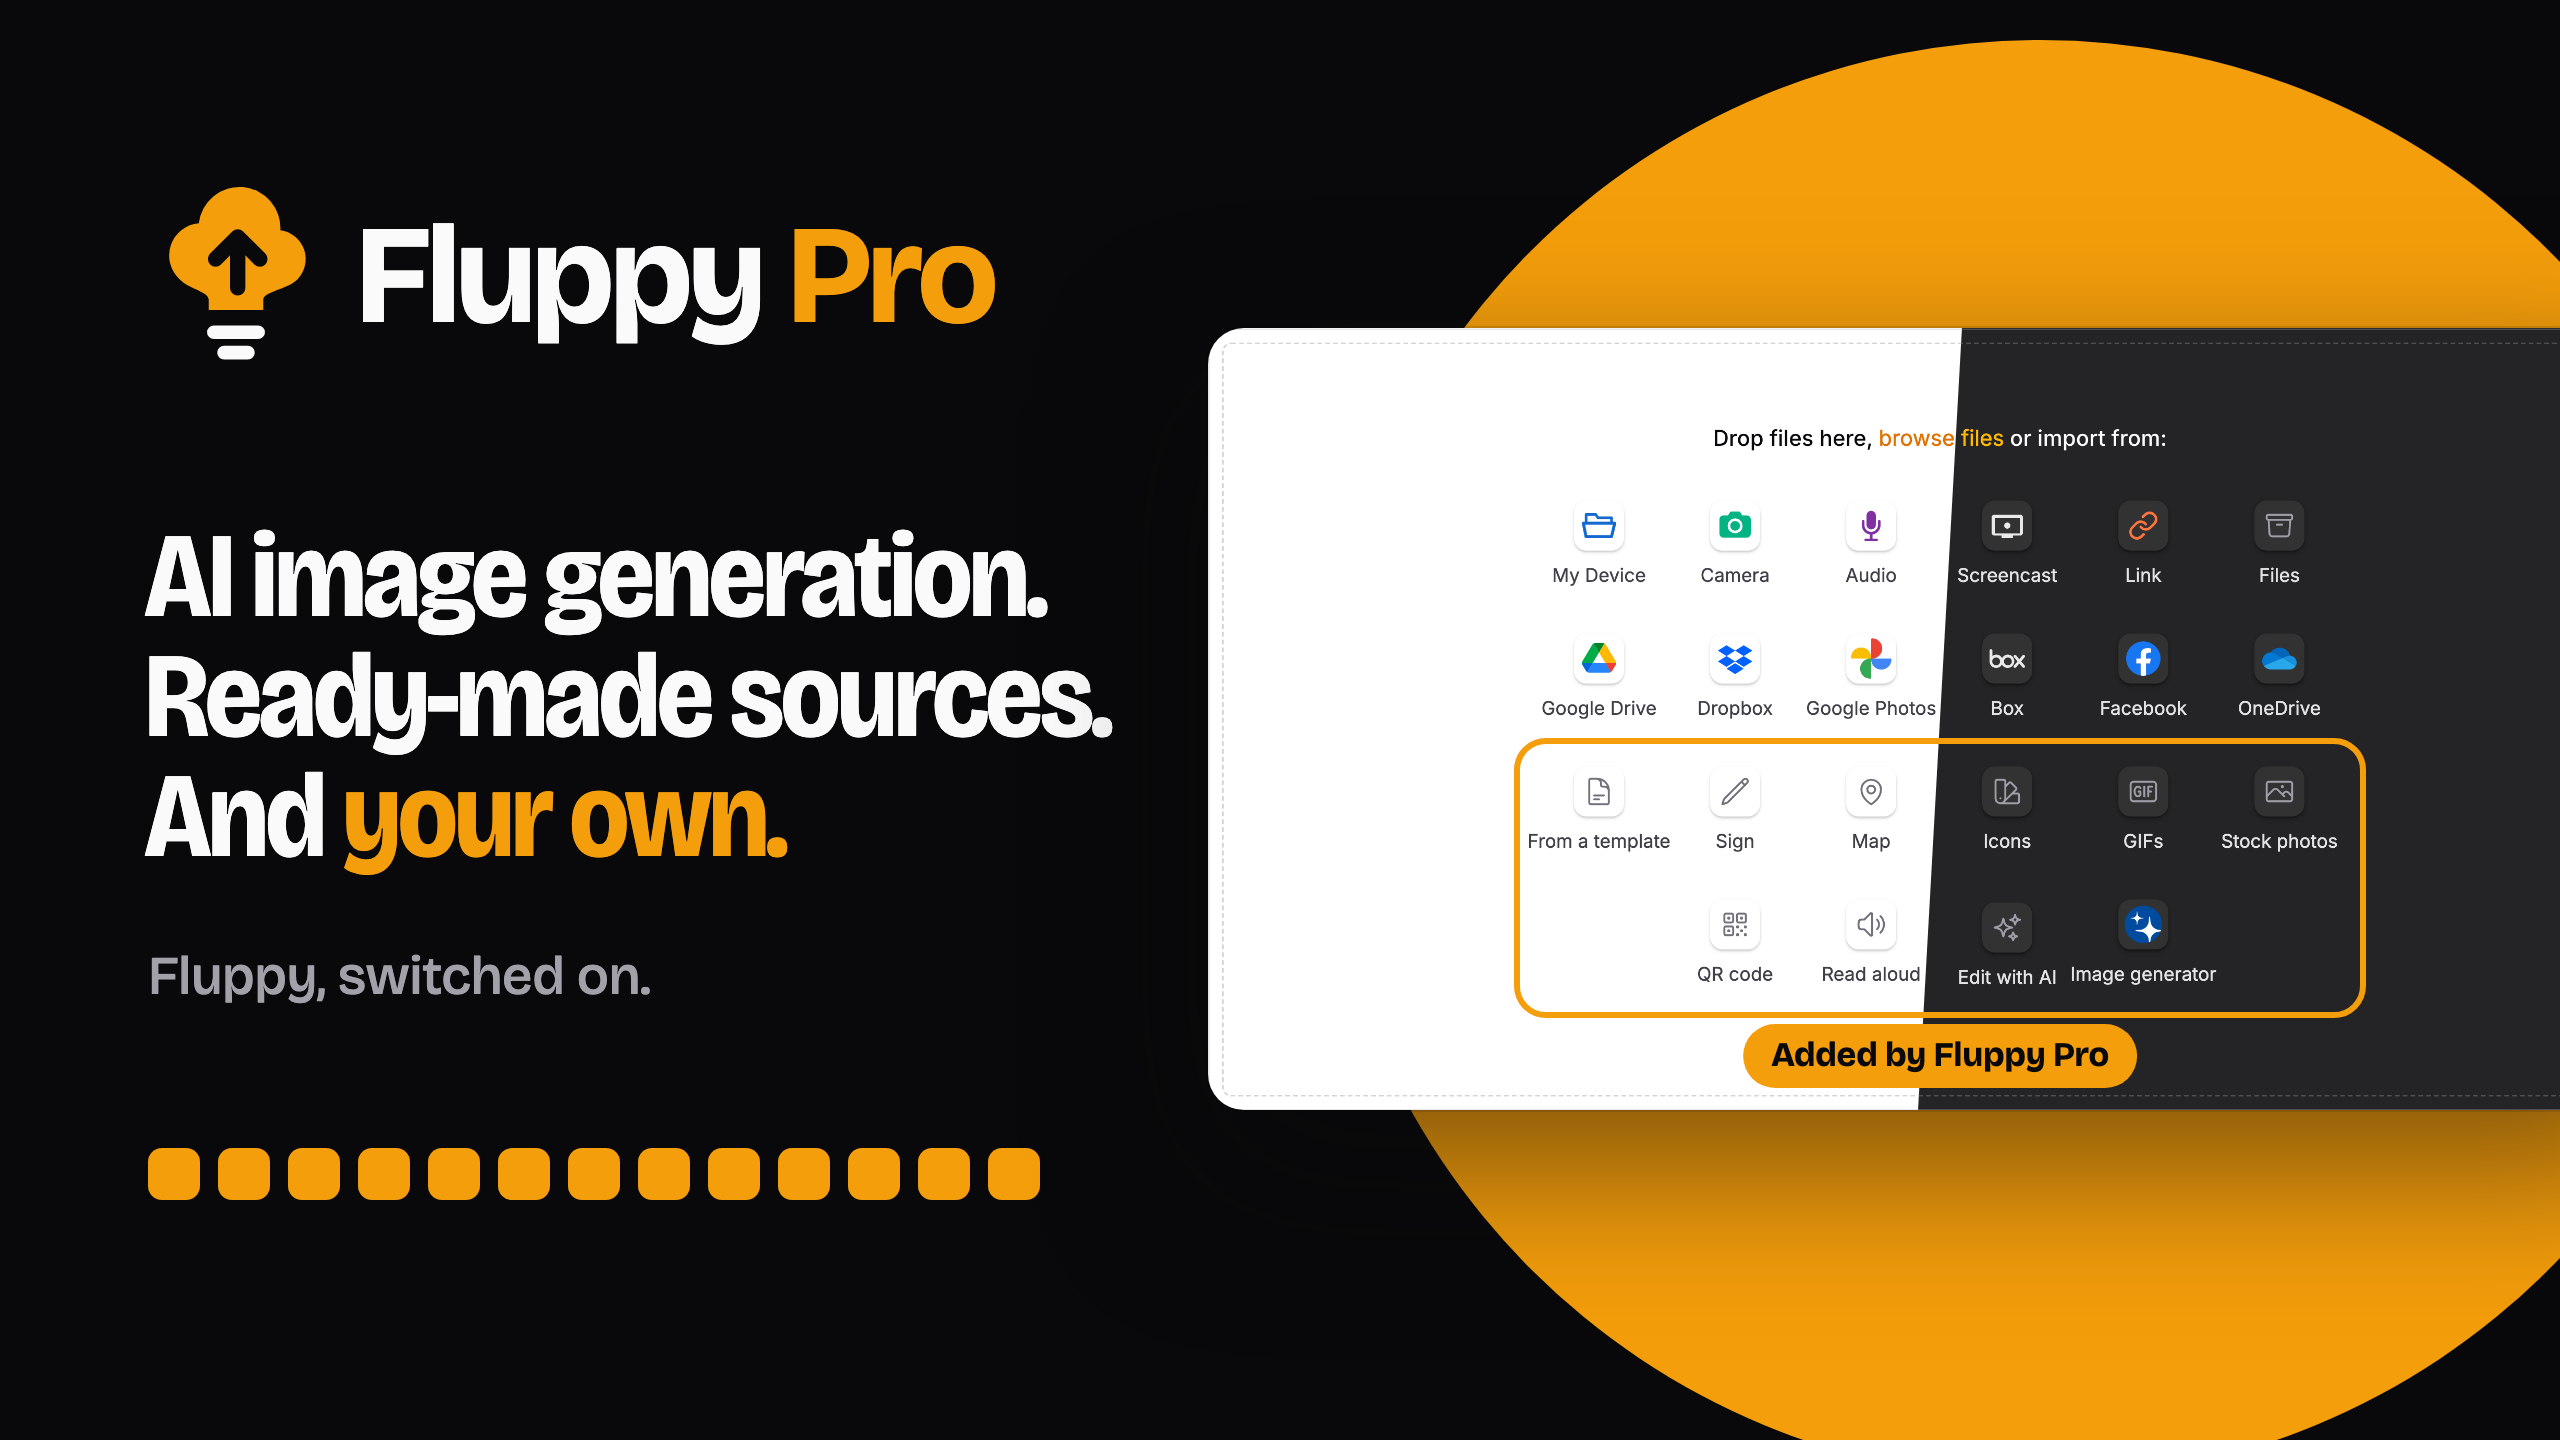
Fluppy Pro adds an AI image generator, custom sources and ready-made sources to Fluppy, the Uppy upload field for Filament forms:
- AI image generation, using the Laravel AI SDK or your own generator
- Custom sources, written as a class and a Blade view
- Nine ready-made sources, including stock photos, icons, GIFs, signatures and AI image editing
#Version compatibility
| Plugin | Filament | Fluppy | Install |
|---|---|---|---|
| 1.x | 4.x, 5.x | 1.x | composer require saade/fluppy-pro:"^1.0" |
#Table of contents
- Installation
- Usage
- Generating images
- Custom sources
- Ready-made sources
- Using Spatie's media library
- Security
- Translations
- Security Vulnerabilities
- Credits
#Installation
Fluppy Pro requires PHP 8.2 or later, and a license, which you can purchase on the Filament website.
The package is distributed through a private Composer repository. First, add the repository to your project:
composer config repositories.saade composer https://saade.privato.pub/composer
Next, authenticate using the email address you purchased with and your license key:
composer config --auth http-basic.saade.privato.pub "<EMAIL>" "<KEY>"
This saves your credentials to auth.json, which you should not commit to version control. In CI, you can provide the same credentials using the COMPOSER_AUTH environment variable:
COMPOSER_AUTH='{"http-basic":{"saade.privato.pub":{"username":"<EMAIL>","password":"<KEY>"}}}'
Then, install the package via Composer. It installs Fluppy with it, so you don't need to require both:
composer require saade/fluppy-pro:"^1.0"
Fluppy's styles are compiled by your panel's custom theme. If your panel doesn't have a custom theme yet, follow Filament's documentation to create one first. Then, add the following lines to the theme's CSS file, which is resources/css/filament/admin/theme.css for a panel with the ID admin:
@import '../../../../vendor/saade/fluppy-pro/resources/css/fluppy-pro.css';

@source '../../../../vendor/saade/fluppy/resources/views/**/*.blade.php';
@source '../../../../vendor/saade/fluppy-pro/resources/views/**/*.blade.php';
The stylesheet imports Fluppy's own, so if your theme already imports fluppy.css, replace that line with this one.
Finally, rebuild your assets:
npm run build
Optionally, you can publish the configuration file, which this documentation refers to as config/fluppy-pro.php:
php artisan vendor:publish --tag="fluppy-pro-config"
#Usage
Fluppy Pro has its own FluppyField, which extends Fluppy's and adds the methods that are documented below. You can use it anywhere you would use Fluppy's field, and everything in Fluppy's documentation applies to it:
use Saade\FluppyPro\Forms\Components\FluppyField;

FluppyField::make('attachments')
    ->multiple()
    ->imageGenerator()
If you're already using Fluppy's field, you only need to change its import.
#Generating images
You may allow users to generate images from a prompt using the imageGenerator() method:
use Saade\FluppyPro\Forms\Components\FluppyField;

FluppyField::make('cover')
    ->image()
    ->imageGenerator()
This adds an "Image generator" source to the field. The user describes the image they want, sees the generated images, and selects the ones to keep. Each selected image is then treated like a file from their device: it is uploaded, validated against the field's rules and stored like any other. If imageEditor() is enabled, the image can be cropped before the form is saved.
The interface is Uppy's image generator, but the images are generated by your application, so you don't need a Transloadit account. By default, they are generated using the Laravel AI SDK, but you can also use your own generator.
#Using the Laravel AI SDK
By default, imageGenerator() uses the Laravel AI SDK, with the provider that is set as default_for_images in config/ai.php. The SDK requires PHP 8.3 and Laravel 12. You can install it using Composer, and then publish its configuration file:
composer require laravel/ai
php artisan vendor:publish --provider="Laravel\Ai\AiServiceProvider"
#Setting instructions for every image
You can describe what every generated image should look like using the imageGeneratorInstructions() method, so that the user only needs to describe the subject:
use Saade\FluppyPro\Forms\Components\FluppyField;

FluppyField::make('icon')
    ->image()
    ->imageGenerator()
    ->imageGeneratorInstructions('A single icon. Black on a plain white background, thin uniform stroke, no fill, no shading, no text, with an empty margin on every side.')
    ->imageGeneratorAspectRatio('1:1')
    ->imageGeneratorQuality('low')
    ->imageGeneratorPlaceholder('A stop sign')
An image model only accepts a prompt, so the instructions are sent to the model first, followed by a blank line and Request: with what the user wrote.
[!WARNING] The instructions are a default, and not a security boundary. The user's prompt is sent to the same model, and can ask it for something else.
The other methods in this example, along with the rest of the generator's options, are listed below. Each of them accepts a closure as well as a static value:
| Method | Description |
|---|---|
imageGeneratorAspectRatio() |
The aspect ratio of the images. 1:1, 2:3 and 3:2 work with any provider, and you may pass any other value that yours accepts |
imageGeneratorQuality() |
low, medium or high |
imageGeneratorProvider() |
The provider from config/ai.php and, as the second argument, its model, if they are not the SDK's defaults for images |
imageGeneratorProviderOptions() |
Options that are specific to your provider, which are passed to it unchanged. With OpenAI, ['background' => 'transparent'] generates a PNG with a transparent background |
imageGeneratorPlaceholder() |
The placeholder of the prompt input |
#Modifying generated images
The model decides the dimensions of an image in pixels (OpenAI's square is 1024 by 1024), and only roughly follows an instruction such as a margin. You may modify each image before it is shown to the user using the modifyGeneratedImageUsing() method:
use Illuminate\Image\Image;
use Saade\FluppyPro\Forms\Components\FluppyField;

FluppyField::make('icon')
    ->image()
    ->imageGenerator()
    ->imageGeneratorInstructions('A single icon. Black on white, thin stroke, no text.')
    ->imageGeneratorAspectRatio('1:1')
    ->modifyGeneratedImageUsing(fn (Image $image): Image => $image->scale(512, 512)->toWebp())
The closure receives each generated image, and should return the image to show in its place. If you type-hint the $image parameter as Illuminate\Image\Image, which is Laravel's image manipulation class, you will receive an instance of it, and you can return it directly. This class is available on Laravel 13 after running composer require intervention/image:^4.0.
If the class is not available, you can omit the type-hint or use string. The $image parameter will then contain the image as a binary string, which you can pass to GD or any other library:
->modifyGeneratedImageUsing(function (string $image): string {
    $icon = imagescale(imagecreatefromstring($image), 512, 512);

    ob_start();
    imagepng($icon);

    return ob_get_clean();
})
You can also inject the $type of the image (such as image/png) and the $prompt into the closure as parameters. The closure may return a Laravel image, a binary string, an object that can be cast to one, or a file. If it returns nothing, the image is kept as it was generated.
The closure runs for images from the AI SDK as well as for images from your own generator. Its result is validated like any generated image, so it must be an image that the field accepts.
#Using your own generator
If you'd like to control how images are generated, you can pass a closure to the generateImagesUsing() method, which also enables the image generator. The closure receives the user's prompt:
use Laravel\Ai\Image;
use Saade\FluppyPro\Forms\Components\FluppyField;

FluppyField::make('cover')
    ->image()
    ->generateImagesUsing(fn (string $prompt) => Image::of("{$prompt}, as a flat illustration")
        ->landscape()
        ->quality('high')
        ->generate())
You may also use this method to generate images with anything else, without installing the SDK:
use Saade\FluppyPro\Forms\Components\FluppyField;

FluppyField::make('cover')
    ->image()
    ->generateImagesUsing(fn (string $prompt): array => app(Illustrator::class)->draw($prompt, count: 3))
As well as the $prompt, which only contains what the user wrote, you can inject the field's $instructions, $aspectRatio, $quality and $providerOptions into the closure as parameters. Your generator is responsible for applying them.
The closure should return an image or an array of images. Each image may be a binary string, an object that can be cast to one, a file (SplFileInfo, which includes UploadedFile), a Laravel image, or the SDK's response. PNG, JPEG, WebP and GIF images are kept, detected from their contents, and anything else is skipped.
#Limiting who can generate images
Every prompt is billed by your provider, and the generator can be used by anyone who can see the form. To only enable it for certain users, you may pass a closure to the imageGenerator() method:
use Saade\FluppyPro\Forms\Components\FluppyField;

FluppyField::make('cover')
    ->image()
    ->imageGenerator(fn (): bool => auth()->user()->can('generate images'))
By default, each session is limited to 10 prompts per minute, and 4 images are shown per prompt. You can change both in the image_generator section of config/fluppy-pro.php.
#Handling slow or failed requests
Images are generated during a single Livewire request, which takes as long as the generator does. PHP's max_execution_time and your web server's request timeout must allow for it.
If the generator or modifyGeneratedImageUsing() throws an exception, the user is told that the image could not be generated, and the exception is written to your application's log. A provider's error message is never shown to the user. If a generated image is larger than the field or Livewire accepts, it is skipped before it is shown.
#Custom sources
You may write your own sources for your application, such as a search in another system, a picker for the records in your database, or a generator with its own options. A custom source adds a button next to "My Device", and a view that opens in the uploader when the button is clicked. It is written as a class and a Blade view, and requires no JavaScript build step.
#Creating a source
To create a source, extend the CustomSource class:
use Illuminate\Contracts\View\View;
use Saade\FluppyPro\CustomSources\CustomSource;
use Saade\FluppyPro\CustomSources\ExposedSourceMethod;

class BrandAssets extends CustomSource
{
    public function getId(): string
    {
        return 'brand-assets';
    }

    public function getLabel(): string
    {
        return 'Brand assets';
    }

    public function getIcon(): string
    {
        return 'heroicon-o-swatch';
    }

    public function render(): View
    {
        return view('fluppy.brand-assets');
    }

    #[ExposedSourceMethod]
    public function search(string $term): array
    {
        return Asset::search($term)->take(12)->get()
            ->map(fn (Asset $asset): array => ['name' => $asset->name, 'url' => $asset->url])
            ->all();
    }
}
Then, register the source on a field using the customSources() method:
use Saade\FluppyPro\Forms\Components\FluppyField;

FluppyField::make('attachments')
    ->multiple()
    ->customSources([BrandAssets::make()])
The Blade view that render() returns is what the uploader shows when the source is opened. You can write its behavior using Alpine.js, where the $source object is available:
<div x-data="{ term: '', assets: [] }">
    <input type="search" x-model="term" x-on:keydown.enter.prevent="assets = await $source.call('search', { term })" />

    <template x-for="asset in assets" x-bind:key="asset.url">
        <button type="button" x-on:click="$source.addFiles(asset)">
            <img x-bind:src="asset.url" x-bind:alt="asset.name" />
        </button>
    </template>
</div>
The $source object has the following methods and properties:
| Name | Description |
|---|---|
$source.call(method, { … }) |
Call a method of the class on the server and return its result. Arguments are passed by name |
$source.addFiles(files) |
Add a file or an array of files to the field. Each may be a URL, { url, name, type }, or { data, name, type } with a Blob. They are uploaded like files from the device, and must pass the field's restrictions. Adding files closes the view |
$source.addRemoteFiles(files) |
Add files that the server downloads itself, each as { name, type, size, reference, thumbnail }. See Adding files from the server |
$source.close() |
Close the view without adding anything |
$source.notify(message, type) |
Show a message in the uploader. The type may be info, success, warning or error |
$source.uppy |
The Uppy instance, for anything else |
The ID of a source must start with a lowercase letter, and may only contain lowercase letters, digits and hyphens. It is used as the source of the files that the view adds, and must be different from the IDs that Uppy and Fluppy use, such as url, dropbox and google-drive.
Custom sources are not available when the field is disabled.
#Calling methods on the server
Only methods with the #[ExposedSourceMethod] attribute can be called from the view. The arguments that the view passes are matched to the method's parameters by name, and any other parameters are resolved from the container, like they are for a controller.
[!WARNING] Anyone who can see the form can call an exposed method with any arguments. You should validate the arguments it receives, and authorize the call where it is needed.
Livewire does not rate limit these calls. If a method is expensive, you should rate limit it using the hasTooManyAttempts() method, which counts one attempt for the session and returns whether the session has exceeded the given number of attempts in a minute. For example, $this->hasTooManyAttempts(10) returns true once there have been more than ten.
Inside the class, $this->getField() returns the field, which gives you access to its record, its state and its limits. The $this->images($images) method converts images in any format that the image generator accepts into the format that addFiles() accepts, skipping anything that is not an image or is larger than the field accepts.
#Writing the view
Each time the view is opened, it is rendered again from the HTML that the server sent with the form, so its Alpine.js state is reset. While it is open, it keeps its state, regardless of what Uppy re-renders around it.
You should use Alpine.js for the view's behavior, and not wire: attributes, since the uploader of a field that uses modal() is rendered at the end of the page, outside of the Livewire component. Filament's Blade components, such as <x-filament::button> and <x-filament::input>, work inside the view.
#Adding files from the server
The addFiles() method passes a file through the browser: it is downloaded there and uploaded from there. This is suitable for a file that the view has just created. However, if the file is already on one of your disks, is at a URL that only your server should reach, or is too large to pass through the browser, the view should only tell the server which file to add. The server then downloads it to the temporary disk in parts, like Fluppy does when importing from a URL.
To do this, the source must also be a remote source, by implementing Fluppy's Saade\Fluppy\Sources\Source interface. The interface adds three methods:
use GuzzleHttp\Psr7\LimitStream;
use GuzzleHttp\Psr7\Utils;
use Illuminate\Support\Facades\Storage;
use Psr\Http\Message\StreamInterface;
use Saade\Fluppy\Sources\RemoteFile;
use Saade\Fluppy\Sources\Source;
use Saade\Fluppy\Sources\SourceException;
use Saade\FluppyPro\CustomSources\CustomSource;

class Library extends CustomSource implements Source
{
    // getId(), getLabel(), render() and the exposed methods, as before.

    public function getClientOptions(): array
    {
        return [];
    }

    public function describe(array $reference): RemoteFile
    {
        $file = auth()->user()->files()->find($reference['id'] ?? null) ?? throw SourceException::notAllowed();

        return new RemoteFile(
            identity: "{$file->id}@{$file->updated_at->timestamp}",
            name: $file->name,
            size: $file->size,
            type: $file->type,
            acceptsRanges: true,
            reference: ['path' => $file->path],
        );
    }

    public function read(array $reference, ?int $from = null, ?int $to = null, ?int $limit = null): StreamInterface
    {
        $stream = Utils::streamFor(Storage::disk('files')->readStream($reference['path']));

        return $from !== null && $to !== null ? new LimitStream($stream, $to - $from + 1, $from) : $stream;
    }
}
The describe() method receives the reference that the view passed to addRemoteFiles(), and returns a RemoteFile with the name, the size in bytes and the MIME type of the file. The identity must be different for every file of the source, and should change when the file does. If read() is able to return a part of the file, set acceptsRanges to true, so that the file is downloaded in parts.
The read() method returns the contents of the file as a stream. When $from and $to are passed, it should only return that range of bytes, including both ends. When a file is not read in parts, $limit is the maximum number of bytes that the method should return.
The getClientOptions() method returns what the source's script needs in the browser. A custom source can return an empty array.
[!WARNING] The
$referencethatdescribe()receives comes from the browser, so this is where you must check that the current user is allowed to access the file. Thereferenceof theRemoteFilethatdescribe()returns replaces the browser's and is encrypted before it is sent back, soread()only ever receives that one.
The route that downloads the parts has no field to resolve its sources from, so you must also register the source once, in a service provider:
use Saade\Fluppy\Sources\SourceManager;

app(SourceManager::class)->extend('library', fn () => Library::make());
Finally, call the addRemoteFiles() method in the view with a reference to the file:
<button type="button" x-on:click="$source.addRemoteFiles({ name: file.name, type: file.type, size: file.size, reference: { id: file.id } })">
The file is checked against the field's size limit before anything is downloaded, and against its validation rules when the form is saved, like any other file.
#Ready-made sources
Fluppy Pro includes custom sources that are ready to use. You can pass them to the customSources() method, alongside your own:
use Saade\FluppyPro\CustomSources\GiphySource;
use Saade\FluppyPro\CustomSources\IconSource;
use Saade\FluppyPro\Forms\Components\FluppyField;

FluppyField::make('attachments')
    ->multiple()
    ->customSources([
        IconSource::make(),
        GiphySource::make(),
    ])
#Icons
You can allow users to search for an icon and add it as a file using IconSource:
use Saade\FluppyPro\CustomSources\IconSource;
use Saade\FluppyPro\Forms\Components\FluppyField;

FluppyField::make('icon')
    ->image()
    ->customSources([
        IconSource::make(),
    ])
This adds an "Icons" button to the field. The user searches the icon sets of Iconify, chooses a color, and selects an icon, which is uploaded like a file from their device.
By default, every icon set is searched, and an icon is added as a black SVG that is 256 pixels tall. You may change this using the sets(), format(), size() and color() methods:
use Saade\FluppyPro\CustomSources\IconSource;

IconSource::make()
    ->sets(['heroicons', 'lucide'])
    ->format('png')
    ->size(512)
    ->color('#0ea5e9')
The sets() method accepts the prefixes that Iconify uses for its icon sets. The format may be svg or png, and the user can still change the format and the color before selecting an icon. Each of these methods accepts a closure as well as a static value.
[!NOTE] Each icon set has its own license, and some of them require attribution. You should use
sets()to only offer the sets whose licenses suit your application.
Icons are searched and downloaded by the browser, from api.iconify.design. If your app sends a Content-Security-Policy header, its connect-src directive must allow that host, and its img-src directive must allow data: URLs, which the previews use.
Each search makes one request for every icon set that has a result, and Iconify's public API rate limits a browser that makes too many at once. Using sets() keeps that number small. If you host Iconify's API yourself, you can use it instead by setting the fluppy-pro.icons.api configuration option.
#GIFs
You can allow users to search GIPHY and add a GIF using GiphySource:
use Saade\FluppyPro\CustomSources\GiphySource;
use Saade\FluppyPro\Forms\Components\FluppyField;

FluppyField::make('reaction')
    ->customSources([
        GiphySource::make(),
    ])
This adds a "GIFs" button to the field. It shows the GIFs that are trending until the user searches for something. When a GIF is selected, it is downloaded by your server, with the same SSRF protection as a user-supplied URL, and only from GIPHY's own hosts.
[!WARNING]
GiphySourcehas been tested against a mock of GIPHY's API, and not yet against GIPHY itself. If it does not work with your API key, please open an issue.
To use GIPHY, you need an API key from the GIPHY developer dashboard. Add it to your .env file:
FLUPPY_GIPHY_API_KEY=your-api-key
The key stays on your server, since GIPHY is searched from there. If it is missing, a field that uses GiphySource will throw an exception.
By default, only GIFs that are rated g are shown, 24 at a time. You can change both using the fluppy-pro.giphy.rating and fluppy-pro.giphy.limit configuration options. Each session is limited to 60 searches per minute.
GIPHY's terms require attribution wherever its GIFs are shown, so "Powered by GIPHY" is displayed below the results. You should review GIPHY's API terms before using it in production, since a production key may require approval.
[!NOTE] The previews are loaded by the browser directly from GIPHY. If your app sends a
Content-Security-Policyheader, itsimg-srcdirective must allow*.giphy.com.
#Editing images with AI
You can allow users to change an image that is already in the field by describing the change, using AiEditSource:
use Saade\FluppyPro\CustomSources\AiEditSource;
use Saade\FluppyPro\Forms\Components\FluppyField;

FluppyField::make('photos')
    ->image()
    ->multiple()
    ->customSources([
        AiEditSource::make(),
    ])
This adds an "Edit with AI" button to the field. The user selects one of the field's images, describes what should change, and selects one of the results, which is added as a new file next to the original. PNG, JPEG and WebP images can be edited.
By default, images are edited using the Laravel AI SDK, with the provider that is set as default_for_images in config/ai.php. See Using the Laravel AI SDK to install it. You may use a different provider and model using the provider() method:
use Saade\FluppyPro\CustomSources\AiEditSource;

AiEditSource::make()
    ->provider('openai', 'gpt-image-1')
[!NOTE]
AiEditSourcehas been tested with OpenAI. If it does not work with your provider, please open an issue.
The source offers a few prompts as buttons, such as "Remove the background". You can replace them using the presets() method:
use Saade\FluppyPro\CustomSources\AiEditSource;

AiEditSource::make()
    ->presets([
        'Remove the background',
        'Make it look like a studio photo',
    ])
If you'd like to control how an image is edited, you can pass a closure to the editUsing() method. You can inject the $image as a binary string, its $type (such as image/png) and the user's $prompt into the closure as parameters, and it should return images in any format that your own generator may return:
use Saade\FluppyPro\CustomSources\AiEditSource;

AiEditSource::make()
    ->editUsing(fn (string $image, string $prompt): string => app(Retoucher::class)->edit($image, $prompt))
The image is read on your server from the field's own state, so the browser only identifies which of the field's files to edit.
Every edit is billed by your provider. By default, each session is limited to 10 edits per minute, which you can change using the fluppy-pro.ai_edit.throttle configuration option. If the provider or your closure throws an exception, the user is told that the image could not be edited, and the exception is written to your application's log.
#Stock photos
You can allow users to search for openly licensed photos using StockPhotoSource:
use Saade\FluppyPro\CustomSources\StockPhotoSource;
use Saade\FluppyPro\Forms\Components\FluppyField;

FluppyField::make('cover')
    ->image()
    ->customSources([
        StockPhotoSource::make(),
    ])
This adds a "Stock photos" button to the field. Photos are searched in Openverse, which requires no API key, and the selected photo is downloaded by your server with the same SSRF protection as a user-supplied URL.
Each photo is shown with its author and license. The licenses differ, and many of them require attribution, so your users should check the license of a photo before publishing it.
By default, 12 photos are shown at a time, which you can change using the fluppy-pro.stock_photos.limit configuration option, up to 20. Each session is limited to 30 searches per minute.
[!WARNING] Openverse is searched by your server without an API key, and Openverse rate limits anonymous requests by IP address. An application with many users may reach that limit, since all of their searches come from your server.
[!NOTE] The previews are loaded by the browser directly from Openverse. If your app sends a
Content-Security-Policyheader, itsimg-srcdirective must allowapi.openverse.org.
#Signatures
You can allow users to draw their signature using SignatureSource:
use Saade\FluppyPro\CustomSources\SignatureSource;
use Saade\FluppyPro\Forms\Components\FluppyField;

FluppyField::make('signature')
    ->image()
    ->customSources([
        SignatureSource::make(),
    ])
This adds a "Sign" button to the field. The user signs in a box with their mouse or finger, and the drawing is uploaded as a PNG with a transparent background, 900 by 320 pixels.
You may change the pen using the penColor() and penWidth() methods:
use Saade\FluppyPro\CustomSources\SignatureSource;

SignatureSource::make()
    ->penColor('#1d4ed8')
    ->penWidth(6)
#QR codes
You can allow users to create a QR code from a link or a short text using QrCodeSource:
use Saade\FluppyPro\CustomSources\QrCodeSource;
use Saade\FluppyPro\Forms\Components\FluppyField;

FluppyField::make('code')
    ->image()
    ->customSources([
        QrCodeSource::make(),
    ])
This adds a "QR code" button to the field. The code is created on your server as the user types, from up to 500 characters, and is uploaded as a PNG.
QrCodeSource requires the chillerlan/php-qrcode package:
composer require chillerlan/php-qrcode
By default, each square of the code is 12 pixels wide. You can change this using the scale() method.
#Text to speech
You can allow users to turn a text into a spoken recording using TextToSpeechSource:
use Saade\FluppyPro\CustomSources\TextToSpeechSource;
use Saade\FluppyPro\Forms\Components\FluppyField;

FluppyField::make('greeting')
    ->customSources([
        TextToSpeechSource::make(),
    ])
This adds a "Read aloud" button to the field. The user writes a text, chooses a voice, listens to the recording, and adds it to the field as an MP3 file.
By default, the text is read using the Laravel AI SDK. See Using the Laravel AI SDK to install it. You may use a different provider and model using the provider() method. If you'd like to use something else, you can pass a closure to the speakUsing() method. You can inject the $text and the $voice, which is female or male, into the closure, and it should return the MP3 as a binary string:
use Saade\FluppyPro\CustomSources\TextToSpeechSource;

TextToSpeechSource::make()
    ->speakUsing(fn (string $text, string $voice): string => app(Narrator::class)->read($text, $voice))
[!NOTE]
TextToSpeechSourcehas been tested with OpenAI. If it does not work with your provider, please open an issue.
Every recording is billed by your provider. By default, a text may have up to 600 characters, which you can change using the maxLength() method, and each session is limited to 5 recordings per minute, which you can change using the fluppy-pro.text_to_speech.throttle configuration option.
#Maps
You can allow users to add a picture of a map using MapSource:
use Saade\FluppyPro\CustomSources\MapSource;
use Saade\FluppyPro\Forms\Components\FluppyField;

FluppyField::make('location')
    ->image()
    ->customSources([
        MapSource::make()
            ->center([-23.5505, -46.6333])
            ->zoom(13),
    ])
This adds a "Map" button to the field. The user moves the map to a place, optionally clicks it to drop a pin, and what the map shows is uploaded as a PNG. The picture is drawn in the browser, and it is named after the coordinates of the pin, or of the center of the map.
The center() method accepts a latitude and a longitude. By default, the map opens on a view of the world.
The map is Leaflet, which is included in Fluppy Pro. By default, its tiles are loaded from OpenStreetMap, whose tile usage policy only allows light use. For anything more, you should use a tile provider of your own by setting the fluppy-pro.map.tiles configuration option to its URL, with {z}, {x} and {y} placeholders:
// config/fluppy-pro.php
'map' => [
    'tiles' => 'https://tiles.example.com/{z}/{x}/{y}.png',
    'attribution' => '© Example Maps',
],
The attribution is written in the corner of every picture, since tile providers require it. The tile server must send CORS headers, or the map cannot be turned into a picture.
[!NOTE] The tiles are loaded by the browser. If your app sends a
Content-Security-Policyheader, itsimg-srcdirective must allow the host of your tiles.
#Templates
You can allow users to create a document by filling in a short form using TemplateSource:
use Saade\FluppyPro\CustomSources\TemplateSource;
use Saade\FluppyPro\Forms\Components\FluppyField;

FluppyField::make('documents')
    ->multiple()
    ->customSources([
        TemplateSource::make()->templates([
            'residence' => [
                'label' => 'Proof of residence',
                'fields' => ['name' => 'Full name', 'address' => 'Address'],
                'body' => 'I, {name}, declare that I live at {address}.',
            ],
        ]),
    ])
This adds a "From a template" button to the field. The user chooses a template, fills in its fields, and the document is added to the field as a PDF. Each template has a label, the fields to ask for, and a body, where {name} is replaced with what the user wrote in the name field.
By default, every field is required and may have up to 255 characters. You may add your own validation rules for a field using the rules key of a template:
'rules' => ['address' => ['required', 'string', 'min:10']],
The document that is created by default is a simple one-page PDF with the label as its title, the body and the date. It only supports the characters of Western European languages. If you'd like to create the document yourself, for example with a PDF library, you can pass a closure to the renderUsing() method. You can inject the $template, its $key and the validated $data into the closure. It should return the PDF as a binary string, or an array with the contents, type and name of any other file:
use Barryvdh\DomPDF\Facade\Pdf;
use Saade\FluppyPro\CustomSources\TemplateSource;

TemplateSource::make()
    ->templates($templates)
    ->renderUsing(fn (string $key, array $data): string => Pdf::loadView("documents.{$key}", $data)->output())
#Using Spatie's media library
If you're using Filament's media library plugin, Fluppy Pro also has its own SpatieMediaLibraryFluppyField, which extends Fluppy's and has the same methods as FluppyField:
use Saade\FluppyPro\Forms\Components\SpatieMediaLibraryFluppyField;

SpatieMediaLibraryFluppyField::make('attachments')
    ->collection('attachments')
    ->multiple()
    ->imageGenerator()
#Security
Everything in the Security section of Fluppy's documentation applies. Before using these features on a publicly accessible form, you should also be aware of the following.
#Image generation
Every prompt is billed by your provider. On a publicly accessible form, each session can send up to ten prompts per minute at your expense, which you can change using the fluppy-pro.image_generator.throttle configuration option. You should only enable the image generator on forms for authenticated users, or lower the limit. See Limiting who can generate images.
#AI image editing and text to speech
Like a prompt, every edit that AiEditSource makes and every recording that TextToSpeechSource makes is billed by your provider, at up to ten edits and five recordings per minute for each session. You should only offer them on forms for authenticated users, or lower the limits using the fluppy-pro.ai_edit.throttle and fluppy-pro.text_to_speech.throttle configuration options.
#Exposed methods of custom sources
Only methods with the #[ExposedSourceMethod] attribute can be called from a custom source's view, but anyone who can see the form can call them with any arguments. See Calling methods on the server.
#Translations
The messages of the image generator are in Fluppy Pro's own translation files. To change them, or to add a language, you may publish them:
php artisan vendor:publish --tag="fluppy-pro-translations"
#Security Vulnerabilities
If you discover a security vulnerability, please email saade@outlook.com.br instead of opening an issue.
#Credits
The author
CTO & Backend Engineer at a Brazilian startup. Creating top-tier technology for public sector applications, making information and services universally accessible.
From the same author
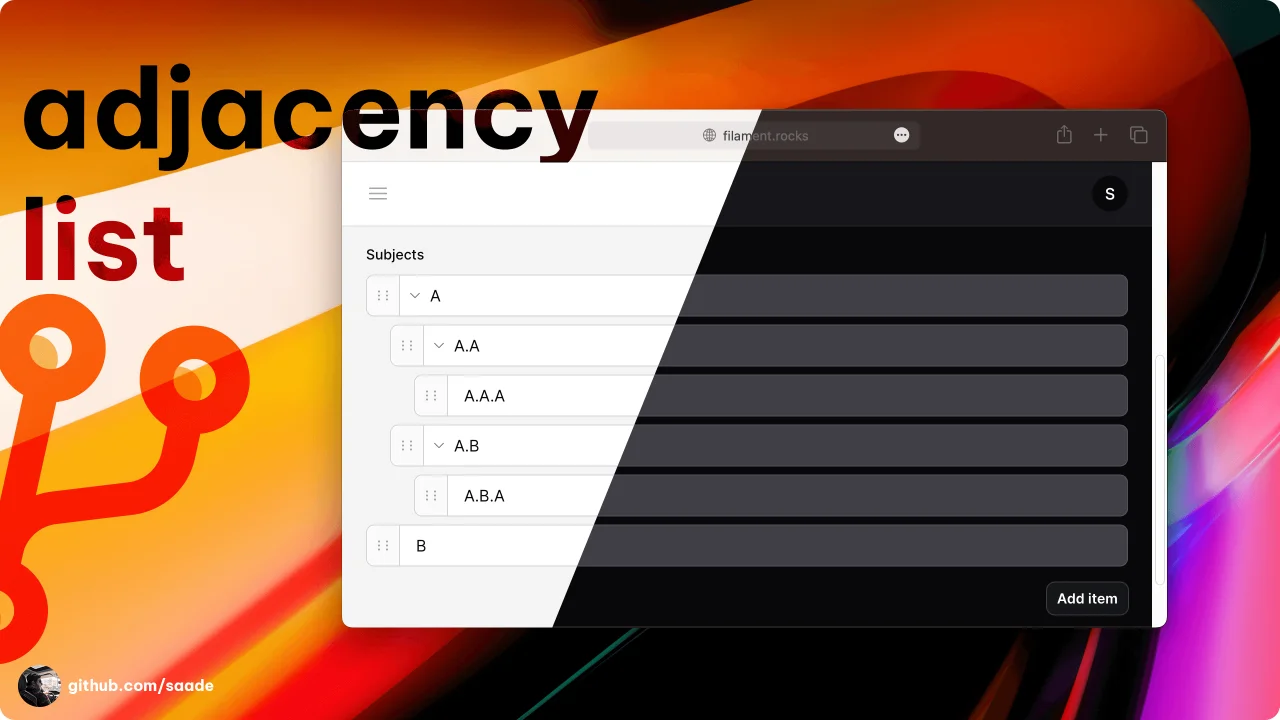
Adjacency List
A package to manage adjacency lists.
Author:
Saade
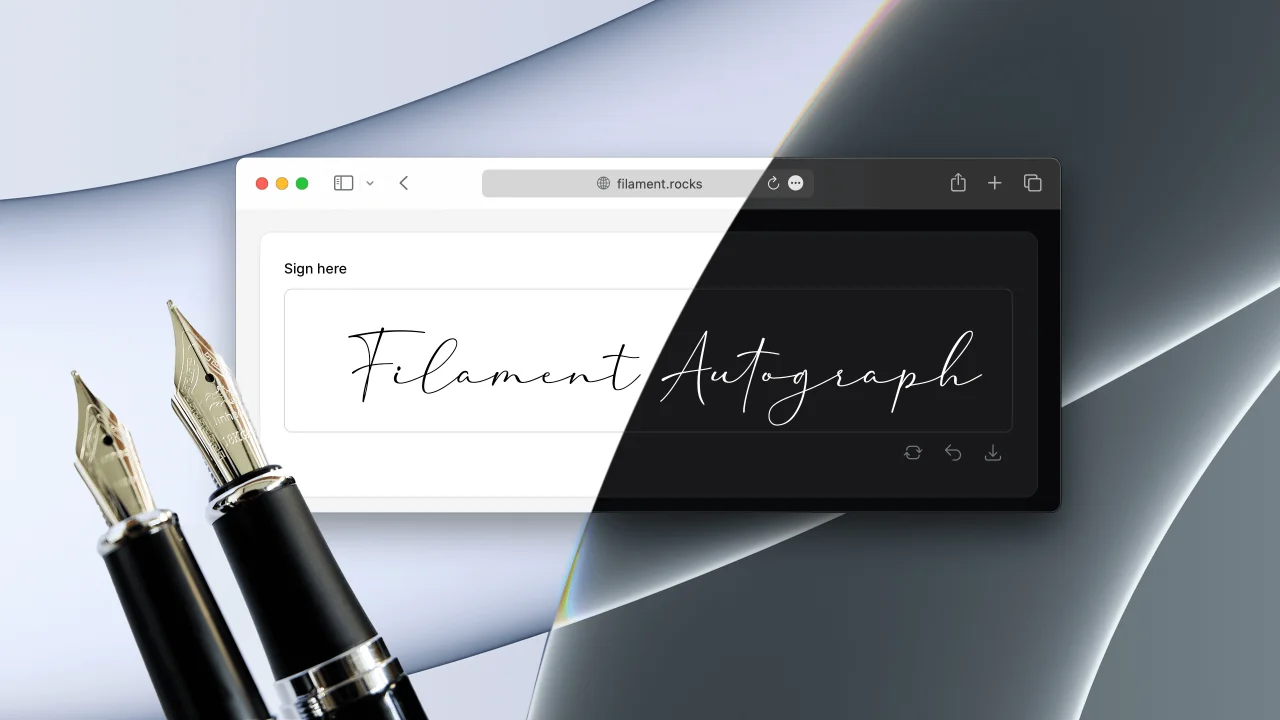
Autograph
A signature pad form field. Collect handwritten signatures with mouse, touch or pen.
Author:
Saade
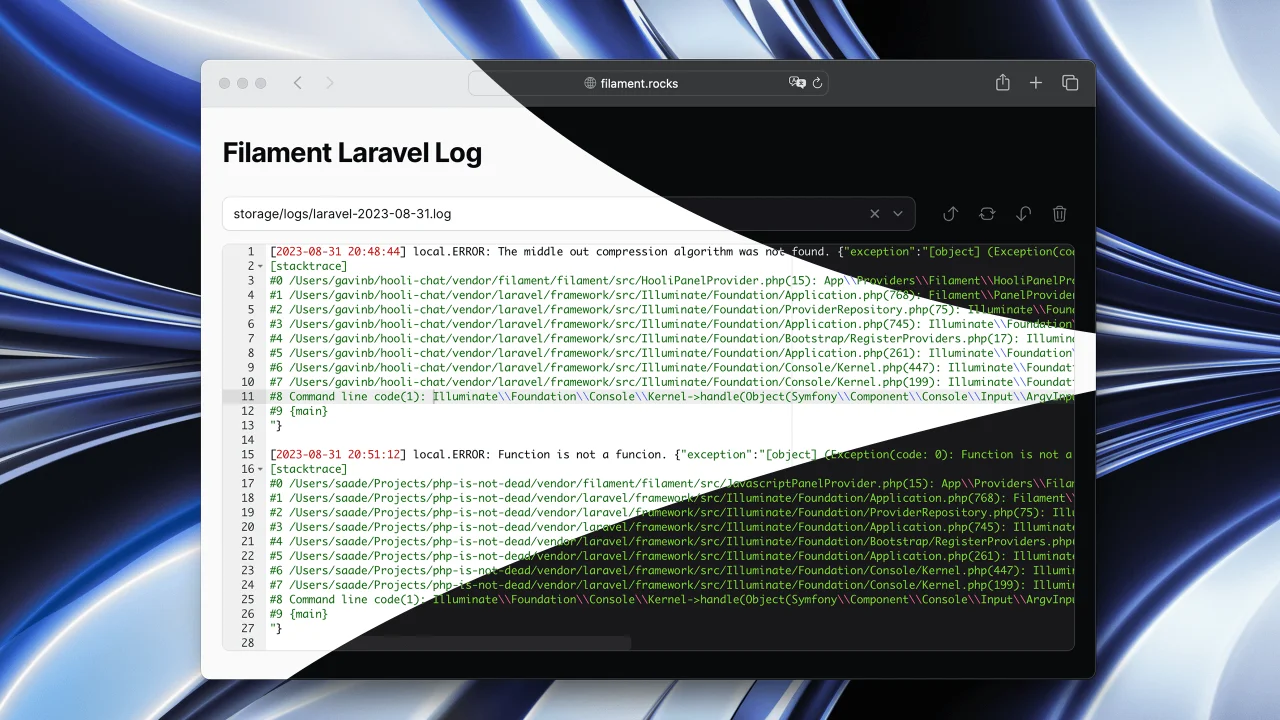
Laravel Log
Read Laravel logs from the Filament admin panel.
Author:
Saade
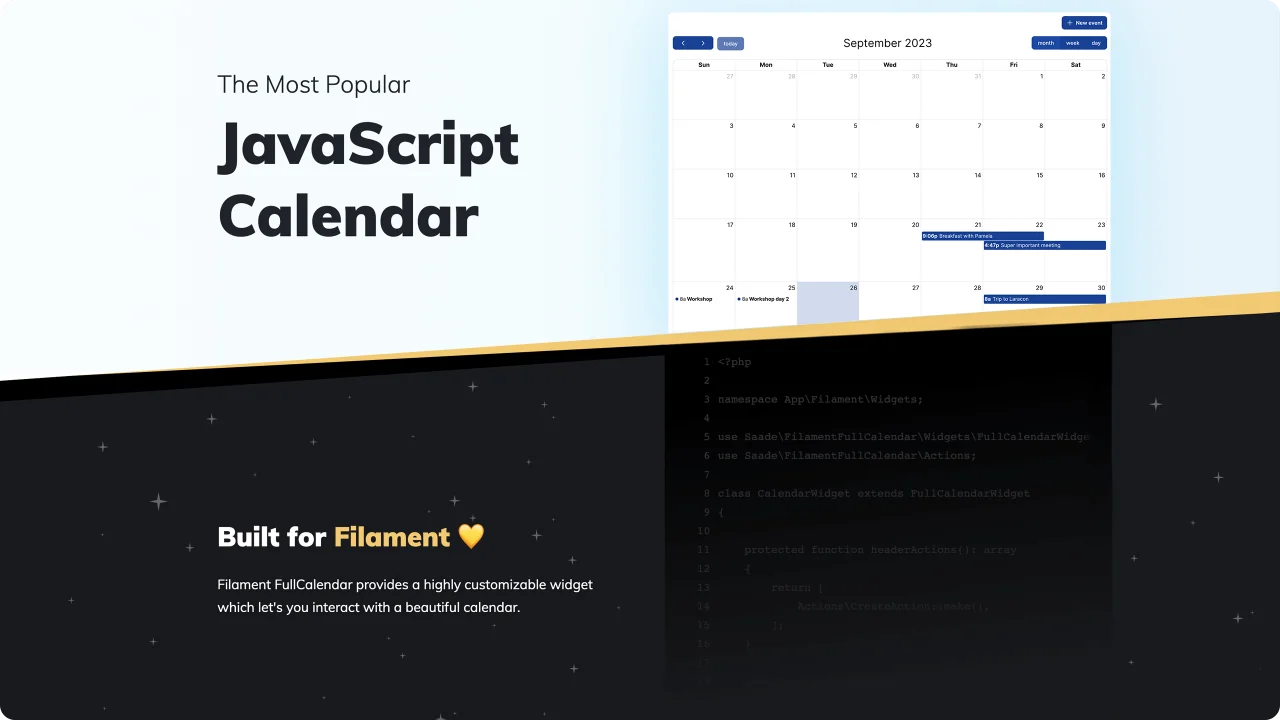
FullCalendar
The most popular JavaScript calendar as a Filament widget.
Author:
Saade
Featured Plugins
A selection of plugins curated by the Filament team
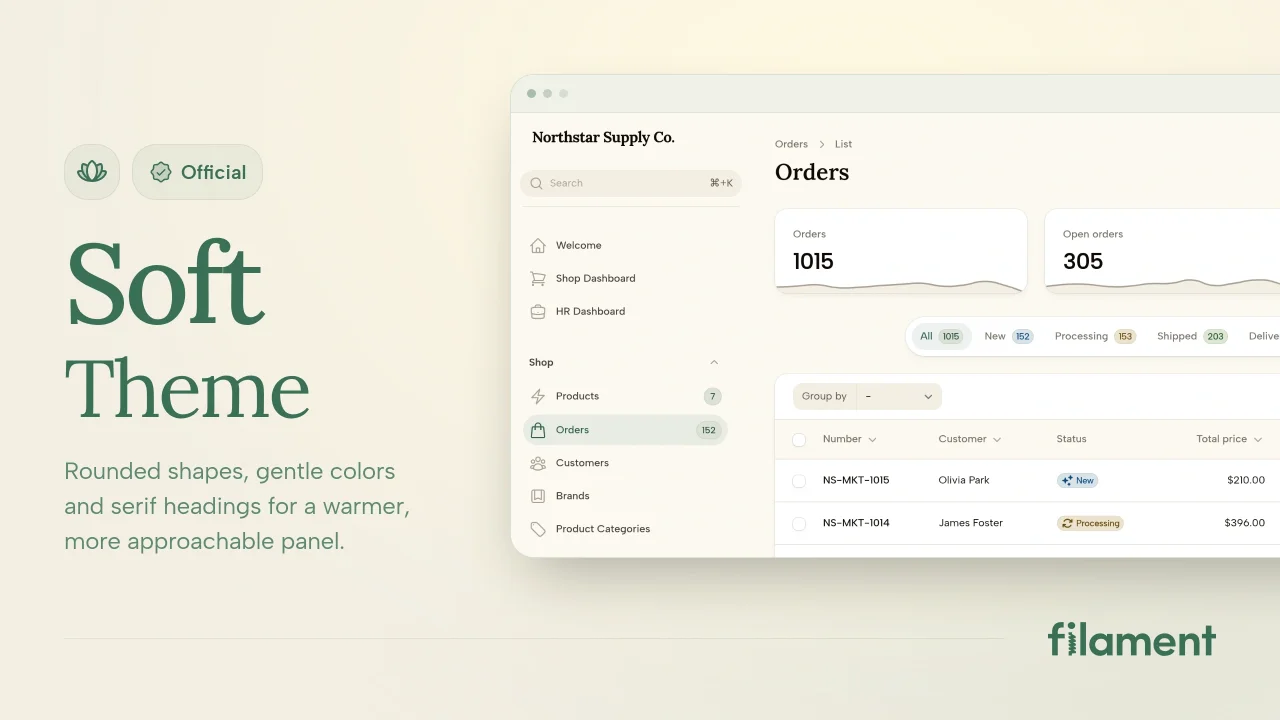
Soft Theme
A theme that gives panels a warm, approachable look with rounded shapes, gentle colors, and serif headings.
 Filament

Blueprint
Filament Blueprint is a premium Laravel Boost extension that helps AI agents produce accurate, detailed implementation plans and security reports for Filament apps.
Filament
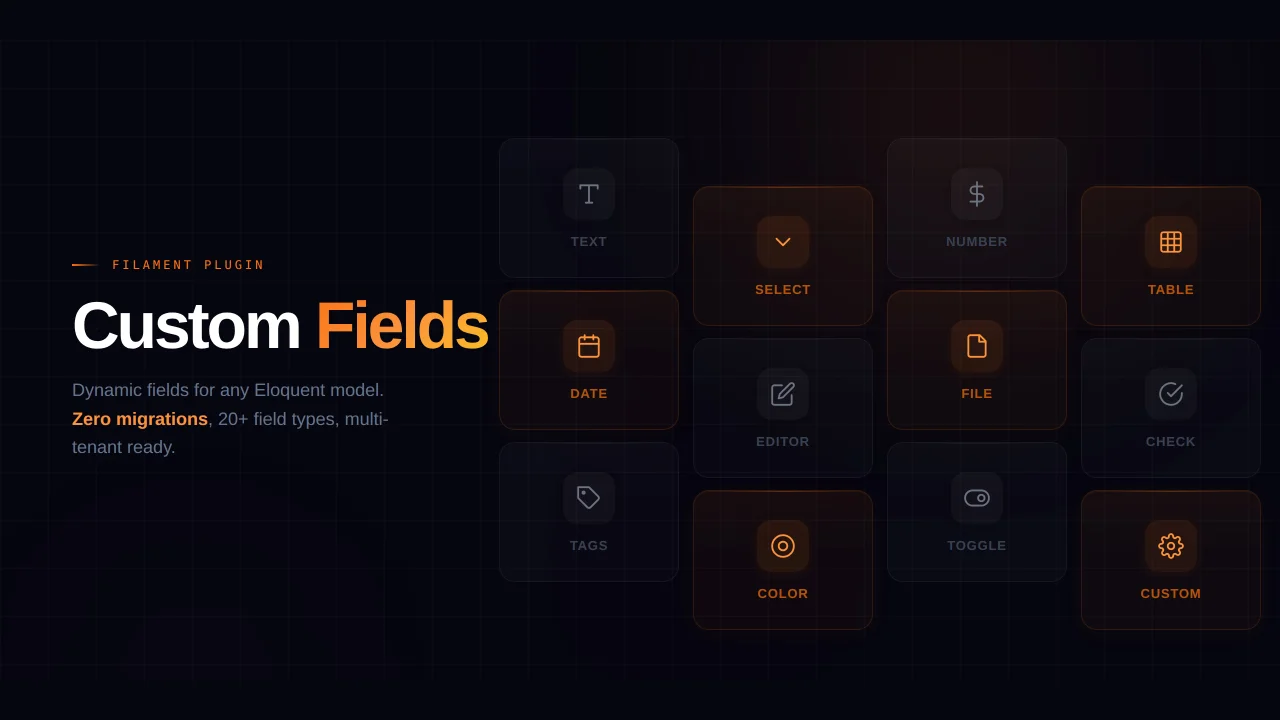
Custom Fields
Eliminate custom field migrations forever. Let your users create and manage form fields directly in Filament admin panels with 20+ built-in field types, validation, and zero database changes.
 Relaticle