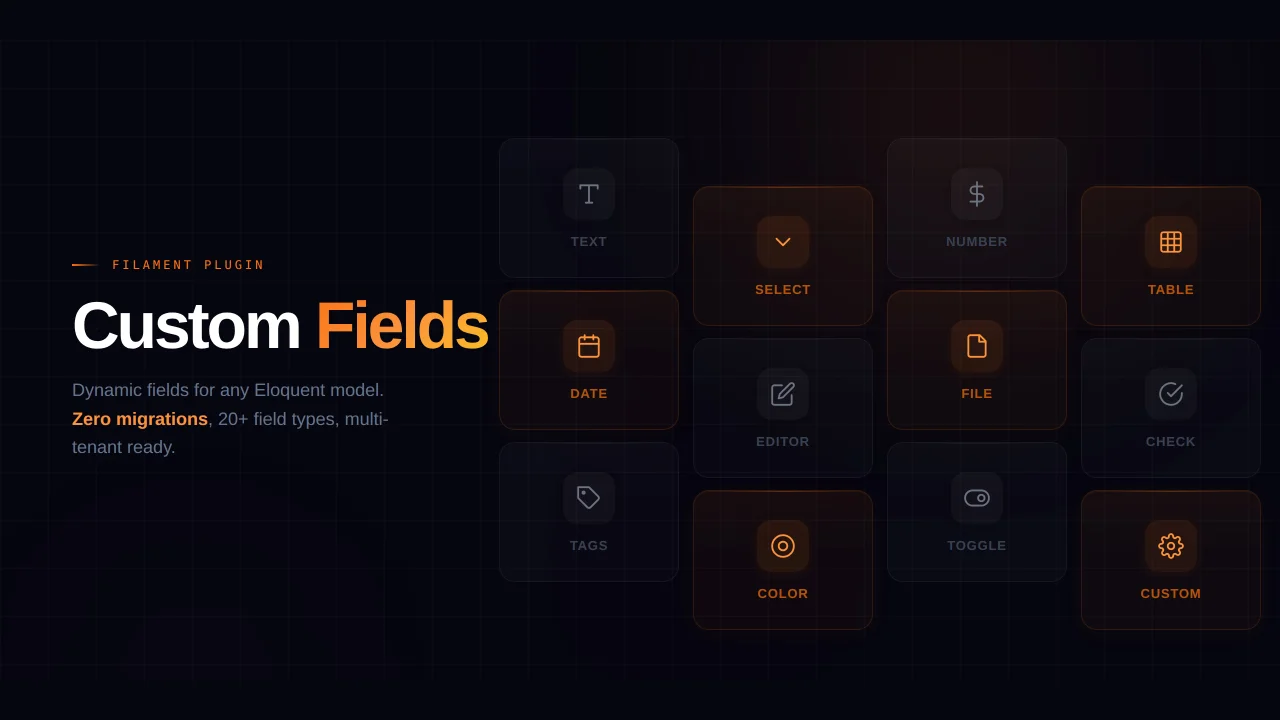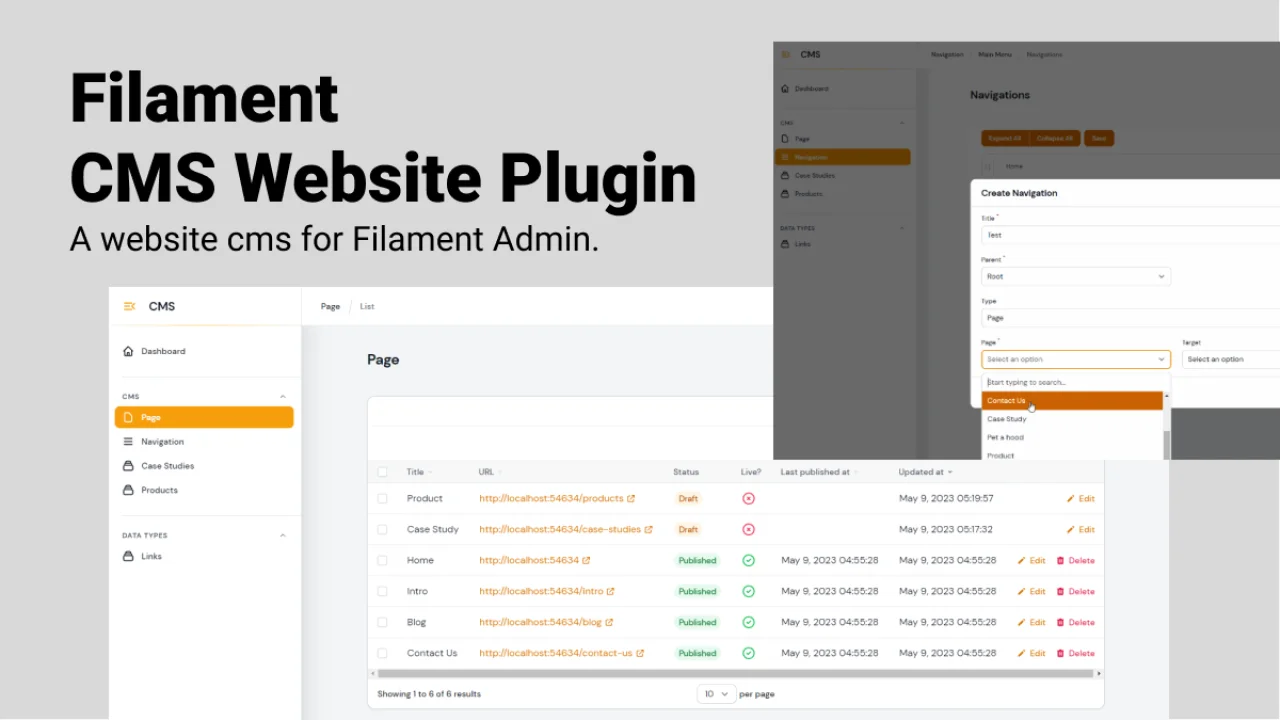
Website CMS Management
CommunityThe Filament CMS Website Plugin is specifically built for website owners who use Filament CMS to manage their website content.
filament/
namespace. Review the source and install at your own risk. Found
malware or an unresolved security issue the author won't
address?
Report it
.
 Author:
Solution Forest
Author:
Solution Forest
Documentation
The Filament CMS Website Plugin is specifically built for website owners who use Filament CMS to manage their website content through the Filament Admin Panel.
Demo site : https://filament-cms-website-demo.solutionforest.net/
Demo admin site : https://filament-cms-website-demo.solutionforest.net/admin
Demo username : demo@solutionforest.net
Demo password : 12345678
Auto Reset every hour.
Still, a lot of improvement, feel free to comment.

The author
From the same author
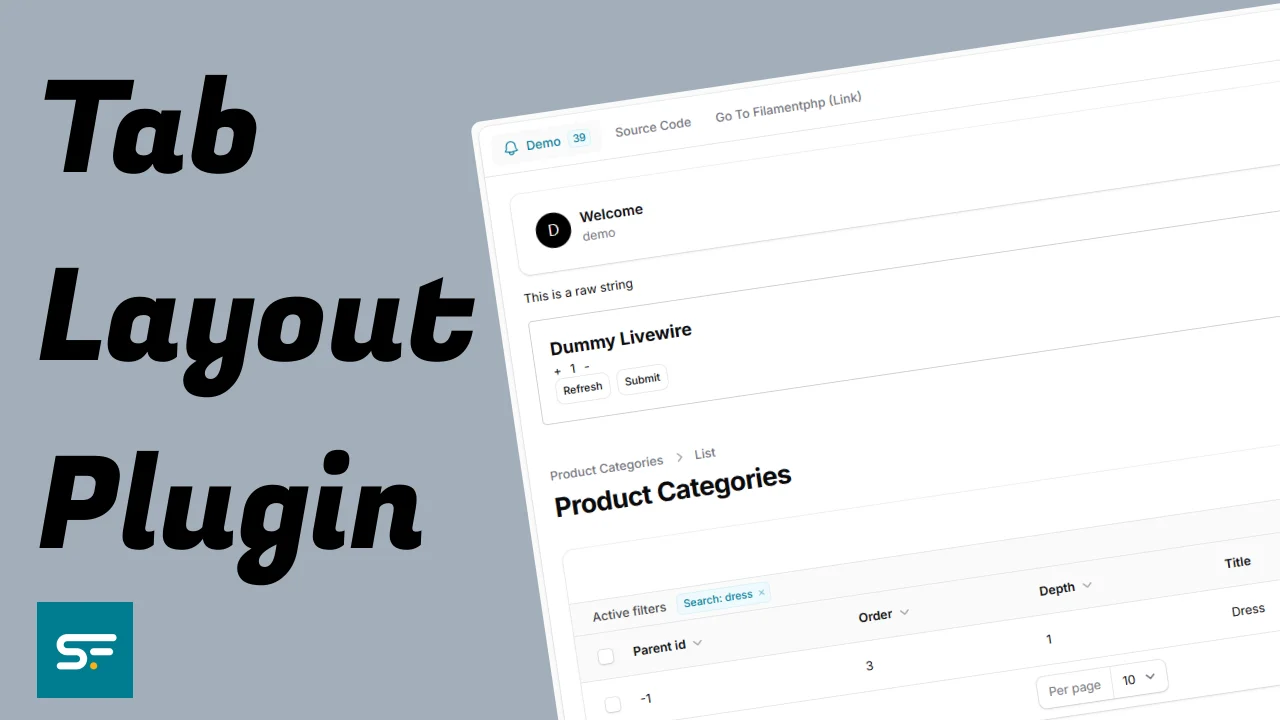
Tab Layout Plugin
This plugin provides a flexible tab layout system for Filament Admin panels, enabling you to organize content into clean, navigable tabbed interfaces.
Author:
Solution Forest
Translate Field
Filament Translate Field is a library for Filament CMS that simplifies managing multiple translatable fields in different languages.
Author:
Solution Forest

Inspire CMS
InspireCMS is a flexible, un-opinionated content engine for Laravel, built on Filament.
Author:
Solution Forest
Simple Lightbox
A simple and lightweight solution for implementing a lightbox feature in your Filament admin panel
Author:
Solution Forest
Featured Plugins
A selection of plugins curated by the Filament team
Blueprint
Filament Blueprint is a premium Laravel Boost extension that helps AI agents produce accurate, detailed implementation plans and security reports for Filament apps.
 Filament
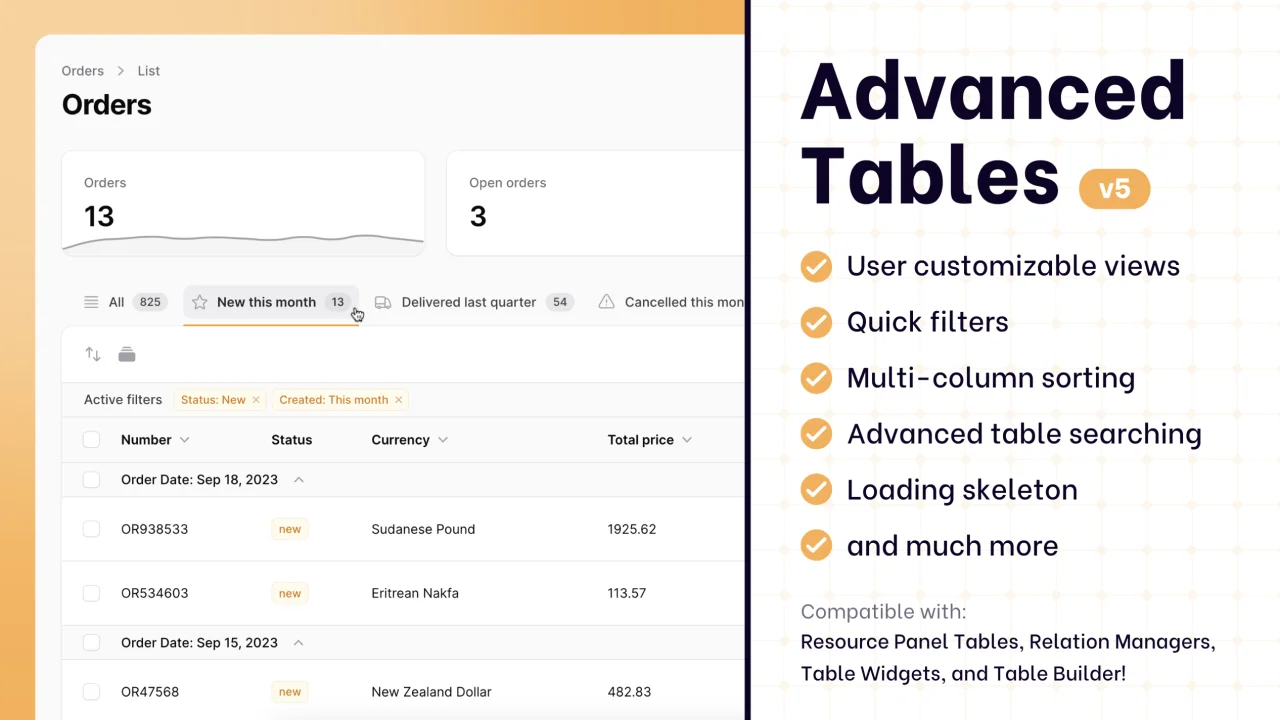
Advanced Tables (formerly Filter Sets)
Supercharge your tables with powerful features like user-customizable views, quick filters, multi-column sorting, advanced table searching, convenient view management, and more. Compatible with Resource Panel Tables, Relation Managers, Table Widgets, and Table Builder!
 Kenneth Sese
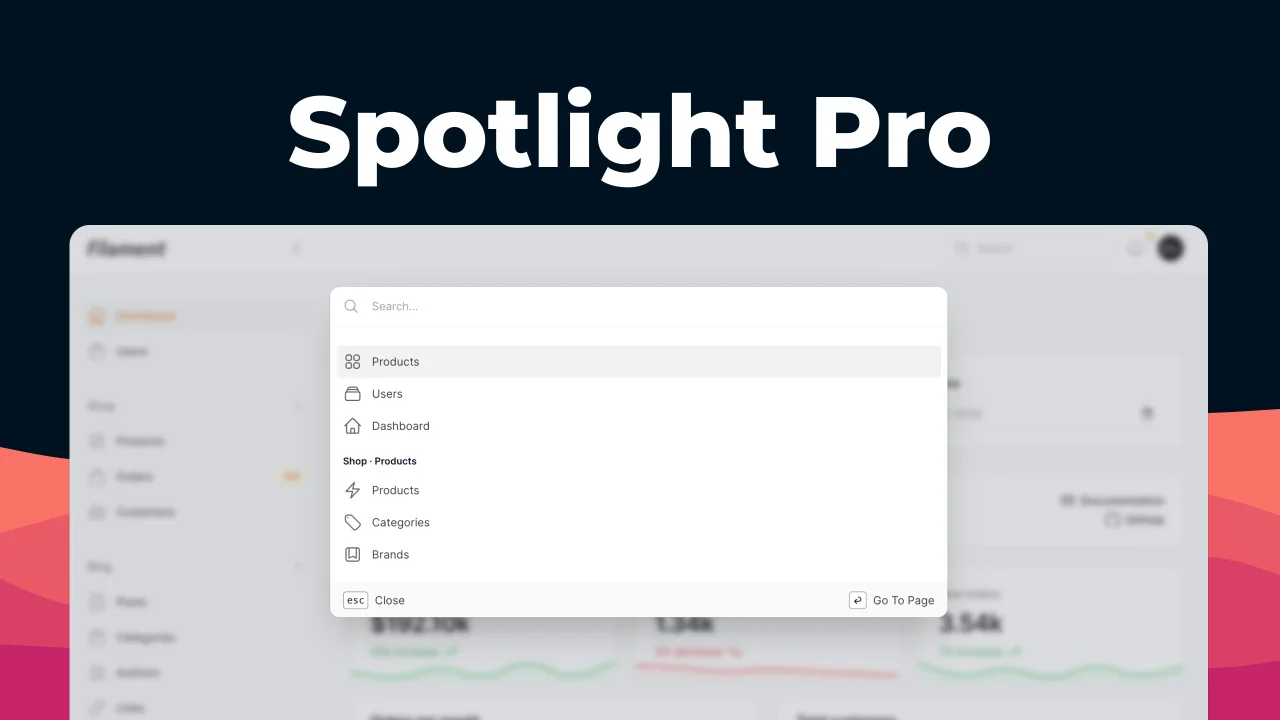
Spotlight Pro
Browse your Filament Panel with ease. Filament Spotlight Pro adds a Spotlight/Raycast like Command Palette to your Filament Panel.
 Dennis Koch