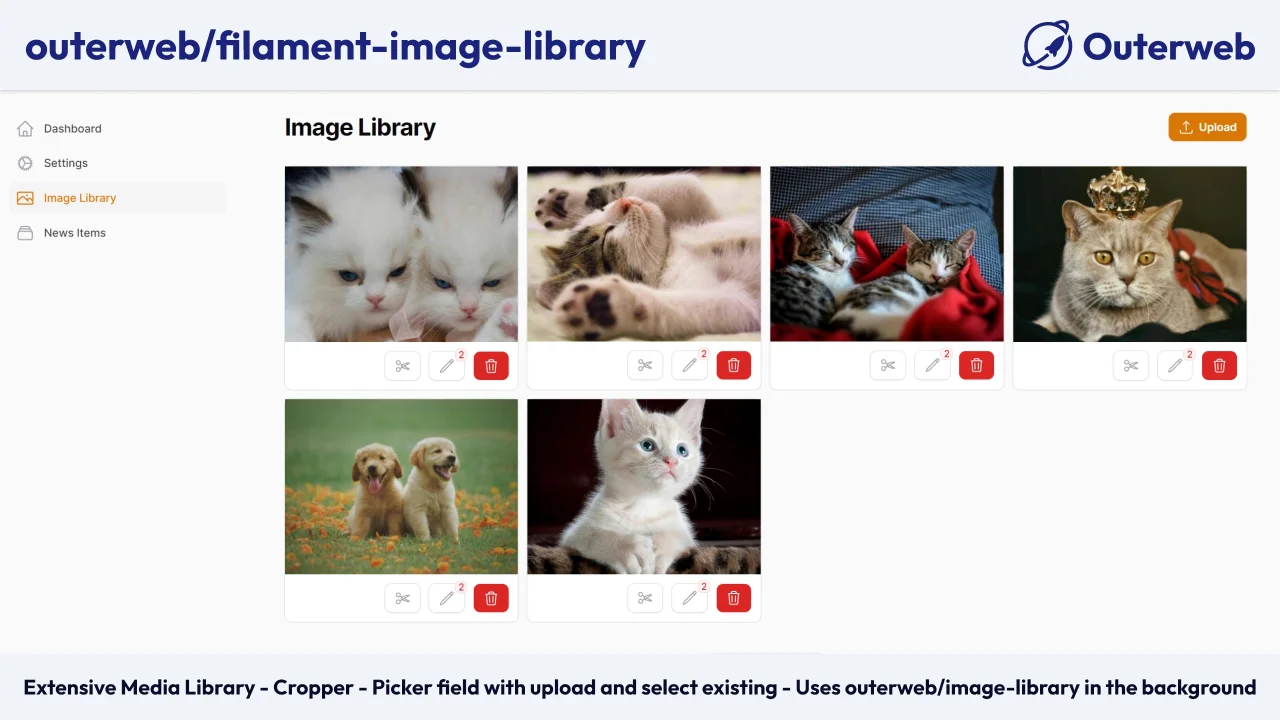
Image Library
CommunityAdds an image library page and Image picker form-field to Filament with the ability to upload, crop, and manage images.
filament/
namespace. Review the source and install at your own risk. Found
malware or an unresolved security issue the author won't
address?
Report it
.
 Author:
Outerweb
Author:
Outerweb
Documentation


This Filament plugin provides an integration for the outerweb/image-library package.
⚠️ Caution: V3 uses the
image-library: ^3.0which is a complete rewrite of the package. Please make sure to follow the migration steps if you are upgrading from v2 to v3.
#Table of Contents
#Installation
You can install the package via composer:
composer require outerweb/filament-image-library
Be sure to follow the README of the outerweb/image-library package to set up the package correctly.
Add the plugin to your panel:
use Outerweb\FilamentImageLibrary\ImageLibraryPlugin;

public function panel(Panel $panel): Panel
{
    return $panel
        // ...
        ->plugins([
            // ...
            ImageLibraryPlugin::make(),
        ]);
}
Add the following to your custom theme css file to ensure proper styling of the image library components:
@source '../../../../vendor/outerweb/filament-image-library/resources/views/**/*';
#Configuration
#Access control
You can manage access to the Image Library page by providing a Closure to the canAccess method:
use App\Models\User;
use Outerweb\FilamentImageLibrary\ImageLibraryPlugin;

ImageLibraryPlugin::make()
    ->canAccess(function (User $user): bool {
        // Your logic here
    }),
#Navigation group
You can set a navigation group for the Image Library page by using the navigationGroup method:
use Outerweb\FilamentImageLibrary\ImageLibraryPlugin;

ImageLibraryPlugin::make()
    ->navigationGroup('Media Management'),
#Navigation icon
You can set a custom navigation icon for the Image Library page by using the navigationIcon method:
use Outerweb\FilamentImageLibrary\ImageLibraryPlugin;

ImageLibraryPlugin::make()
    ->navigationIcon('heroicon-o-photograph'),
#Navigation sort
You can set the navigation sort order for the Image Library page by using the navigationSort method:
use Outerweb\FilamentImageLibrary\ImageLibraryPlugin;

ImageLibraryPlugin::make()
    ->navigationSort(3),
#Disks
You can specify which filesystems disks the Image Library should use and display by using the disks method:
use Outerweb\FilamentImageLibrary\ImageLibraryPlugin;

ImageLibraryPlugin::make()
    ->disks(['public', 's3']),
You can provide an associative array to customize the labels of the disks:
use Outerweb\FilamentImageLibrary\ImageLibraryPlugin;

ImageLibraryPlugin::make()
    ->disks([
        'public' => 'Local Storage',
        's3' => 'Amazon S3',
    ]),
#Restricting allowed upload file size
You can restrict the maximum allowed upload file size (in kilobytes) globally by using the minUploadFileSize and maxUploadFileSize methods:
use Outerweb\FilamentImageLibrary\ImageLibraryPlugin;

ImageLibraryPlugin::make()
    ->minUploadFileSize(100) // Minimum file size of 100 KB
    ->maxUploadFileSize(5120), // Maximum file size of 5 MB
#Usage
Be sure to follow the README of the outerweb/image-library package to set up the package correctly.
#Forms
You can use the ImagePicker form component to allow users to:
- select images from the Image Library
- upload new images to the Image Library
- remove selected images
- edit image details
- crop the image
use Outerweb\FilamentImageLibrary\Forms\Components\ImagePicker;

ImagePicker::make('images')
    ->imageContext('article_image'),
The name of the form field (images in the example above) needs to correspond to the relationship name on your model that defines the relation to the images.
Note: The imageContext() method is required. More about it below.
#Image context(s)
The image library requires each use of an image to be assigned to an image context. This allows you to define different image processing rules for different use cases. More about image contexts can be found in the outerweb/image-library documentation.
You can assign a single image context like this:
use Outerweb\FilamentImageLibrary\Forms\Components\ImagePicker;

ImagePicker::make('images')
    ->imageContext('article_image'),
If you want to allow users to select/upload images for multiple image contexts, you can provide an array of contexts like this:
use Outerweb\FilamentImageLibrary\Forms\Components\ImagePicker;

ImagePicker::make('images')
    ->imageContext(['thumbnail', 'banner', 'gallery']),
All selected images will be stored for each defined context. The modal to edit/crop images will render a tab for each context.
#Modifying the query used to fetch images
You can modify the query that is used to fetch images from the Image Library by providing a Closure to the modifyQueryUsing method:
use Illuminate\Database\Eloquent\Builder;
use Illuminate\Database\Eloquent\Model;
use Outerweb\FilamentImageLibrary\Forms\Components\ImagePicker;

ImagePicker::make('images')
    ->modifyQueryUsing(function (Builder $query, Model $record, string $relationshipName): Builder {
        return $query->whereJson('custom_properties->layout_block_type', 'article');
    }),
#Disable sorting
By default, the ImagePicker component allows users to sort the selected images via drag & drop. You can disable this functionality like this:
use Outerweb\FilamentImageLibrary\Forms\Components\ImagePicker;

// Using a bool
ImagePicker::make('images')
    ->sortable(false),

// Using a Closure
ImagePicker::make('images')
    ->sortable(fn (): bool => false),
#Working with custom properties
If you would like the user to be able to edit custom properties of the selected images, you can define them like this:
use Outerweb\FilamentImageLibrary\Forms\Components\ImagePicker;

ImagePicker::make('images')
    ->customPropertiesSchema([
        TextInput::make('alt_text')
            ->label('Alt Text')
            ->required(),
        TextInput::make('caption')
            ->label('Caption'),
    ]),
This will render the defined fields in the edit modal of each selected image. They will automatically be saved to the custom_properties column of the image.
#Validation
You can add validation rules to the ImagePicker component like any other Filament form component:
use Outerweb\FilamentImageLibrary\Forms\Components\ImagePicker;

ImagePicker::make('images')
    ->imageContext('article_image')
    ->required(),
You can also use the minItems and maxItems methods to restrict the number of selected images:
use Outerweb\FilamentImageLibrary\Forms\Components\ImagePicker;

ImagePicker::make('images')
    ->imageContext('article_image')
    ->minItems(1)
    ->maxItems(5),
Note that the maxItems method will be overridden if the context only allows a single image.
#Infolists
You can use the ImageEntry infolist entry to display the selected images in an infolist:
use Outerweb\FilamentImageLibrary\Infolists\Entries\ImageEntry;

ImageEntry::make('images');
The name of the form field (images in the example above) needs to correspond to the relationship name on your model that defines the relation to the images.
#Modifying the query used to fetch images
You can modify the query that is used to fetch images from the Image Library by providing a Closure to the modifyQueryUsing method:
use Illuminate\Database\Eloquent\Builder;
use Illuminate\Database\Eloquent\Model;
use Outerweb\FilamentImageLibrary\Infolists\Entries\ImageEntry;

ImageEntry::make('images');
    ->modifyQueryUsing(function (Builder $query, Model $record, string $relationshipName): Builder {
        return $query->whereJson('custom_properties->layout_block_type', 'article');
    }),
#Changelog
Please see CHANGELOG for more information on what has changed recently.
#License
The MIT License (MIT). Please see License File for more information.
The author
From the same author

Settings
Integrates Outerweb/Settings into Filament.
Author:
Outerweb
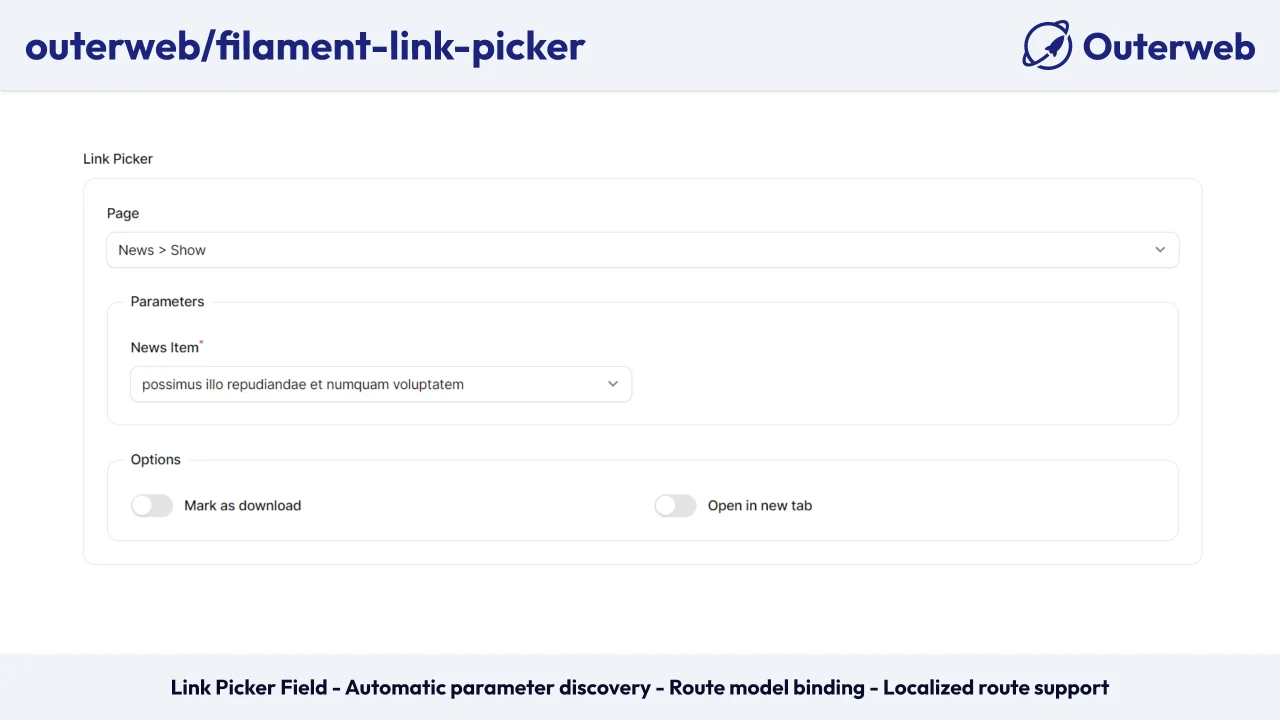
Link Picker Field
Adds a field to pick a link from your defined routes or external links.
Author:
Outerweb

Translatable Fields
Makes all Filament fields translatable with a translatable macro.
Author:
Outerweb
Featured Plugins
A selection of plugins curated by the Filament team

Blueprint
Filament Blueprint is a premium Laravel Boost extension that helps AI agents produce accurate, detailed implementation plans and security reports for Filament apps.
 Filament
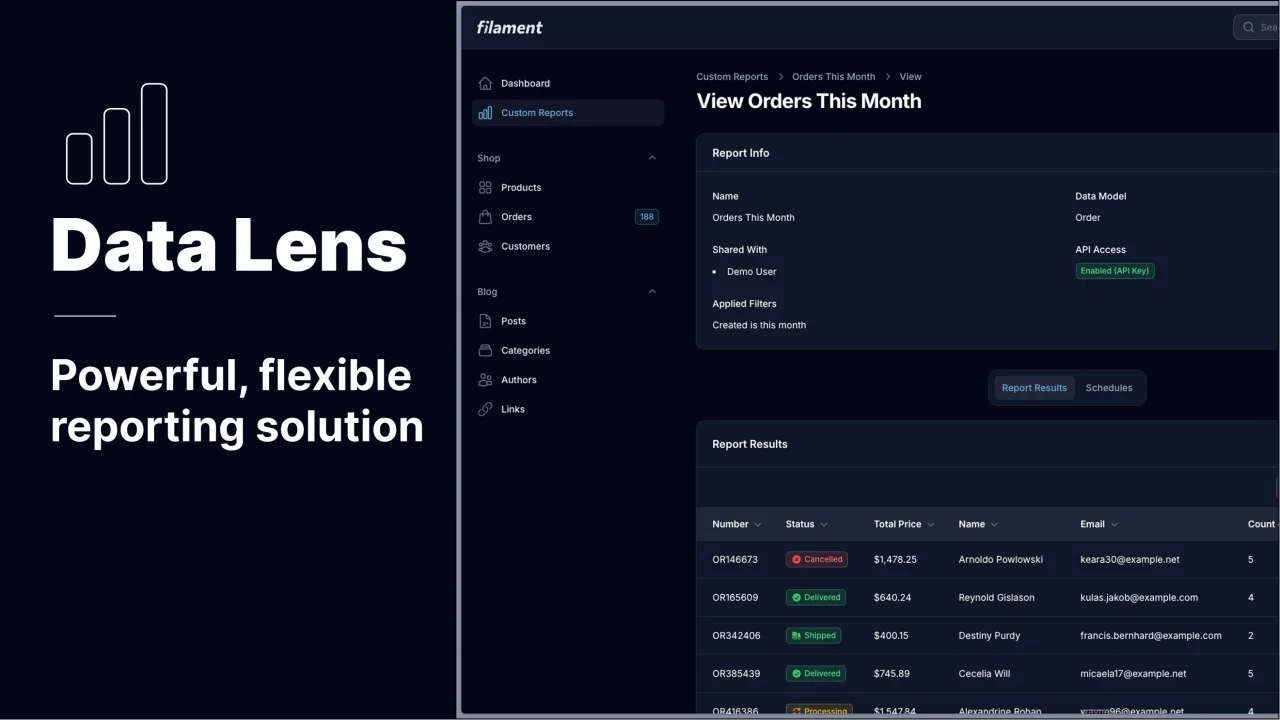
Data Lens
Advanced Data Visualization for Laravel Filament - a premium reporting solution enabling custom column creation, sophisticated filtering, and enterprise-grade data insights within admin panels.
 Padmission
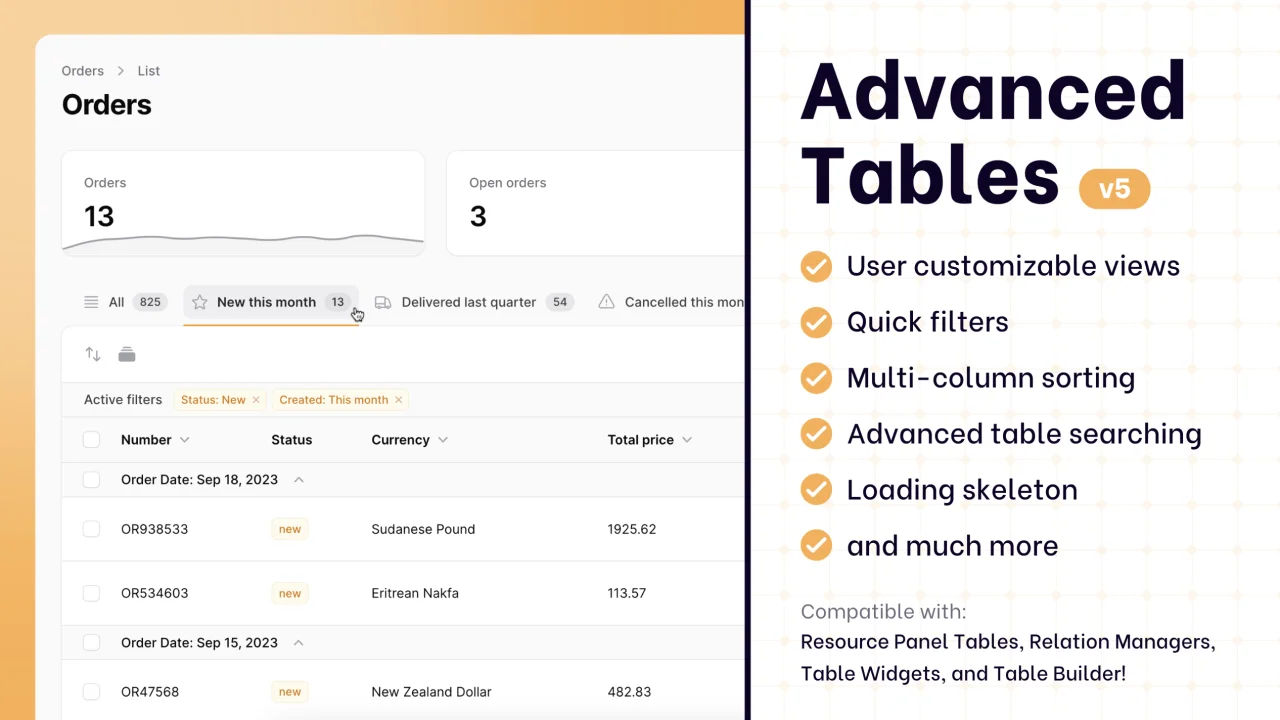
Advanced Tables (formerly Filter Sets)
Supercharge your tables with powerful features like user-customizable views, quick filters, multi-column sorting, advanced table searching, convenient view management, and more. Compatible with Resource Panel Tables, Relation Managers, Table Widgets, and Table Builder!
 Kenneth Sese