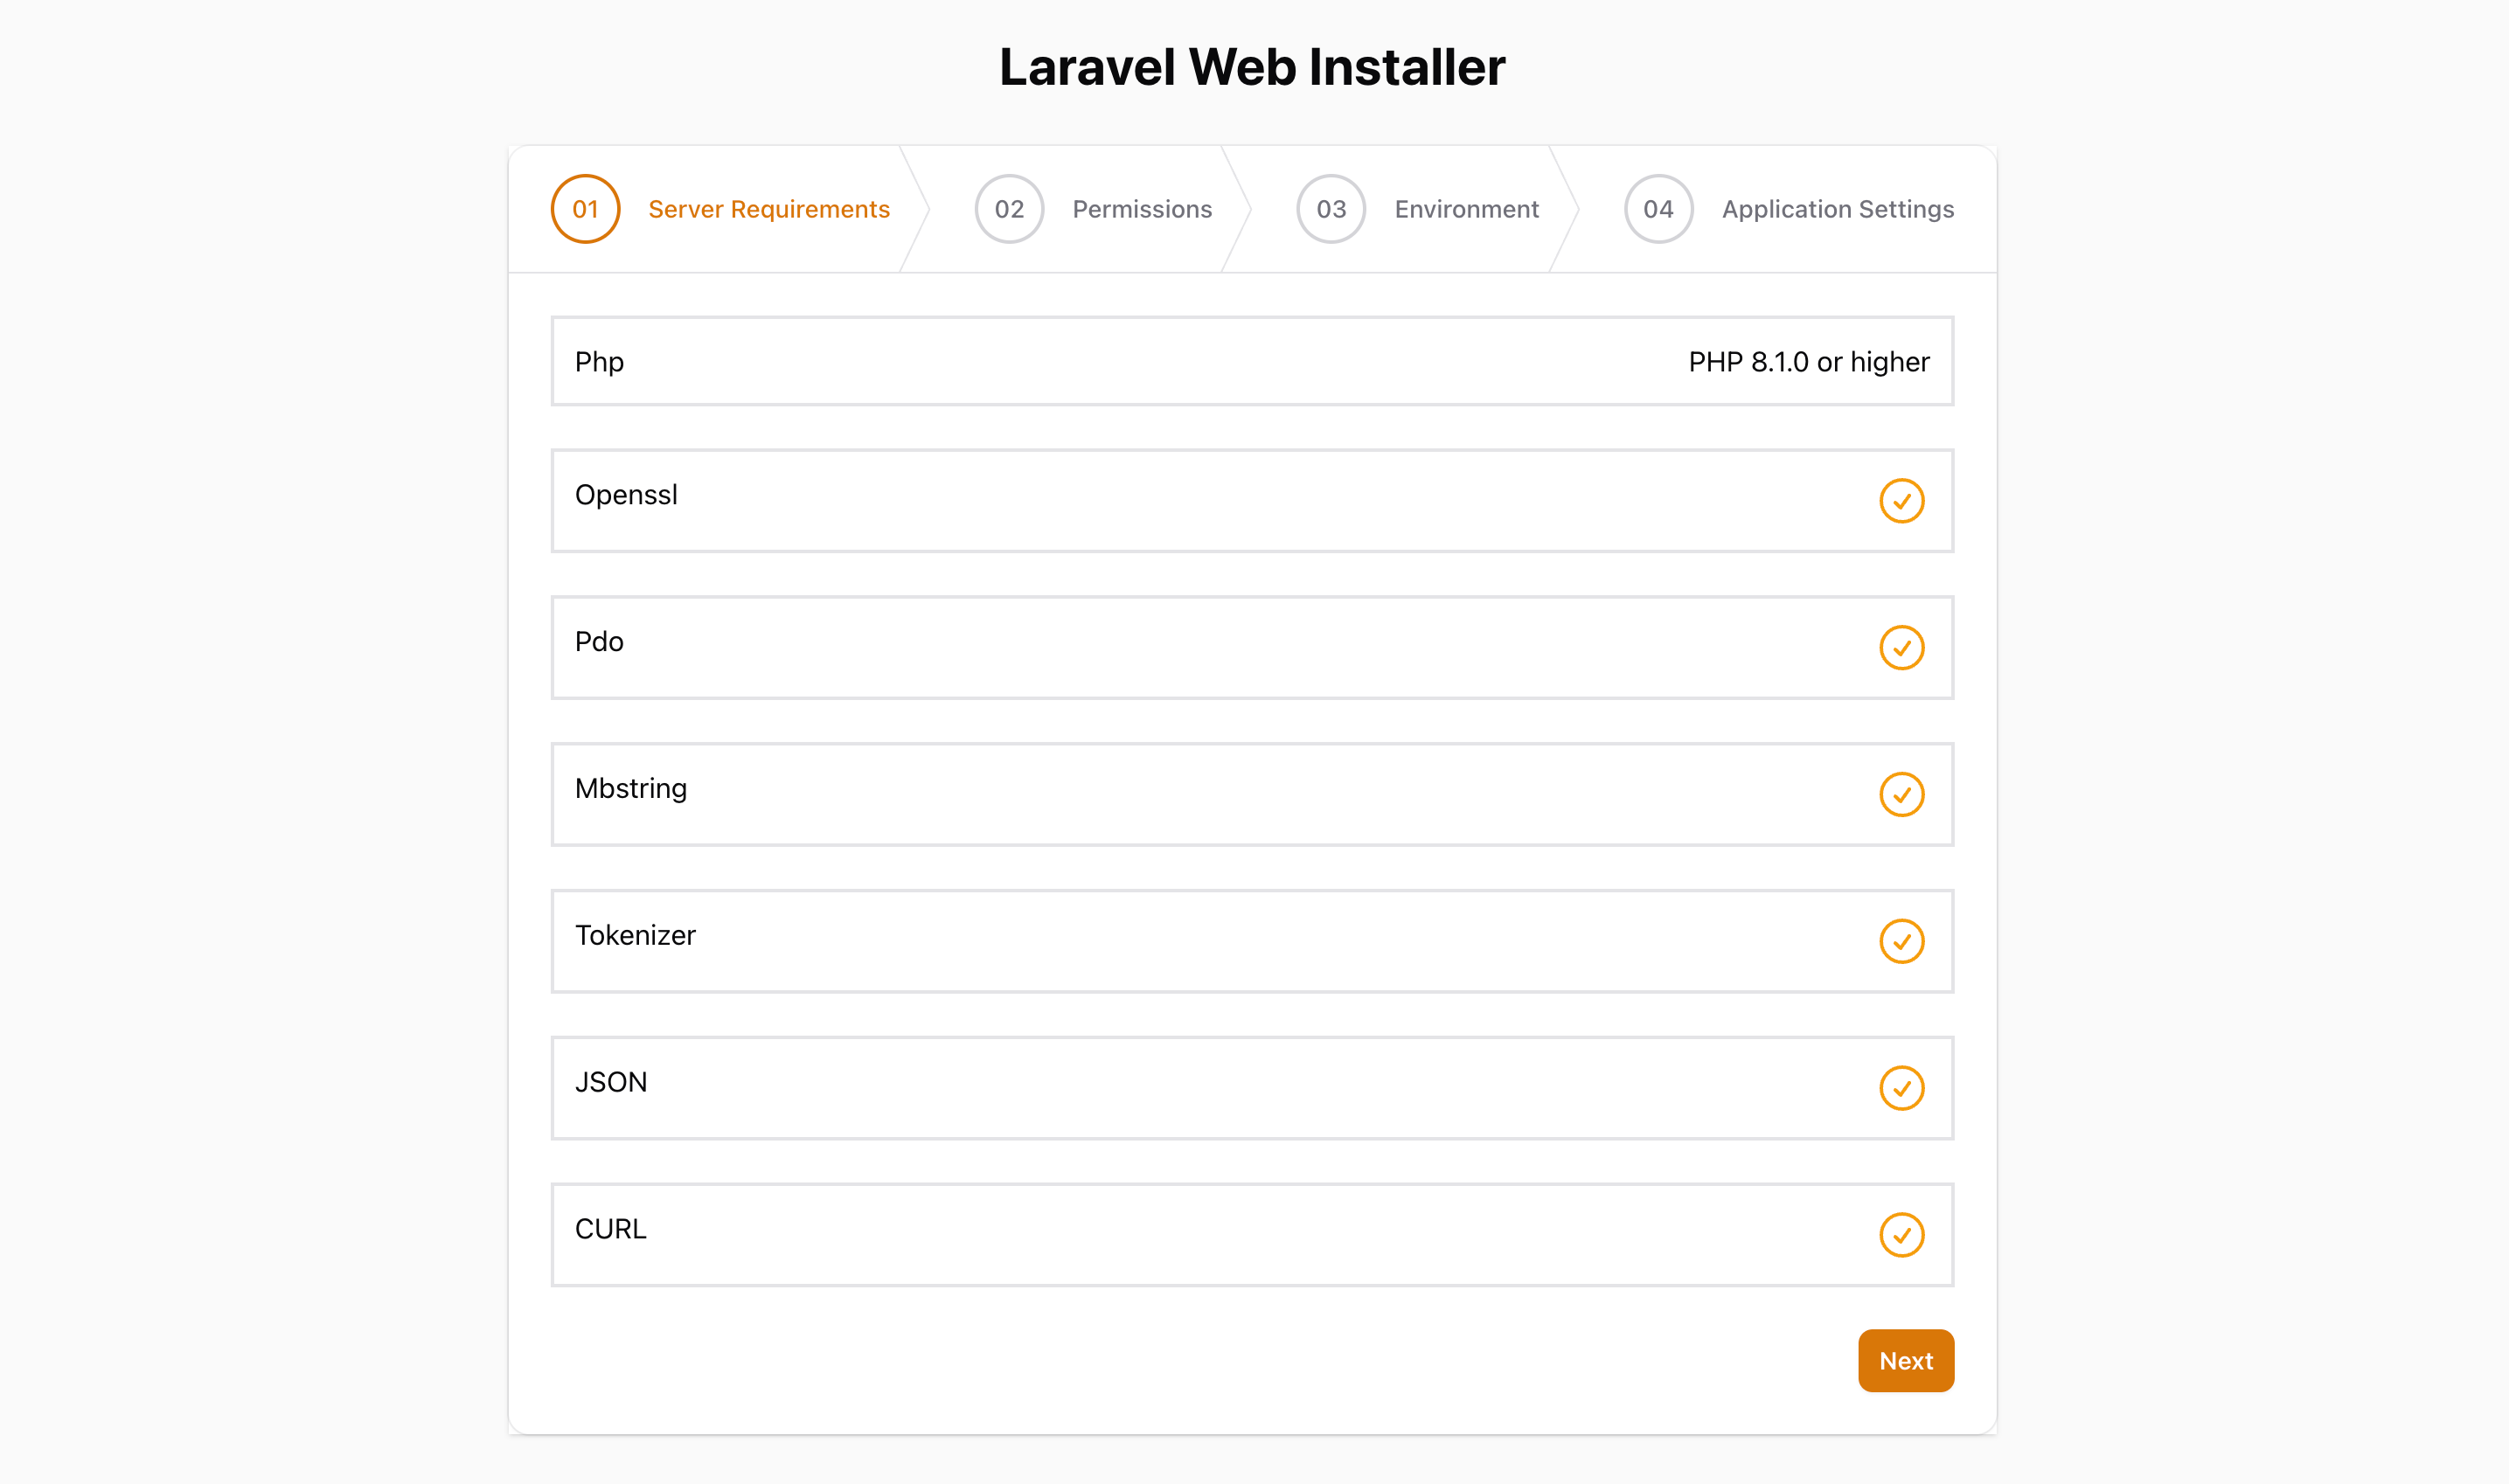
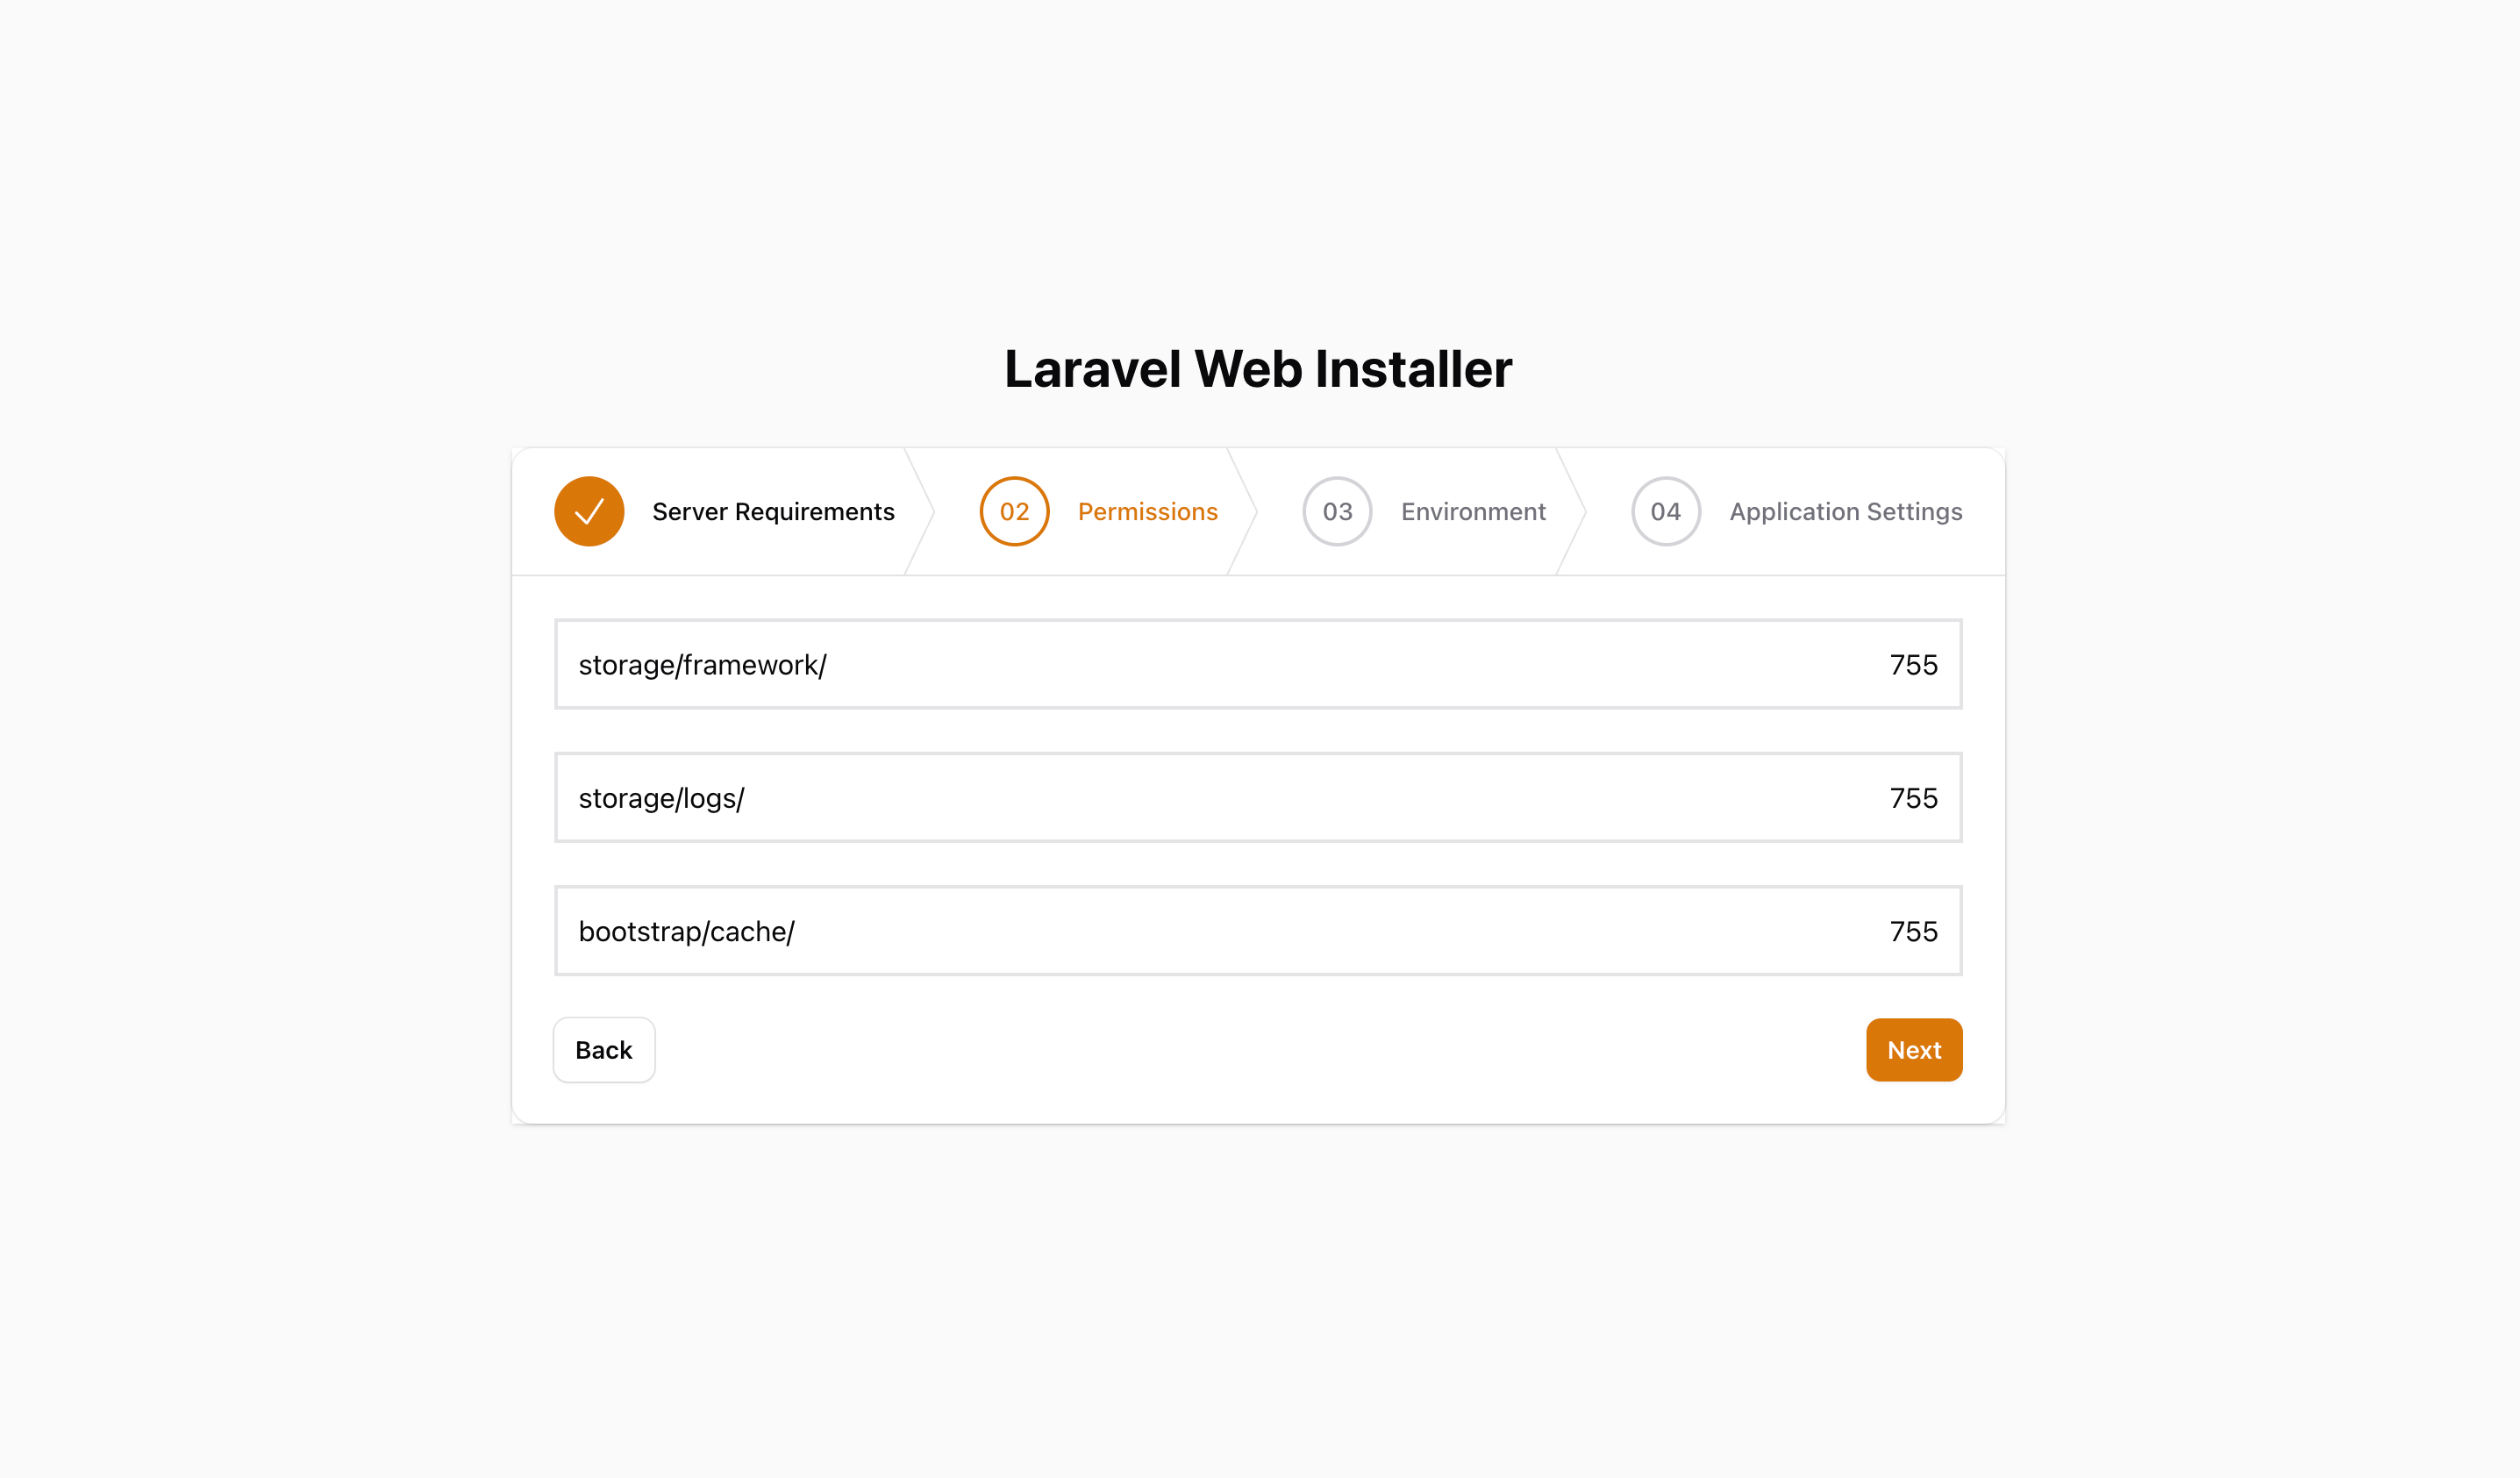
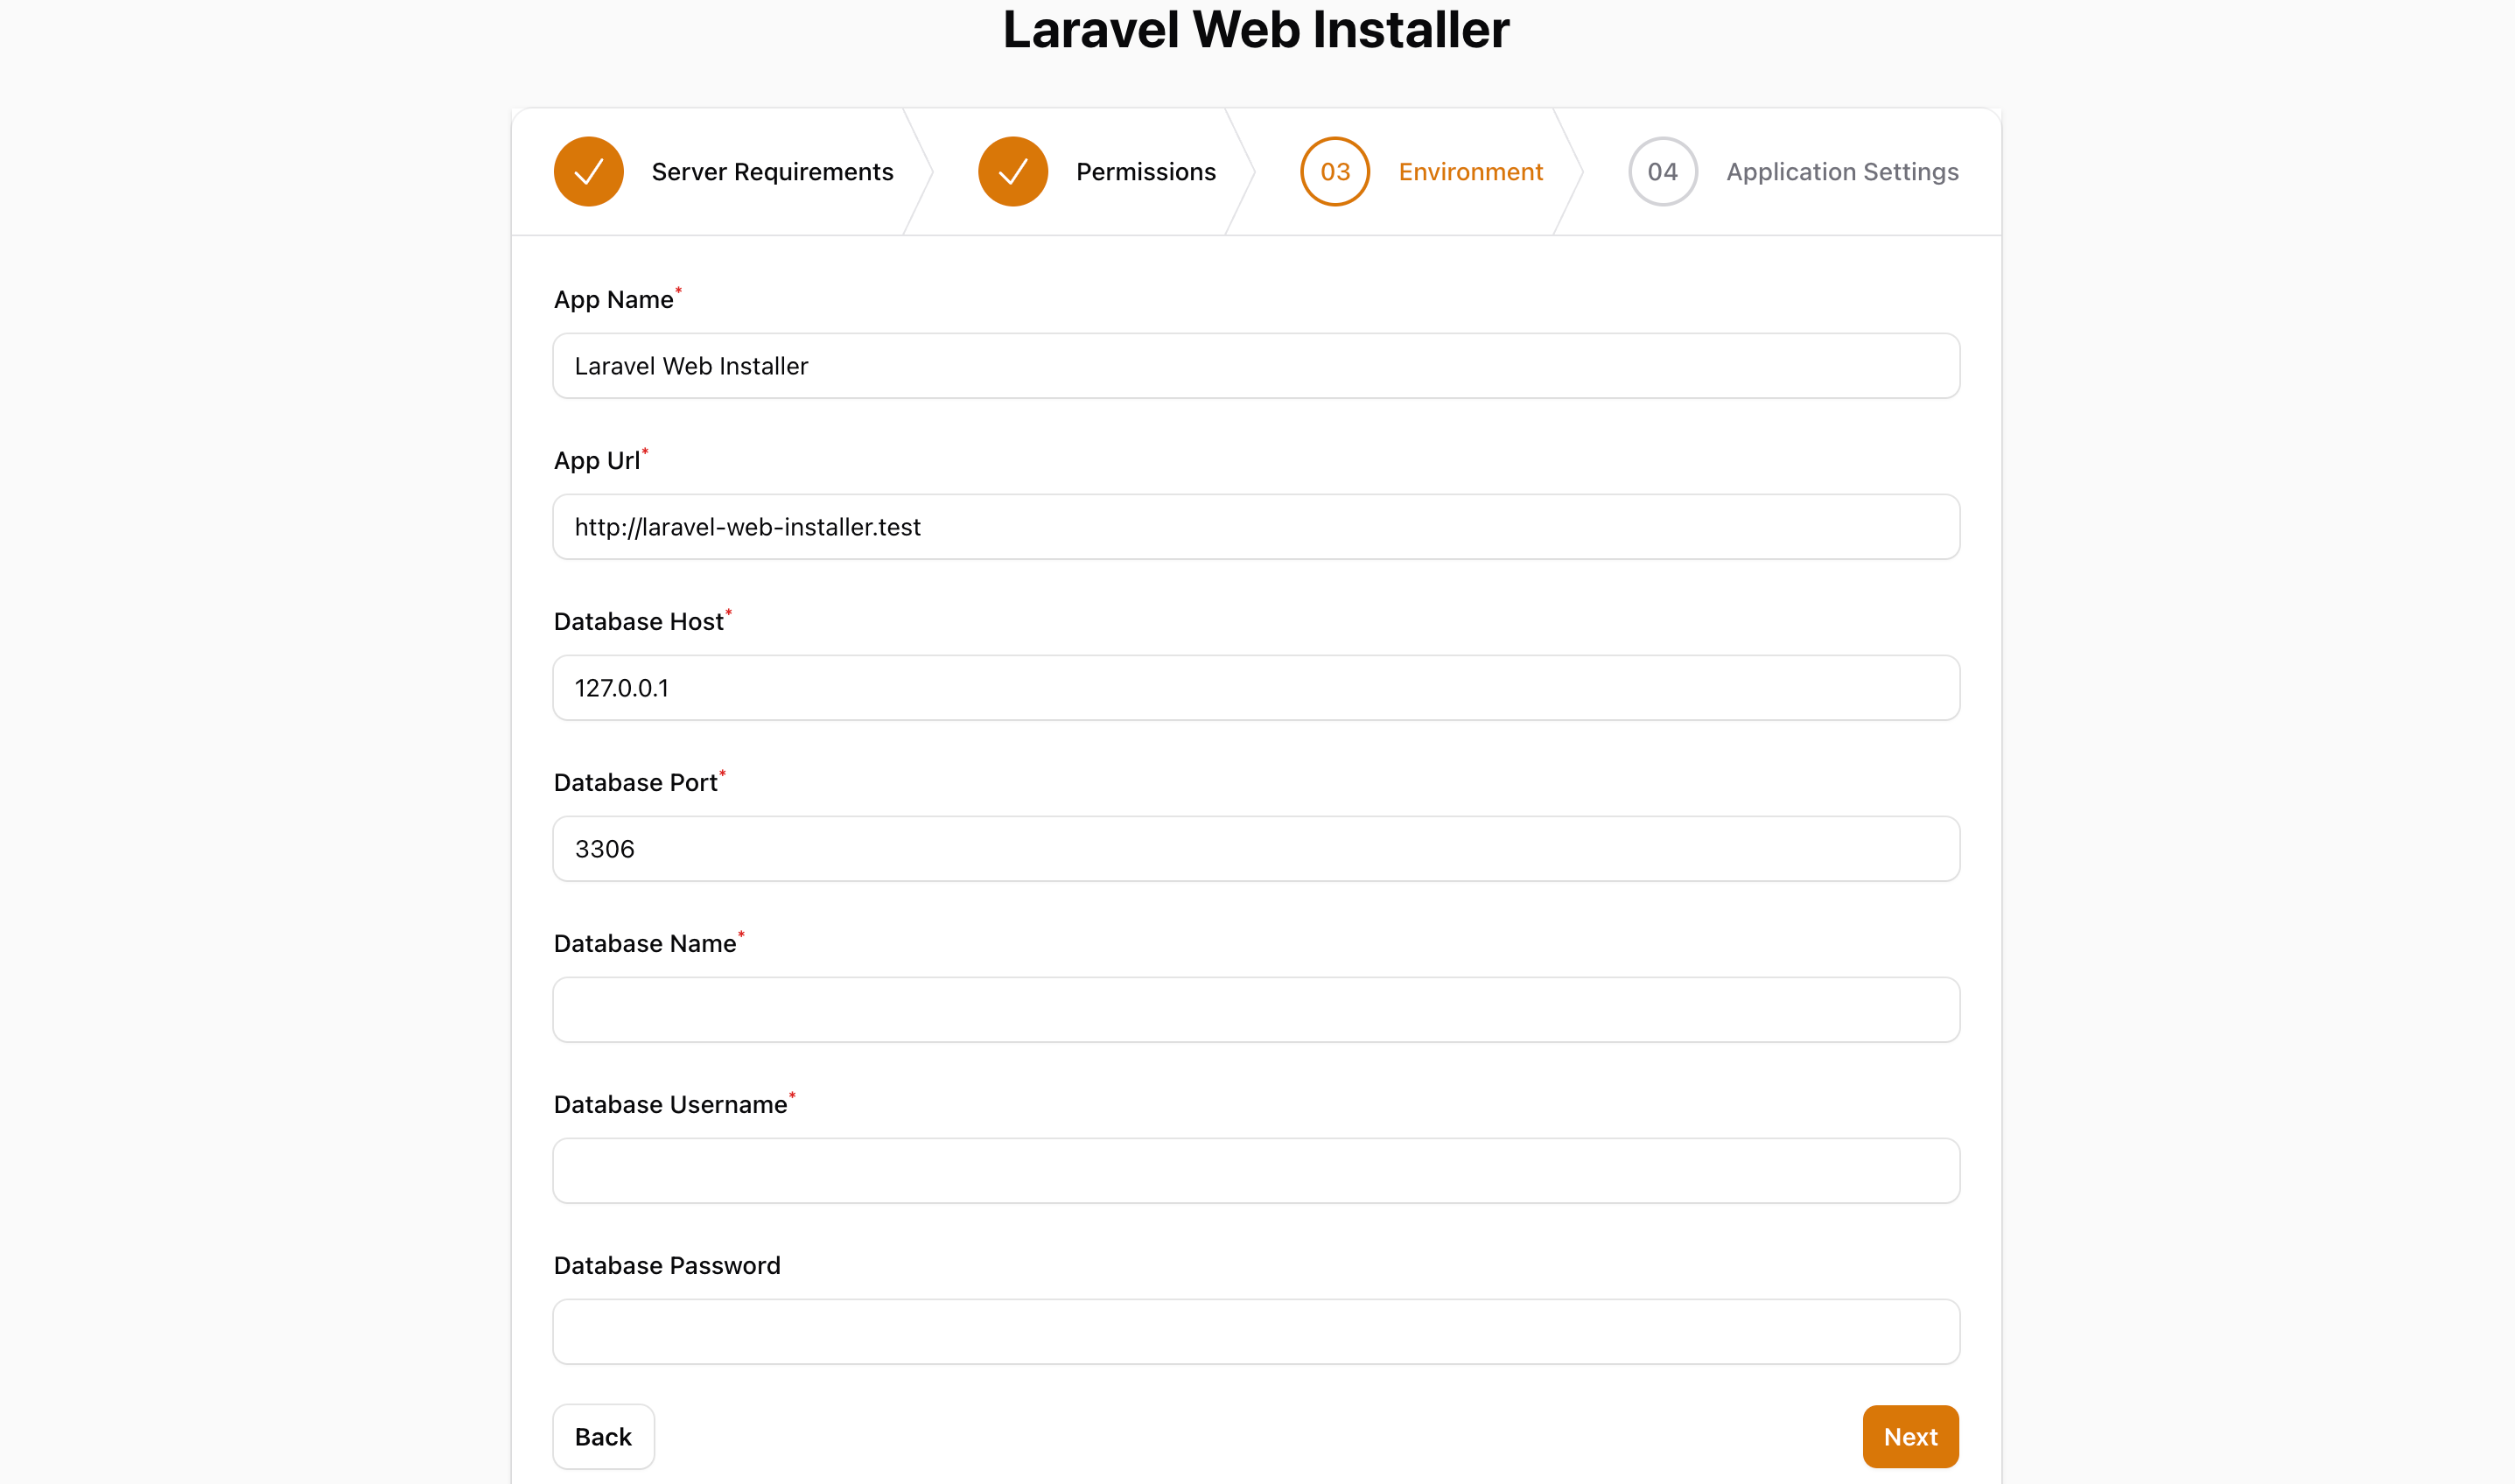
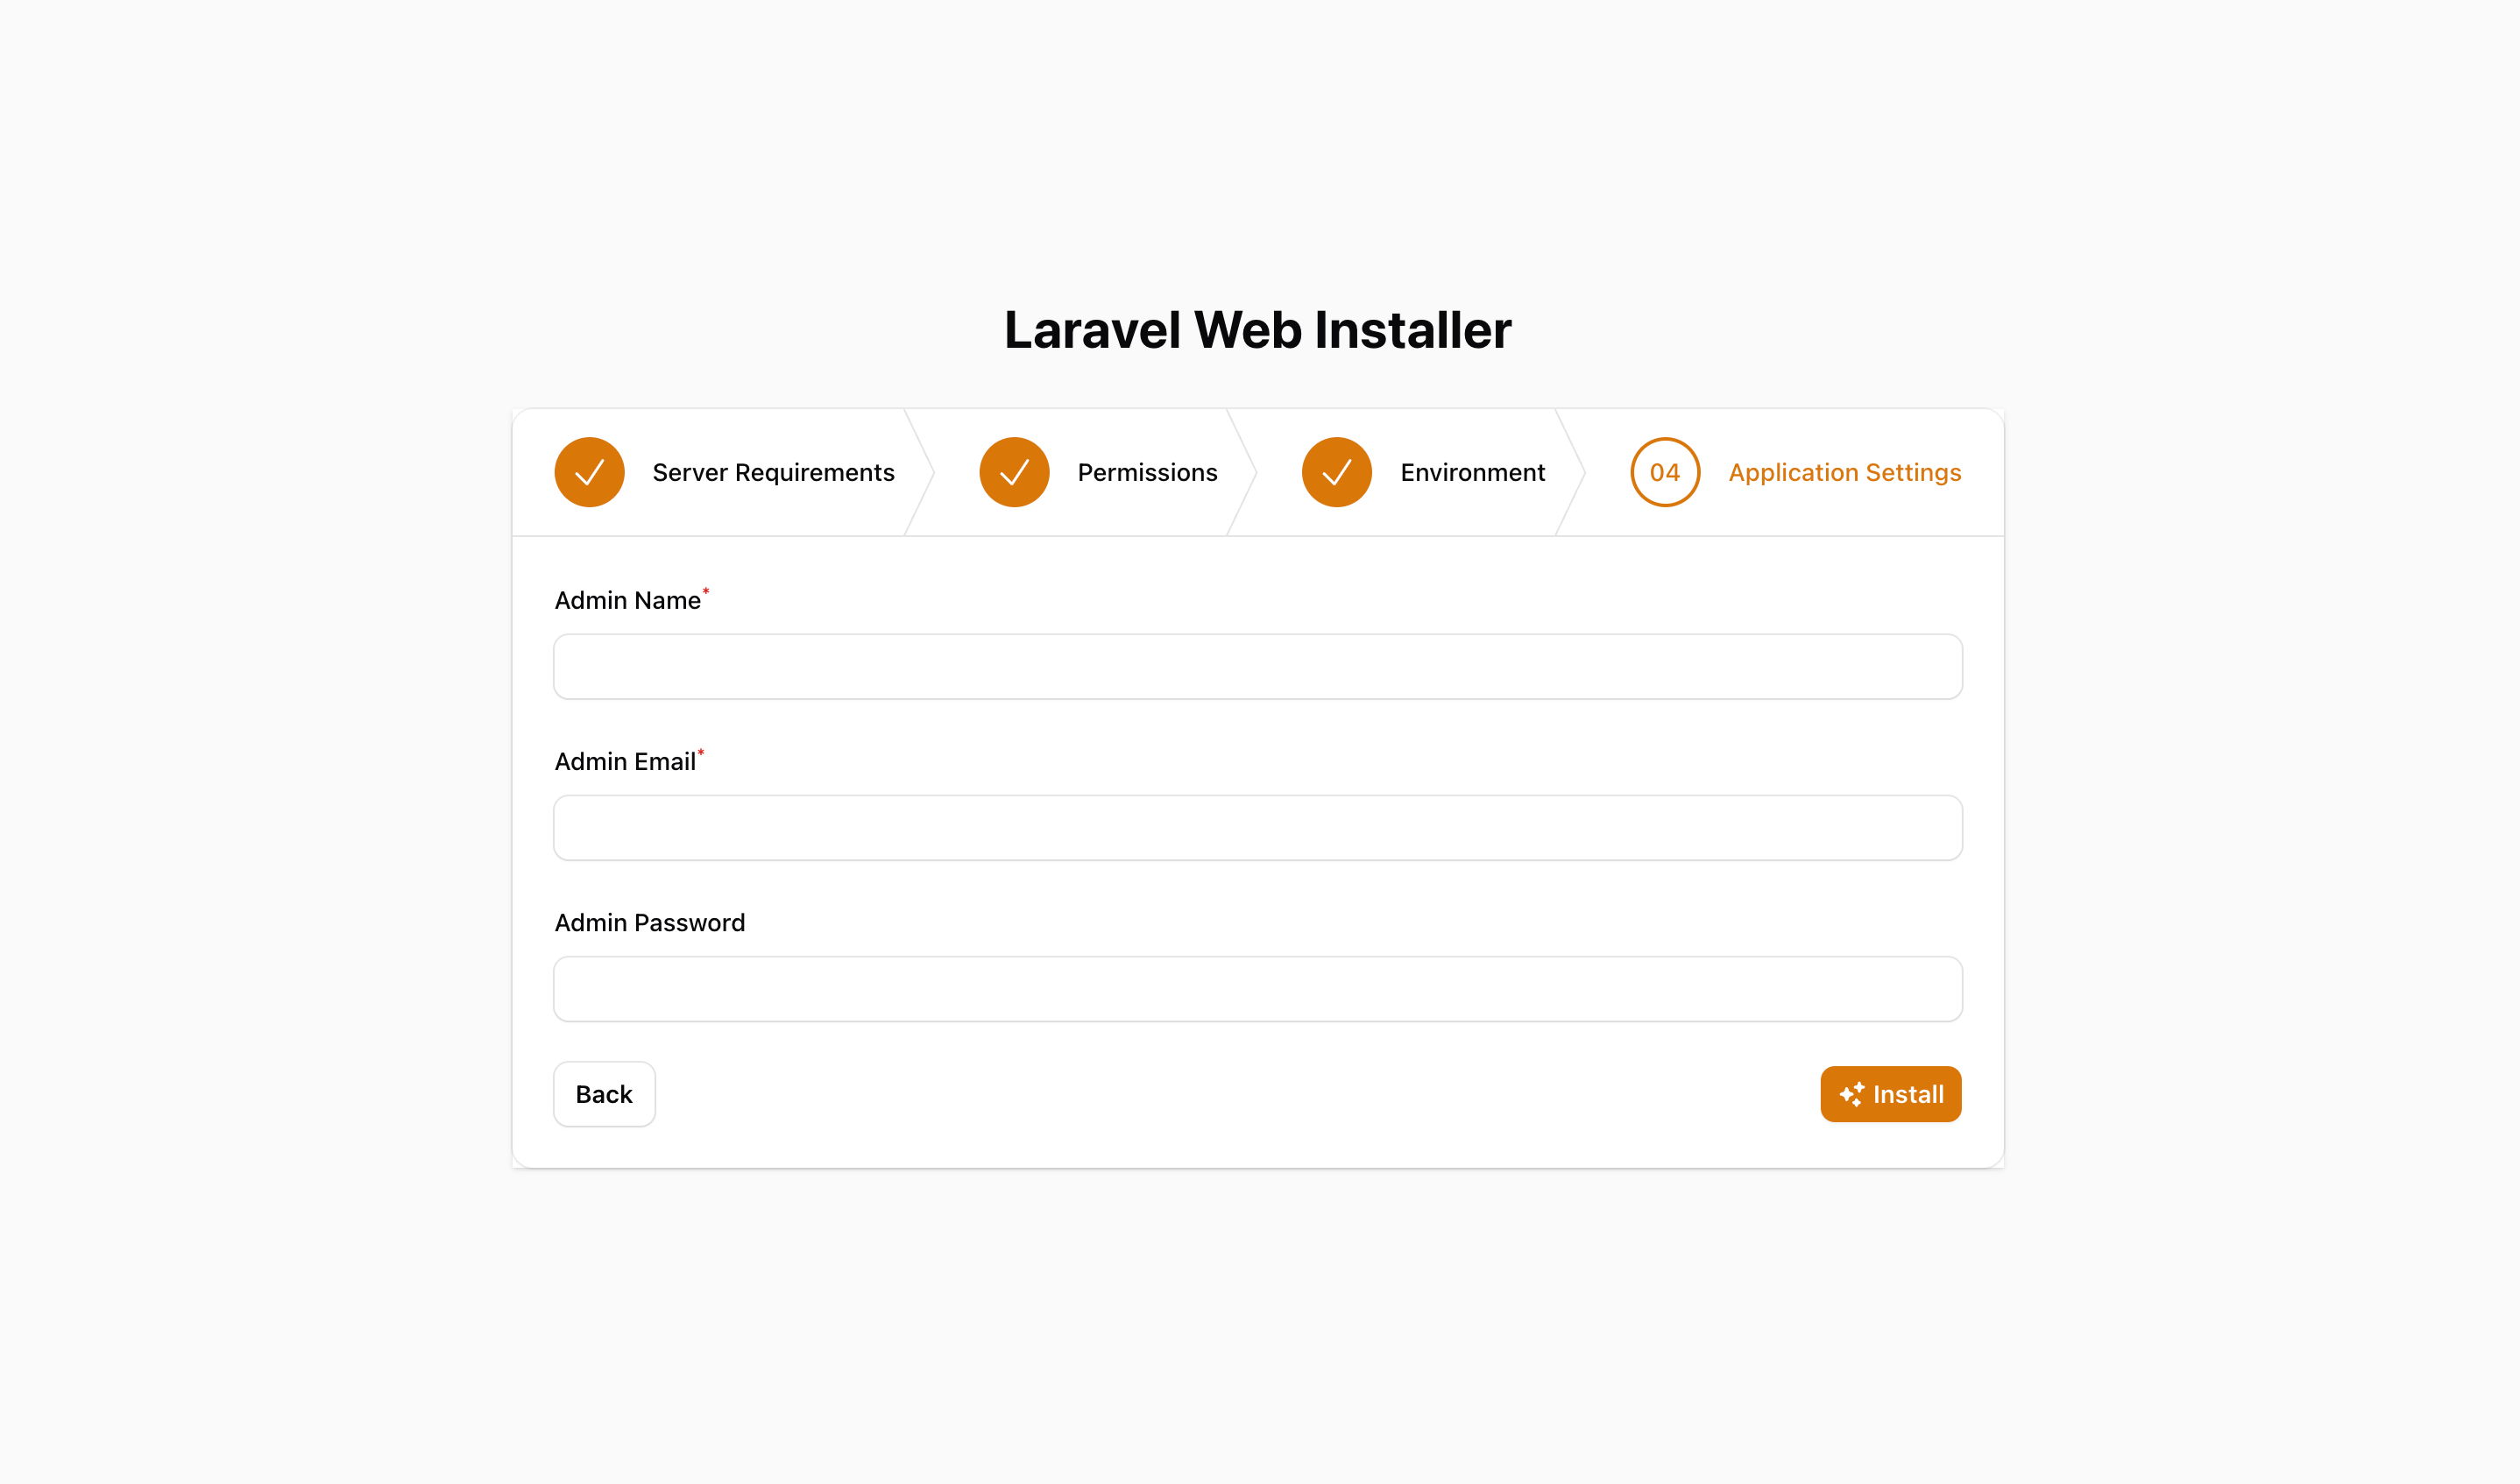
Laravel Web Installer is a Laravel package that allows you to install your application easily, without having to worry about setting up your environment before starting with the installation process.
#Installation
composer require shipu/web-installerthen publish the assets
php artisan vendor:publish --tag=web-installer-assets#Screenshots


#Add New Step
You can add new step in installer. For this you have to create a new class and implement Shipu\WebInstaller\Concerns\StepContract class. Eg:
<?php namespace Your\Namespace; use Filament\Forms\Components\Wizard\Step;use Shipu\WebInstaller\Concerns\StepContract; class Overview implements StepContract{ public static function make(): Step { return Step::make('overview') ->label('Overview') ->schema([ // Add Filament Fields Here ]); }}For Step documentation please visit Filament Forms
Then you have to add this class in config/installer.php Eg:
//...'steps' => [ Overview::class, // <-- Add Here //...],//...Note: you have to publish config file first. More details in Configuration section.
#Protect Routes
Protect other routes if not installed then you can apply the middleware to a route or route-group. Eg:
Route::group(['middleware' => 'redirect.if.not.installed'], function () { Route::get('/', function () { return view('welcome'); });});In Filament, if you want to protect all admin panel routes then you have to add middleware in panel service provider. Eg:
public function panel(Panel $panel): Panel{ return $panel ... ->middleware([ \Shipu\WebInstaller\Middleware\RedirectIfNotInstalled::class, ... ]);}#Configuration
you can modify almost everything in this package. For this you have to publish the config file. Eg:
php artisan vendor:publish --tag=web-installer-configShipu is a lead software engineer from Dhaka, Bangladesh. He works for 10 Minute School.