Gallery
CommunityExperience gallery management like never before with Filament. This feature-rich plugin offers many integration possibilities, ensuring a seamless fit into your application!
filament/
namespace. Review the source and install at your own risk. Found
malware or an unresolved security issue the author won't
address?
Report it
.
 Author:
Grzegorz Adamczyk
Author:
Grzegorz Adamczyk
Documentation
- ✨ Features
- 📚 Table of Contents
- Prerequisites
- Composer Installation Instructions
- Adding plugin CSS to your Filament theme CSS file
- Register the plugin in your Filament Panel
- 📝 RichEditor (TipTap)
- 🖼️ GalleryPicker Form Field
- 🏷️ Missing alt attribute indicator
- 🖼️ Watermarks
- 🔍 Lightbox (frontend)
- Configure the models used by the plugin:
- Configure general settings for the plugin:
- Configure image conversions used by the Spatie Media Library:
- Configure registration of resources, CSS, and Livewire components:
- Disable image optimizations
- 📝 Changelog
- 📞 Support
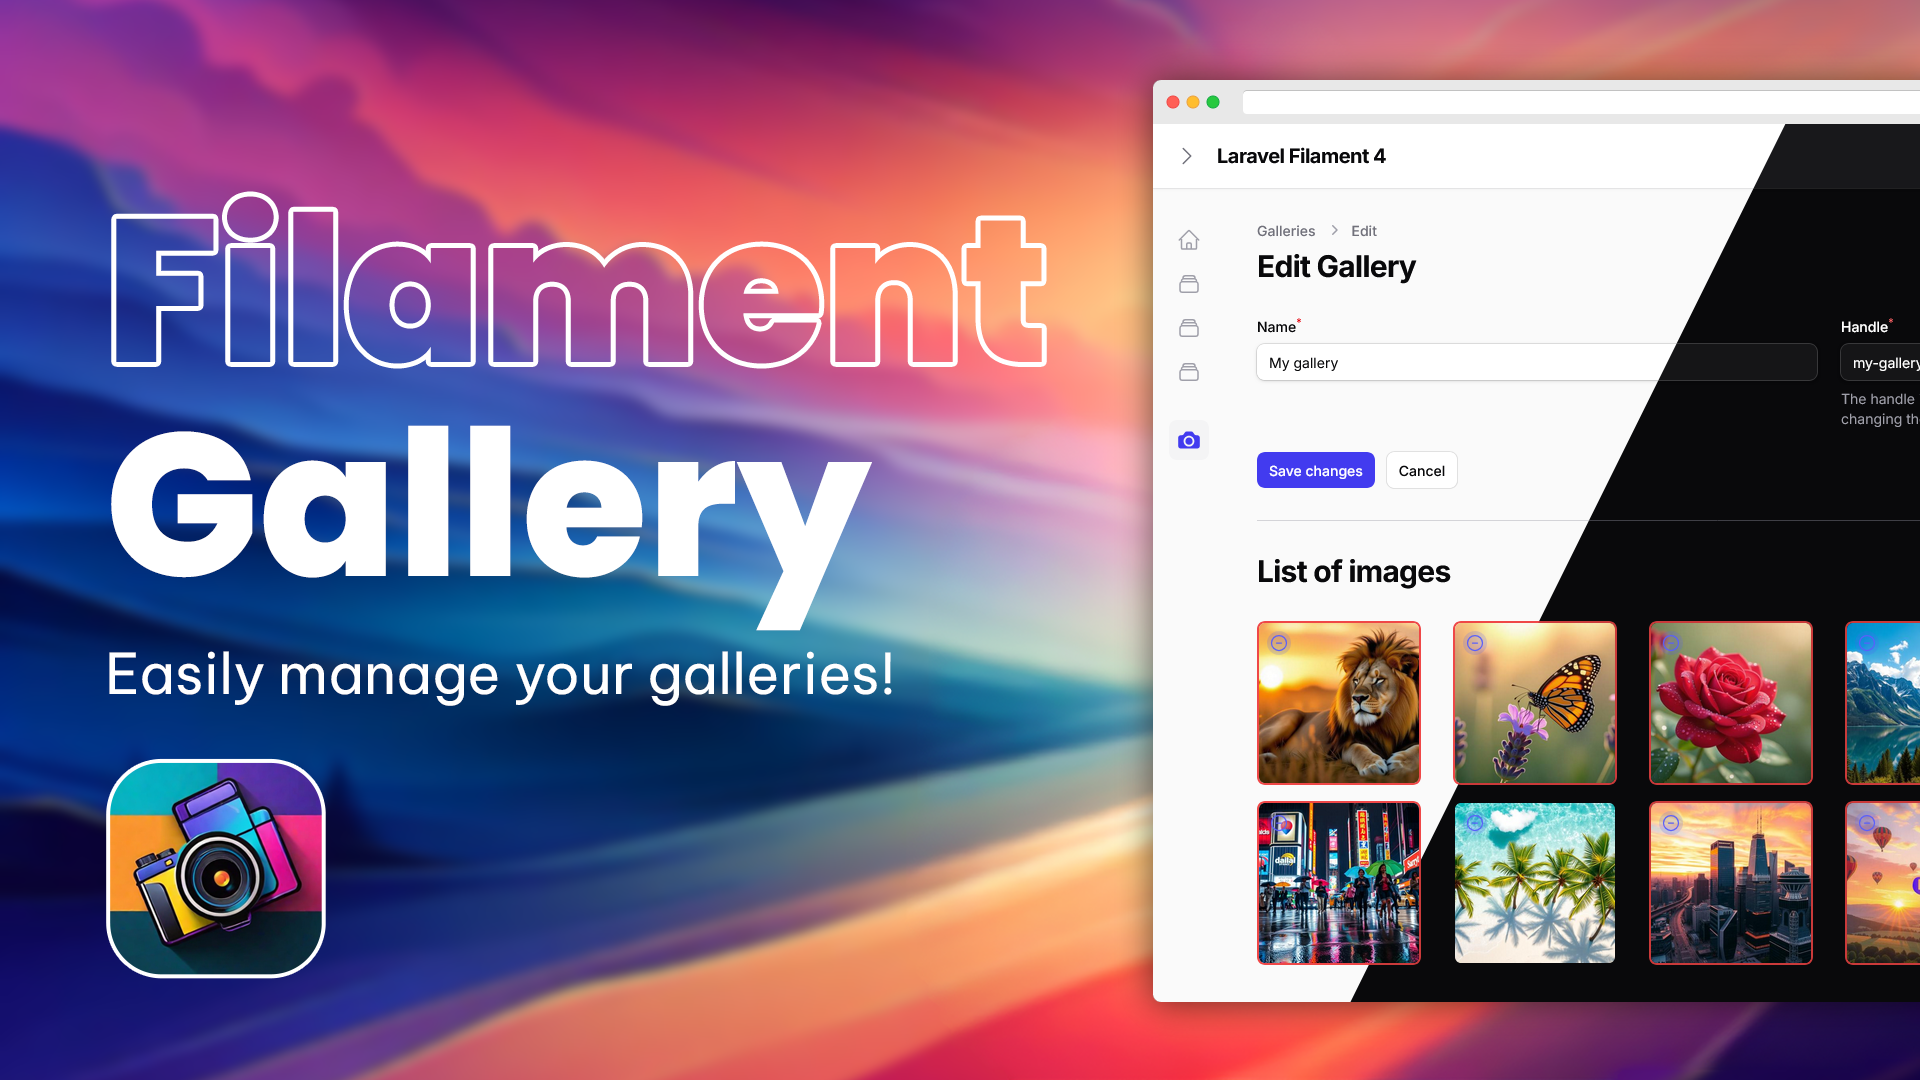
Unlock the full potential of galleries management with the Laravel Filament Gallery, now fully compatible with Filament 4.x This feature-rich solution is designed to streamline and enhance your gallery-related tasks with improved configuration options and exciting new features.
This plugin provides a comprehensive toolset for managing and displaying galleries on your website with ease and efficiency. It is designed to work seamlessly with the Filament Admin package, allowing you to take full advantage of its powerful features:
✨ New in Version 4.x
- Enhanced Configuration API: All configurations now use HasConfigurable traits for better flexibility and panel-specific settings
- Watermark Support: Add watermarks to your gallery images with configurable position and size
- Alt Text Indicators: Visual indicators when images are missing alt text or captions for improved accessibility
- Lightbox Configuration via Facade: Simplified lightbox configuration through the FilamentGallery facade
#✨ Features
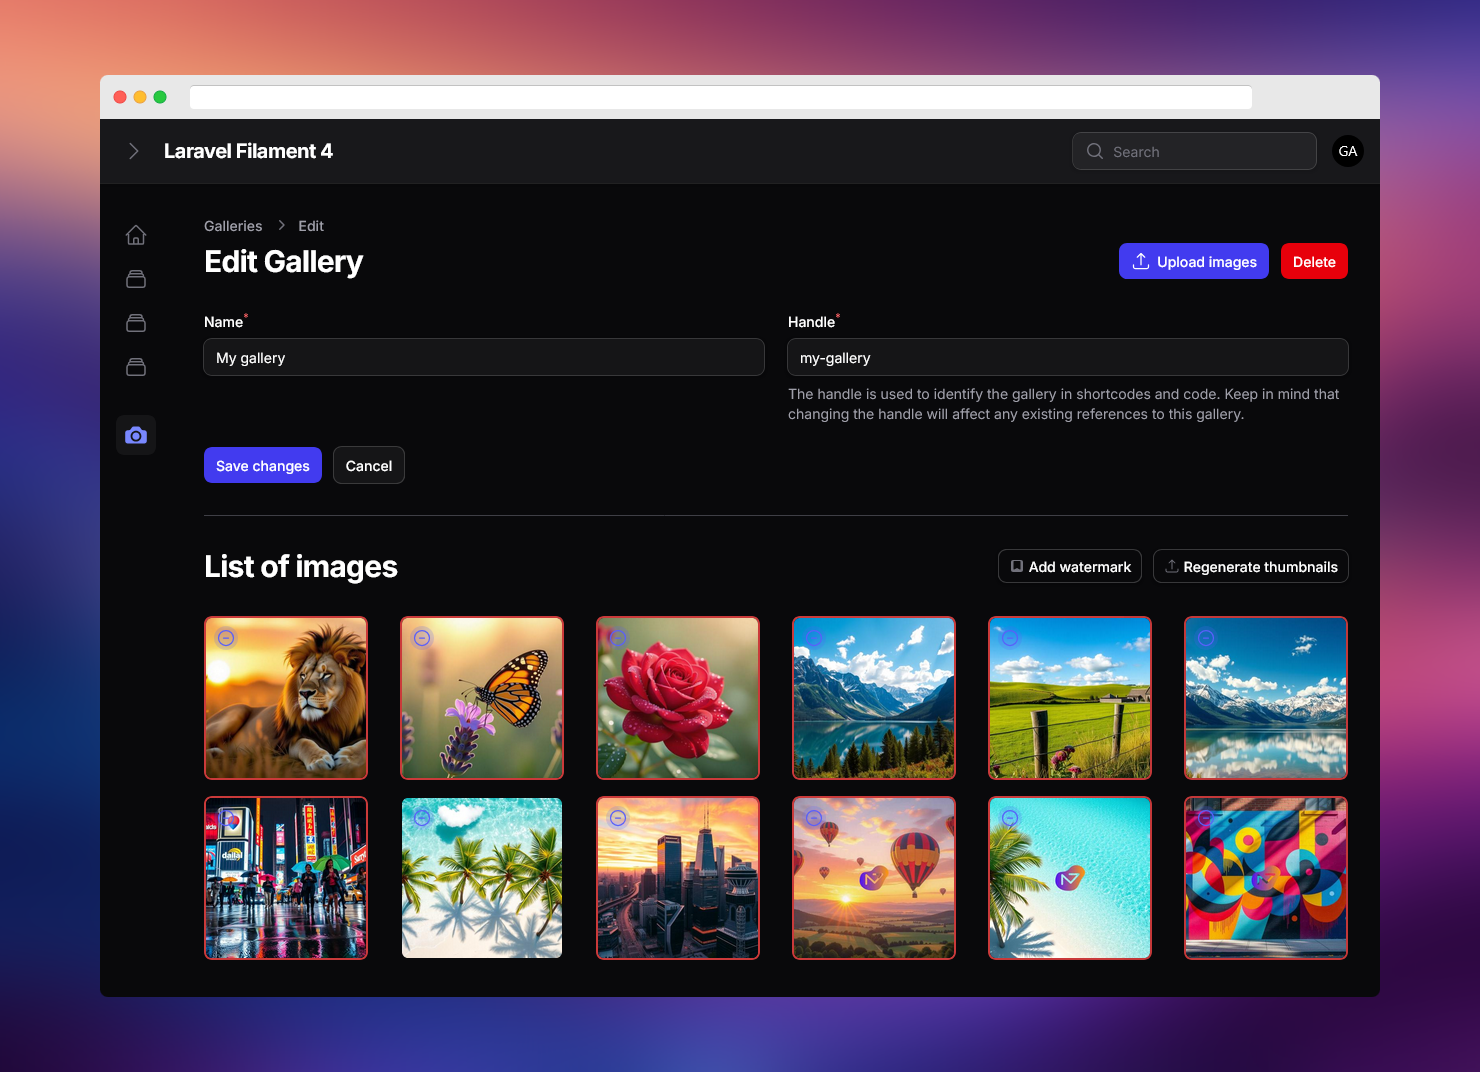
- Gallery Resource Page - Manage your galleries using the Filament Admin Panel. The plugin provides a dedicated resource page that allows you to create, edit, and delete galleries. You can also use the resource page to upload, edit, and delete images, as well as to reorder them using drag-and-drop functionality.
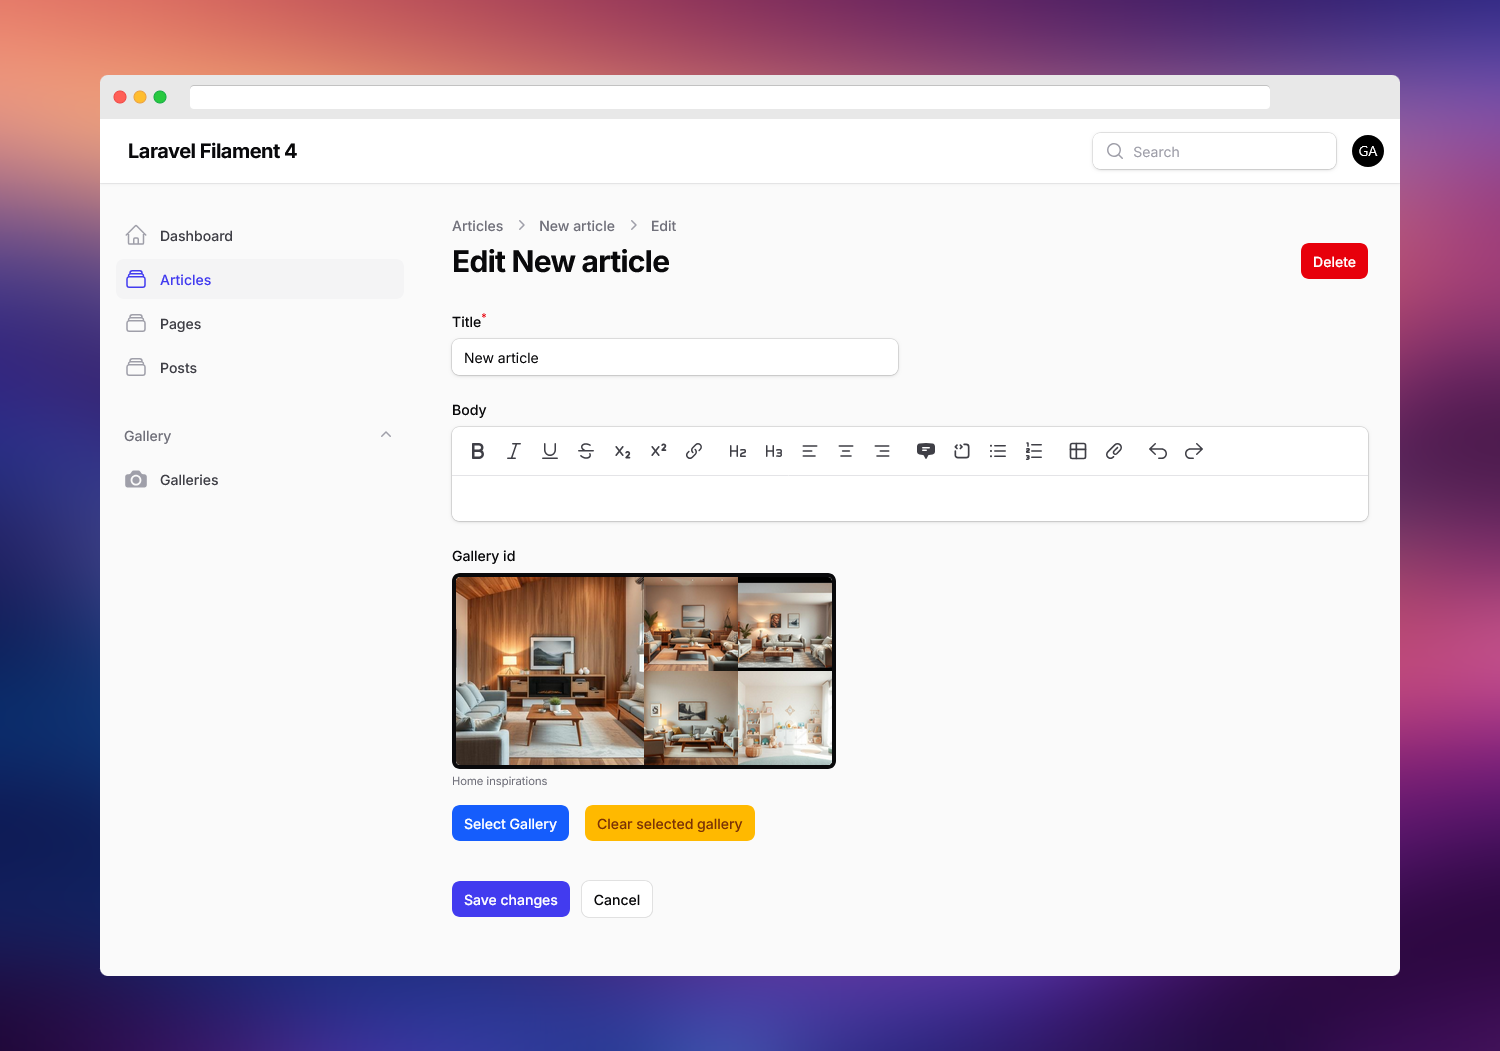
- Gallery Picker Form Field - provides a custom form field that allows you to select a gallery using a modal window. You can use this field in your resources to associate a gallery with a model.
- RichEditor (TipTap) Integration - The plugin provides a button that allows you to insert a gallery shortcode into the builtin Filament RichEditor (TipTap). You can use this button to easily add galleries to your content as a shortcode.
- Lightbox - The plugin provides a lightbox that allows you to display galleries on the frontend. You can use the lightbox to display galleries in your views, or you can use the provided Blade directives and helper functions to display galleries in your content.
- Watermarking - Add watermarks to your gallery images with configurable position and size, helping to protect your images from unauthorized use.
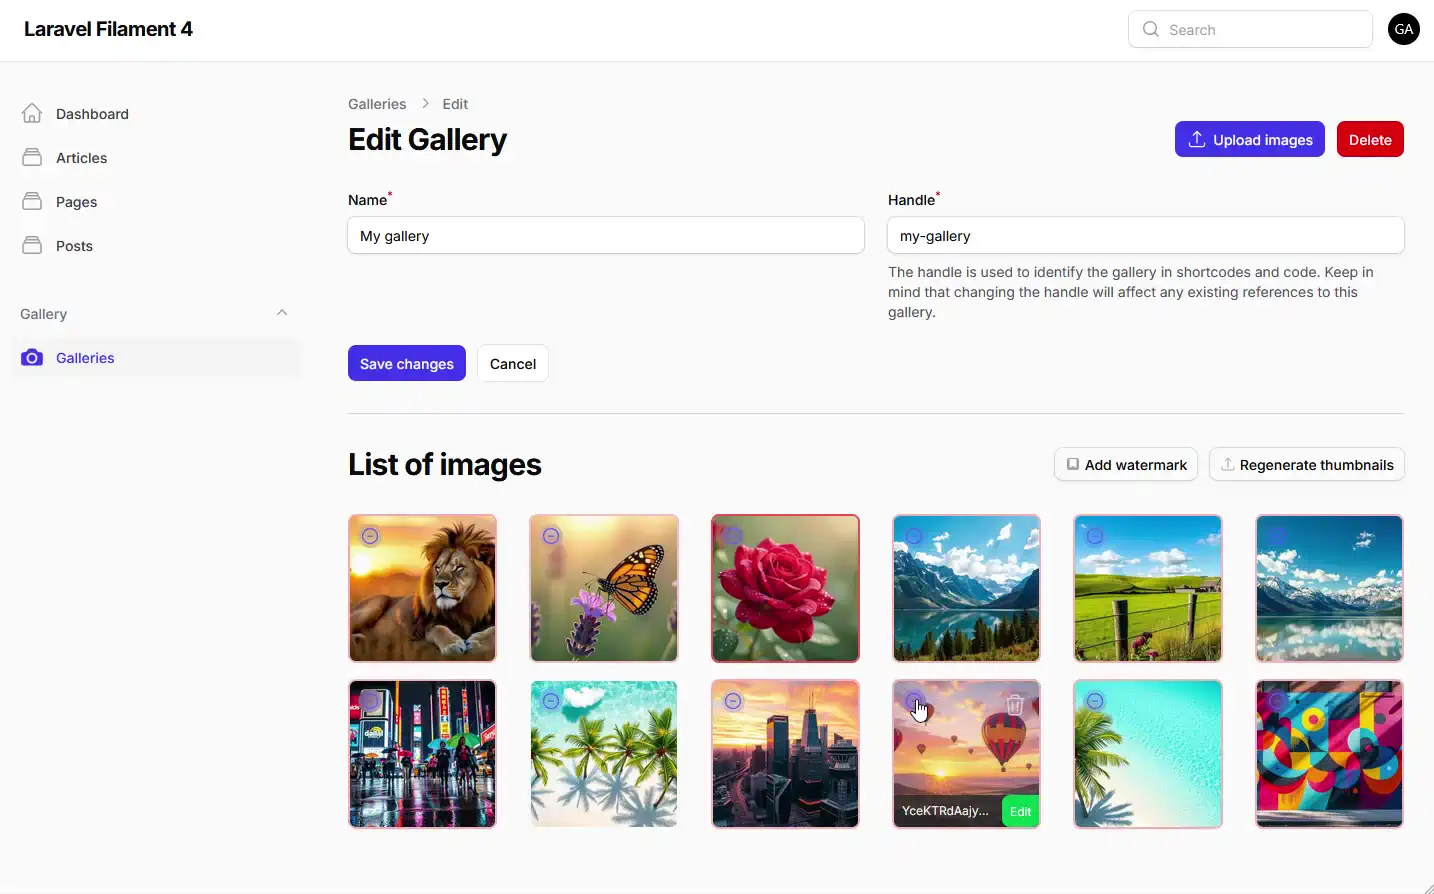
- Alt Text & Caption Indicators - Visual indicators when images are missing alt text, improving accessibility compliance and SEO optimization.
- Blade directives and custom helpers - The plugin provides Blade directives and custom helpers that allow you to display galleries in your views.
- Media conversions - customize the size and format of your images to suit your needs, with support for modern formats like WebP.
- Dark mode support - The plugin supports dark mode out of the box.
- Translations - The plugin is fully translatable. You can easily translate it into your language using the provided translations file. The plugin currently supports English, Polish and German.
- Highly customizable - You can easily customize the appearance of your galleries through the plugin's flexible configuration API, which allows for panel-specific settings.
| Light mode | Dark mode |
|---|---|
 |
 |
#📚 Table of Contents
To ensure these installation guidelines are effective, you must have the Filament Admin package properly installed and configured.
Additionally, please note that this package relies on the Spatie MediaLibrary package. For additional image optimizations and conversions, you should have the ImageMagick or GD PHP extensions installed on your server. If your web server does not have these extensions installed, you can still use the package, but have to disable the image optimization for each conversion in the config file.
#Prerequisites
You should have the Filament Admin v4.x package properly installed and configured.
⚠️ Important Plugin uses Spatie MediaLibrary package. If you already have it installed, you can skip this step.
To install Spatie Media Library run this command:
composer require "spatie/laravel-medialibrary"
You need to publish the migration to create the media table:
php artisan vendor:publish --provider="Spatie\MediaLibrary\MediaLibraryServiceProvider" --tag="medialibrary-migrations"
Then run the migration:
php artisan migrate
#Composer Installation Instructions
To add the package to your project using Composer, follow these steps:
- Start by including the package in your project's composer.json file within the repositories section:
{
  "repositories": [
    {
      "type": "composer",
      "url": "https://laravel-filament-gallery.composer.sh"
    }
  ],
}
- Then, request the package via the command line. During this process, you'll need to provide your email address as the username and your license key along with a colon (':') followed by the domain where you activated it as your password. This information will be provided from your Anystack account where you purchased the package.
Command to run in your terminal:
composer require naturalgroove/laravel-filament-gallery:
Loading composer repositories with package information
Authentication required (laravel-filament-gallery.composer.sh):
Username: [licensee-email]
Password: [license-key]
You will be prompted to provide your username and password. Your username will be your email address, and your password will be equal to your license key. If your license policy requires a fingerprint, you will need to append your fingerprint to your license key. For example, let's say you have the following licensee and license activation:
Contact email: your-email@example.com License key: 8c21df8f-6273-4932-b4ba-8bcc723ef500 Activation fingerprint: your-website-domain-address.com
After Composer installation, you will need to install the plugin. Best way to do it is to run the following command:
php artisan filament-gallery:install
This command will publish the migration and migrate the database and asks You for optional assets and config publishing.
#Adding plugin CSS to your Filament theme CSS file
⚠️ Important To ensure the plugin's admin interface displays correctly, you must add the following line to your Filament theme CSS file:
@import '../../../../vendor/naturalgroove/laravel-filament-gallery/resources/css/backend.css';
If You don't have a custom Filament theme CSS file, you can create one by following the Filament documentation.
#Register the plugin in your Filament Panel
Finally, you need to register the plugin for each panel you want to use it in. You can do this by adding the following code to your PanelProvider class:
use NaturalGroove\Filament\Gallery\FilamentGalleryPlugin;

$panel
    ->plugins([
        // ...other plugins
        FilamentGalleryPlugin::make()
        ])
    // ...other panel configuration
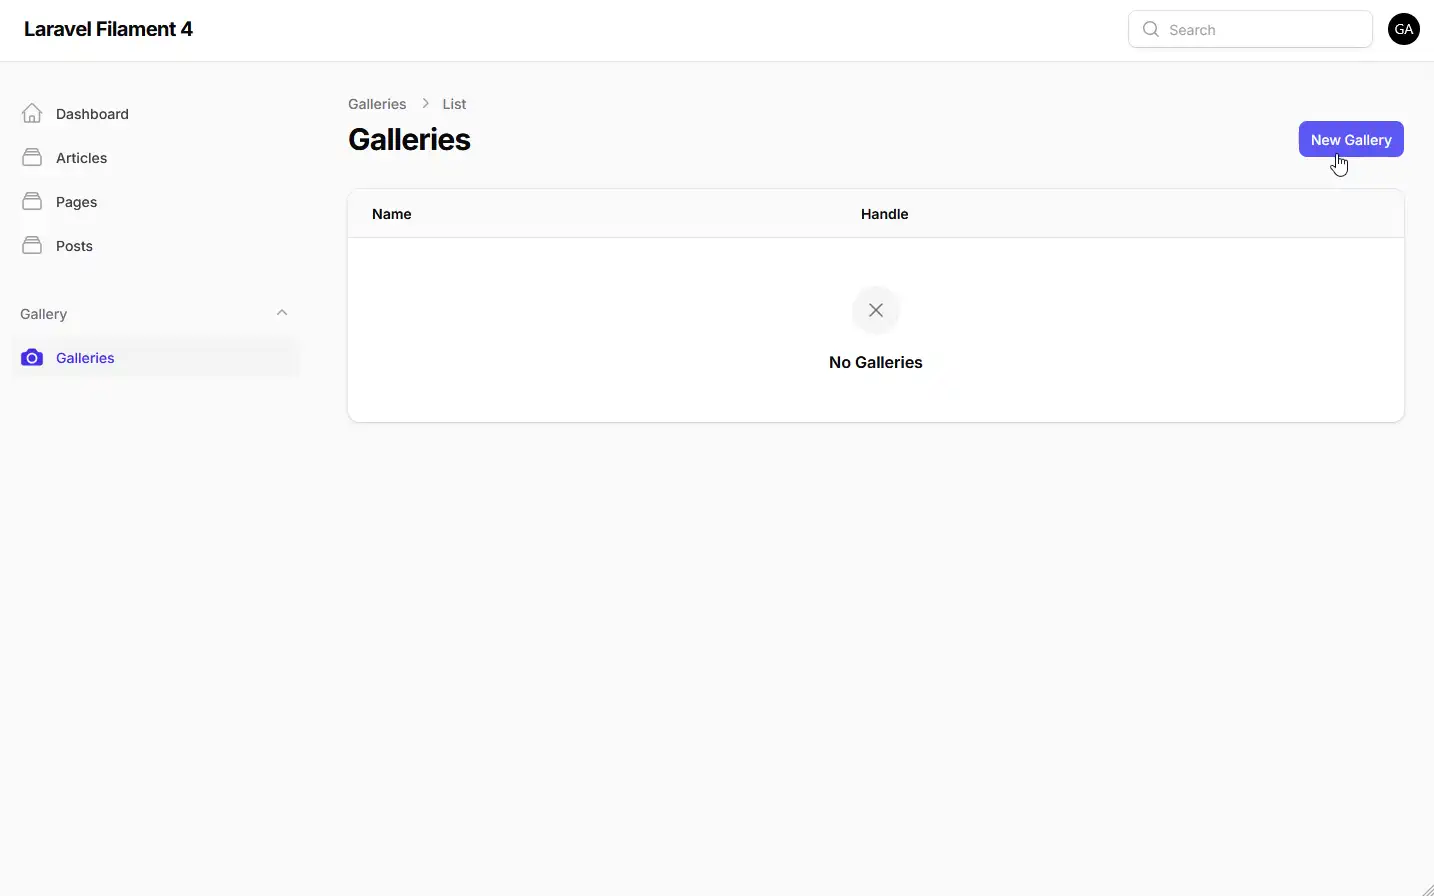
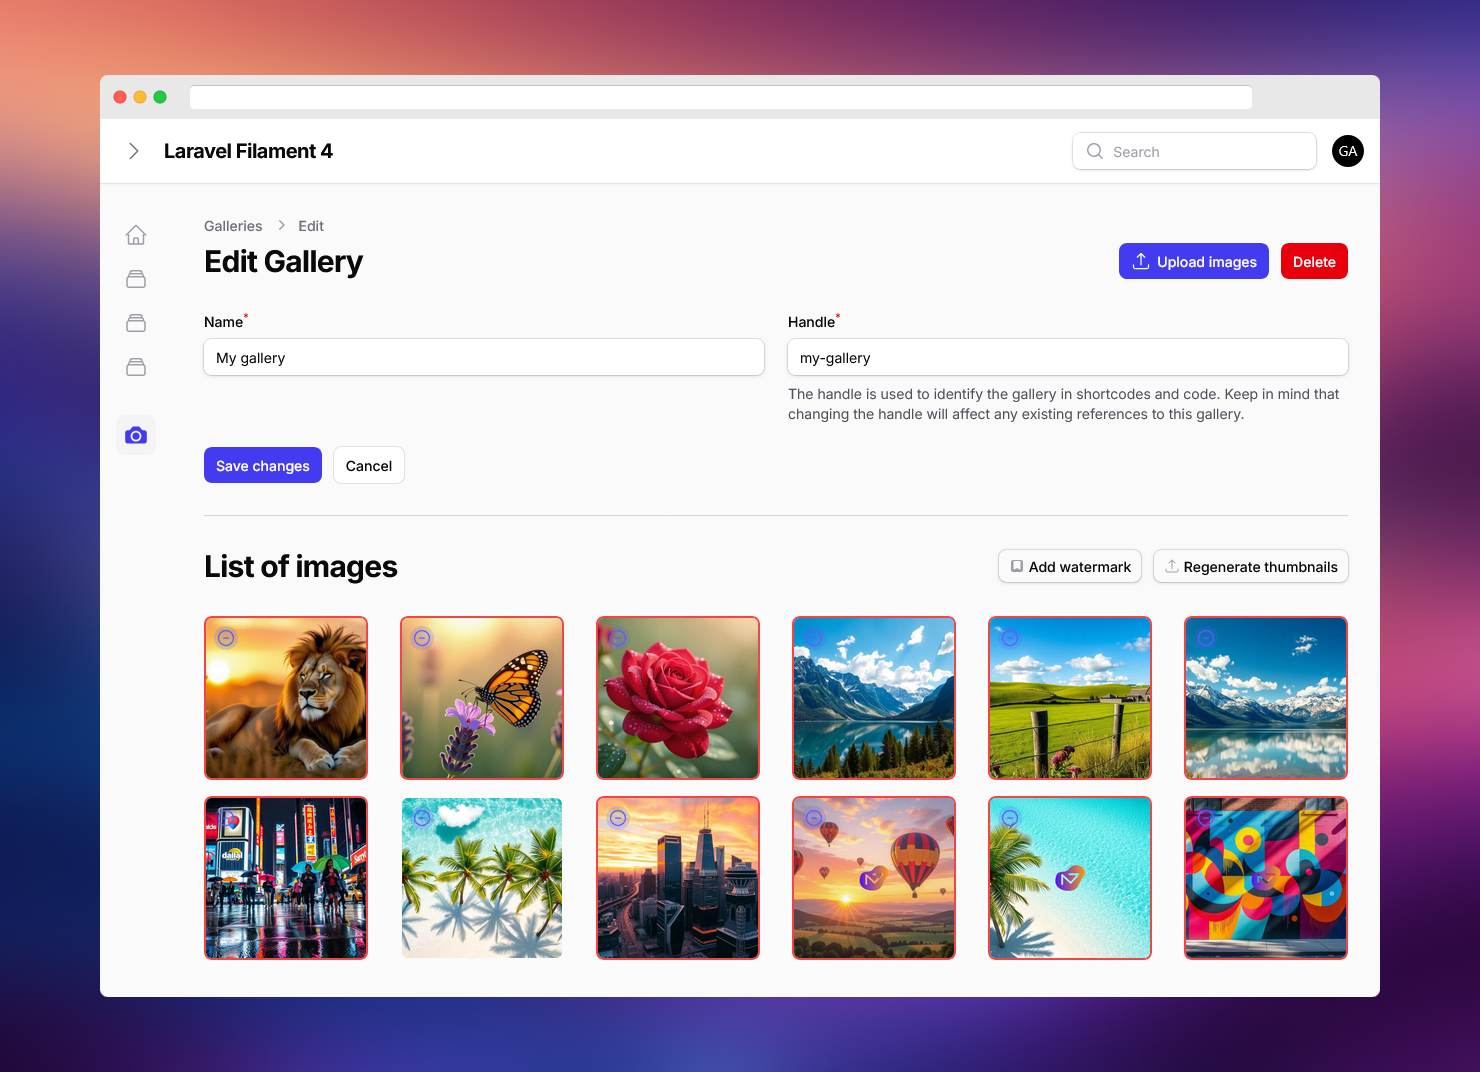
After installing the plugin, you can access the gallery resource page by clicking on the Galleries link in the sidebar menu. The gallery resource page allows you to create, edit, and delete galleries. You can also use the resource page to upload, edit, and delete images, as well as to reorder them using drag-and-drop functionality.
Each image in the gallery can be edited individually. You can change the caption and alternative name as well as its position in the gallery. You can also delete the image from the gallery.

This plugin offers a variety of integration options, allowing you to seamlessly incorporate it into your Filament Admin Panel and your app frontend.
#📝 RichEditor (TipTap)
Integration adds a button to the built in RichEditor toolbar that opens a modal window with a list of galleries. You can select a gallery and insert a gallery shortcode into the editor.

To enable the integration, you need to add to Form Schema the RichEditor field with configuration like this:
use NaturalGroove\Filament\Gallery\TipTap\Plugins\GalleryRichContentPlugin;

[...]
public static function configure(Schema $schema): Schema
{
    return $schema
        ->components([
            [...] // ...other form components
            RichEditor::make('content')
                ->plugins([
                    GalleryRichContentPlugin::make(),
                ])
                ->toolbarButtons(function (RichEditor $editor) {
                    return array_merge(
                        $editor->getDefaultToolbarButtons(),
                        [
                            'insertGalleryShortcode'
                        ],
                    );
                }),
        ]);
}
#🖼️ GalleryPicker Form Field
Filament Gallery plugin provides custom Form Field that allows you to select a gallery using a modal window. You can use this field in your resources to associate a gallery with a model.
There is a command that helps you add attribute to your model. You could simply run the following command:
php artisan filament-gallery:relation-migration YourModelName
This command will add gallery_id attribute to your model and create a migration for it.
You simply run the migration and you are ready to go!
Then run the migration:
php artisan migrate
In the next step you should add the following code to your model:
use NaturalGroove\Filament\Gallery\Concerns\HasGallery;

class YourModelName extends Model
{
    use HasGallery;
    [...]
}
This will add a relation to your model and you can easily access the gallery using $model->gallery attribute.
When your model is ready, you can add the GalleryPicker field to your resource form. To use the GalleryPicker field, you need to add it to your form schema like this:
use NaturalGroove\Filament\Gallery\Forms\Components\GalleryPicker;

[...]
public static function configure(Schema $schema): Schema
{
    return $schema
        ->components([
            [...]
            GalleryPicker::make('gallery_id')
                ->buttonLabel('Select Gallery') // optional custom button label
                ->columnSpanFull(),
        ]);
}
gallery_id is the name of the attribute that will be used to store the gallery ID in your model.
#🏷️ Missing alt attribute indicator
The plugin provides a visual indicator for images that are missing the alt attribute. This helps ensure that all images have appropriate alt text for accessibility and SEO purposes.
This feature is enabled by default. You can disable it using the altTextIndicatorEnabled method in the plugin configuration.
#🖼️ Watermarks
You can add watermarks to your gallery images with configurable position and size, helping to protect your images from unauthorized use.
Adding watermarks is enabled by default. You can configure the watermark settings using the watermarkConfig method in the plugin configuration.
Below is an example of how to configure the watermark and missing alt text indicator default settings:
use Spatie\Image\Enums\AlignPosition;

FilamentGalleryPlugin::make()
    // Enable or disable watermark feature
    ->addWatermarkEnabled(true)

    // Configure watermark settings
    ->watermarkConfig([
        'align-position' => AlignPosition::BottomRight,
        'percentage-width' => 15, // Width as percentage of original image
    ])

    // Enable or disable alt text indicator (shows warning when alt text is missing)
    ->altTextIndicatorEnabled(true);
The align-position can be one of the following:
AlignPosition::TopLeftAlignPosition::TopCenterAlignPosition::TopRightAlignPosition::CenterLeftAlignPosition::CenterCenterAlignPosition::CenterRightAlignPosition::BottomLeftAlignPosition::BottomCenterAlignPosition::BottomRight
#🔍 Lightbox (frontend)
⚠️ Note This integration with default settings uses Simplelightbox plugin.
⚠️ Note Lightbox integration uses Alpine.js. Make sure you have it installed and configured properly.
In version 4.x, lightbox configuration is managed through the FilamentGallery facade, providing a more flexible and intuitive way to configure the lightbox for your frontend.
First, publish the plugin's lightbox assets:
php artisan vendor:publish --tag="filament-gallery-lightbox"
You can then configure the lightbox in your AppServiceProvider or any other service provider boot method:
use NaturalGroove\Filament\Gallery\Facades\FilamentGallery;

public function boot()
{
    // Configure lightbox settings
    FilamentGallery::registerLightboxCss(true)
        ->registerLightboxJs(true)
        ->lightboxConversion('medium')  // Use the 'medium' conversion for lightbox thumbnails
        ->lightboxViews([
            'simple' => 'filament-gallery::gallery.frontend.simple',
            'masonry' => 'your-views.lightbox.masonry',
        ])
        ->lightboxDefaultView('masonry');
}
The simplest way to use the lightbox is to add the following code to your layout file right before the closing </body> tag:
[...]
    @stack('filament-gallery-scripts')
    @stack('filament-gallery-styles')
</body>
</html>
Alternatively, you can add the following code to your main CSS and JS files:
@import "../../vendor/naturalgroove/laravel-filament-gallery/resources/dist/filament-gallery-lightbox.css";
import '../../vendor/naturalgroove/laravel-filament-gallery/resources/dist/filament-gallery-lightbox.js';
There is one view provided out of the box: filament-gallery::gallery.frontend.simple. This is the default view used by the lightbox. You can customize it or create your own views.
To create a custom view, simply create a new Blade view file in your resources/views directory and reference it in the lightbox configuration as shown above.
To display a gallery on the frontend, you need to use one of the following methods:
#Blade directives
@filamentGallery($gallery_id, $view)
where $gallery_id is the ID of the gallery you want to display.
$view parameter is optional and allows you to specify the view that will be used to render the gallery. If you don't specify the view, the default view configured in the config file will be used.
@renderWithGallery($content, $view)
where $content is the content that contains gallery shortcodes.
$view parameter is optional and can be used as described above.
#Helper functions
{{ filament_gallery($gallery_id, $view) }}
where $gallery_id is the ID of the gallery you want to display.
$view parameter is optional and can be used as described above.
{{ render_with_gallery($content, $view) }}
where $content is the content that contains gallery shortcodes.
$view parameter is optional and can be used as described above.
In version 4.x, most configuration options are now managed through traits in the plugin instance rather than through a config file. This allows for more flexibility and panel-specific configuration.
#Configure the models used by the plugin:
FilamentGalleryPlugin::make()
    // Set custom model classes (must implement respective interfaces)
    ->galleryModel(CustomGallery::class)
    ->galleryImageModel(CustomGalleryImage::class)
#Configure general settings for the plugin:
FilamentGalleryPlugin::make()
    // Set a custom media collection name used by Spatie Media Library
    ->mediaCollectionName('custom-gallery-collection')

    // Configure the width of the edit image slideover (xs, sm, md, lg, xl, 2xl, 3xl, 4xl, 5xl, 6xl, 7xl, full)
    ->editImageSlideoverWidth('xl');
#Configure image conversions used by the Spatie Media Library:
FilamentGalleryPlugin::make()
    // Set configuration for an existing conversion
    ->setMediaConversion('thumb', [
        'enabled' => true,
        'optimize' => true,
        'width' => 100,
        'height' => 100,
        'format' => 'webp',
    ])

    // Add a new custom conversion
    ->setMediaConversion('custom', [
        'enabled' => true,
        'optimize' => true,
        'width' => 500,
        'height' => 500,
        'format' => 'webp',
    ]);
#Configure registration of resources, CSS, and Livewire components:
FilamentGalleryPlugin::make()
    // Register the gallery resource
    ->registerResource(true)

    // Register livewire components
    ->registerLivewireComponents(true)

    // Register gallery resource navigation
    ->registerNavigation(true)

    // Configure custom resource class
    ->resourceClass(CustomGalleryResource::class)

    // Configure livewire component classes
    ->manageGalleryClass(CustomManageGallery::class)
    ->editImageClass(CustomEditImage::class)
    ->uploadImagesClass(CustomUploadImages::class)
    ->pickGalleryClass(CustomPickGallery::class)
    ->addWatermarksClass(CustomAddWatermarks::class);
#Disable image optimizations
If you don't have ImageMagick or GD PHP extensions installed on your server (some shared hosting), you can still use the package, but you have to disable the image optimization for each conversion using the HasConfigurableConversions trait:
FilamentGalleryPlugin::make()
    ->setMediaConversion('thumb', [
        'enabled' => true,
        'optimize' => false,  // Disable optimization
        'width' => 100,
        'height' => 100,
    ])
    ->setMediaConversion('medium', [
        'enabled' => true,
        'optimize' => false,  // Disable optimization
        'width' => 300,
        'height' => 300,
    ])
    ->setMediaConversion('large', [
        'enabled' => true,
        'optimize' => false,  // Disable optimization
        'width' => 800,
        'height' => 800,
    ]);
⚠️ Note Make sure to set
'optimize' => falsefor each conversion you configure.
#If you still want to publish the default configuration file for reference:
php artisan vendor:publish --tag="filament-gallery-config"
If you want to translate the plugin into your language, you can publish the translations file using the following command:
php artisan vendor:publish --tag="filament-gallery-translations"
#📝 Changelog
Please see CHANGELOG for more information on what has changed recently.
#📞 Support
If you have a question or feature request, please e-mail me at filament-gallery@netseven.dev.
Also you can use the Discord Channel to ask questions and get support.
All ideas and suggestions are welcome.
The author
From the same author
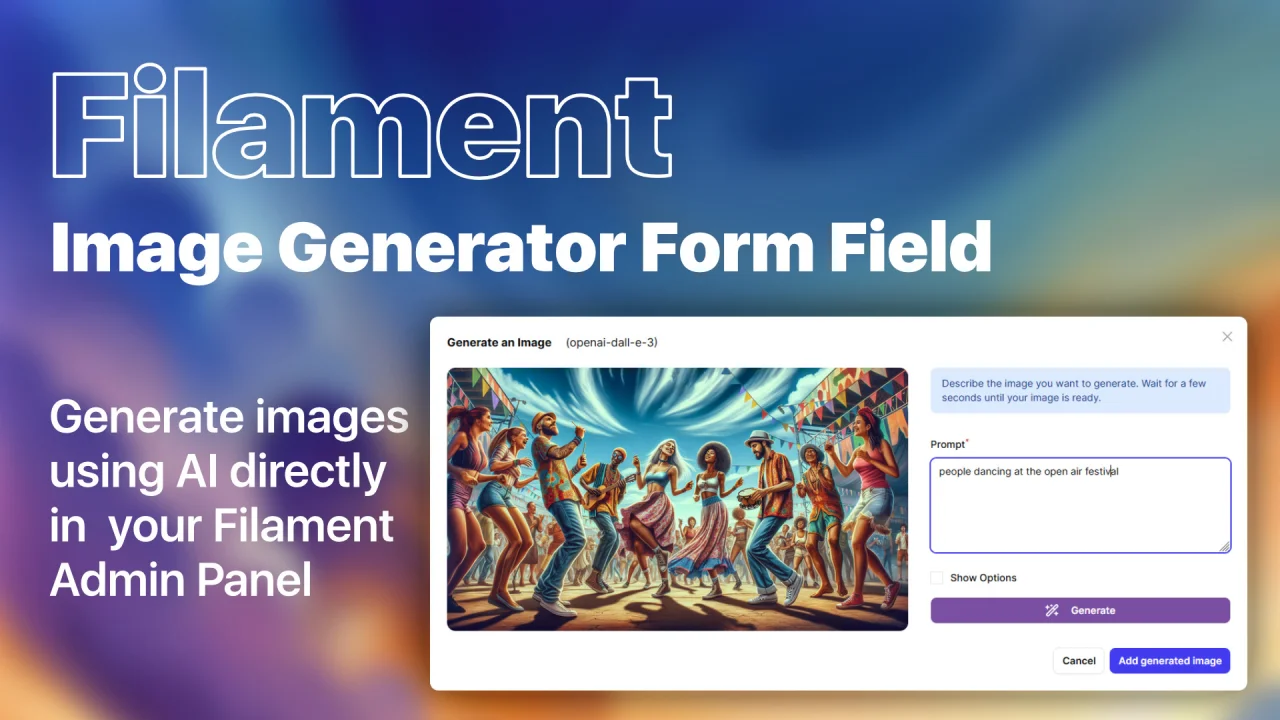
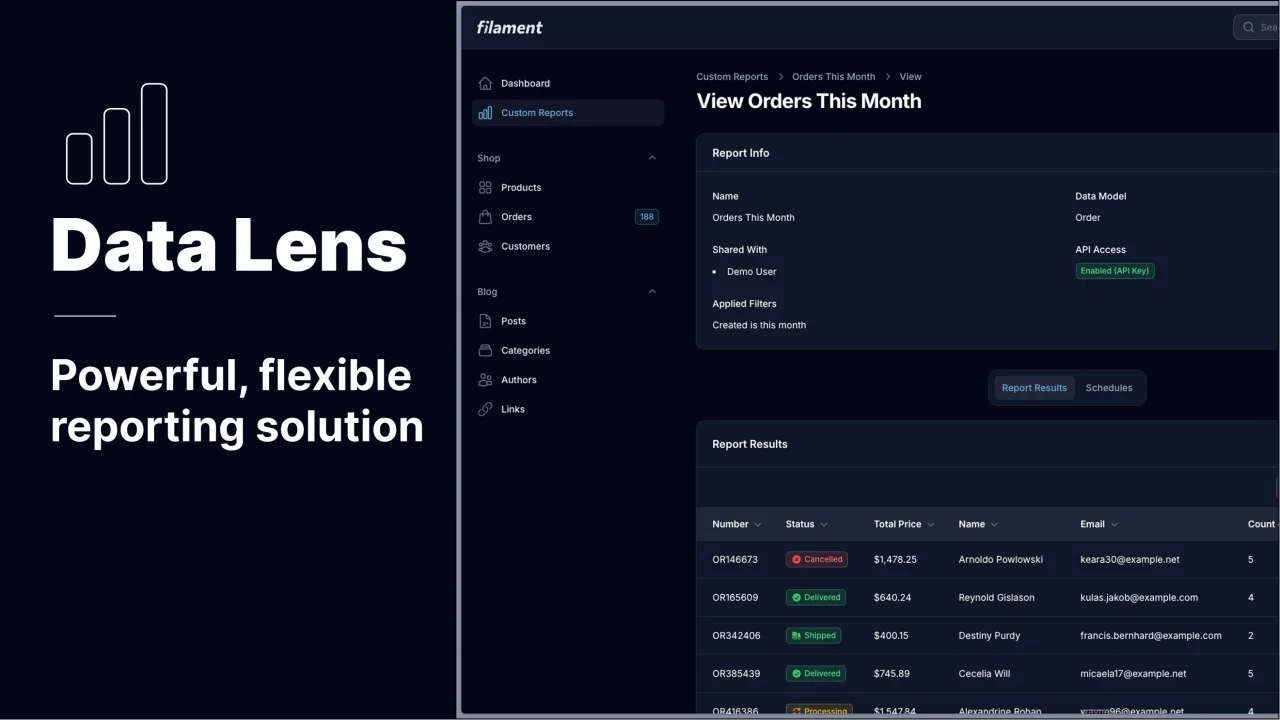
Image Generator Field
Generate images using AI models directly in your Filament Admin Panel!
Author:
Grzegorz Adamczyk

Rich Editor HTML Source with AI
HTML source view for Filament 4.x Rich Editor with AI-powered content transformation and cleanup
Author:
Grzegorz Adamczyk
Featured Plugins
A selection of plugins curated by the Filament team

Custom Dashboards
Let your users build and share their own dashboards with a drag-and-drop interface. Define your data sources in PHP and let them do the rest.
 Filament
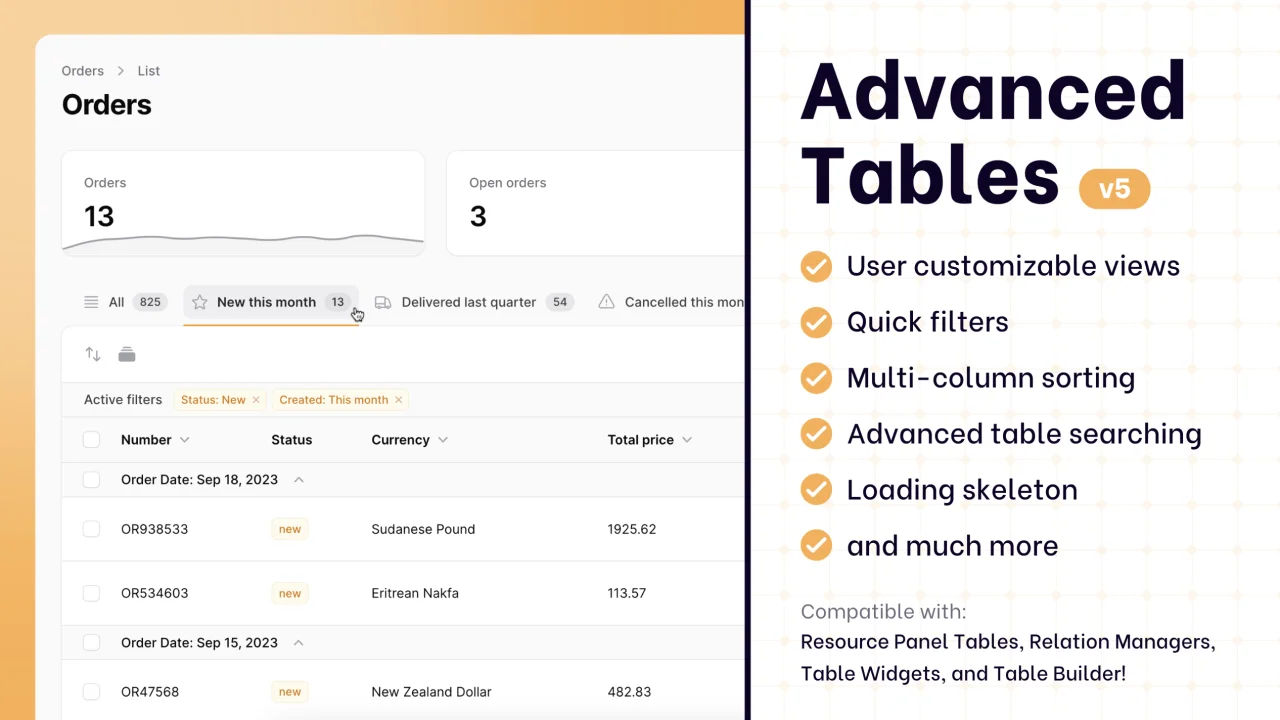
Advanced Tables (formerly Filter Sets)
Supercharge your tables with powerful features like user-customizable views, quick filters, multi-column sorting, advanced table searching, convenient view management, and more. Compatible with Resource Panel Tables, Relation Managers, Table Widgets, and Table Builder!
 Kenneth Sese

Blueprint
Filament Blueprint is a premium Laravel Boost extension that helps AI agents produce accurate, detailed implementation plans and security reports for Filament apps.
Filament