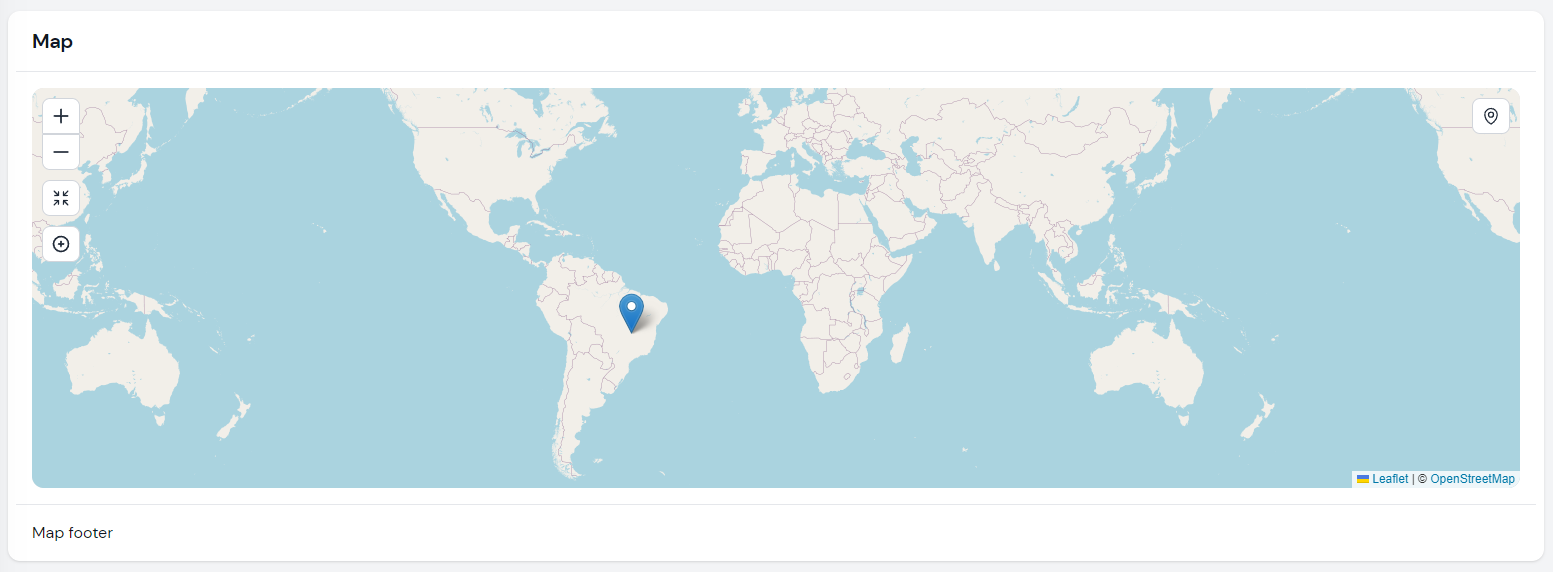
Maps
Render map widgets using Leaflet with Filament Actions support.
 Author:
Danilo Andrade
Author:
Danilo Andrade
Documentation
- Installation
- Usage
- Map Configuration
- Tile Layers
- Actions
- Markers
- Polylines
- Polygones
- Rectangles
- Circles
- Images
- Credits
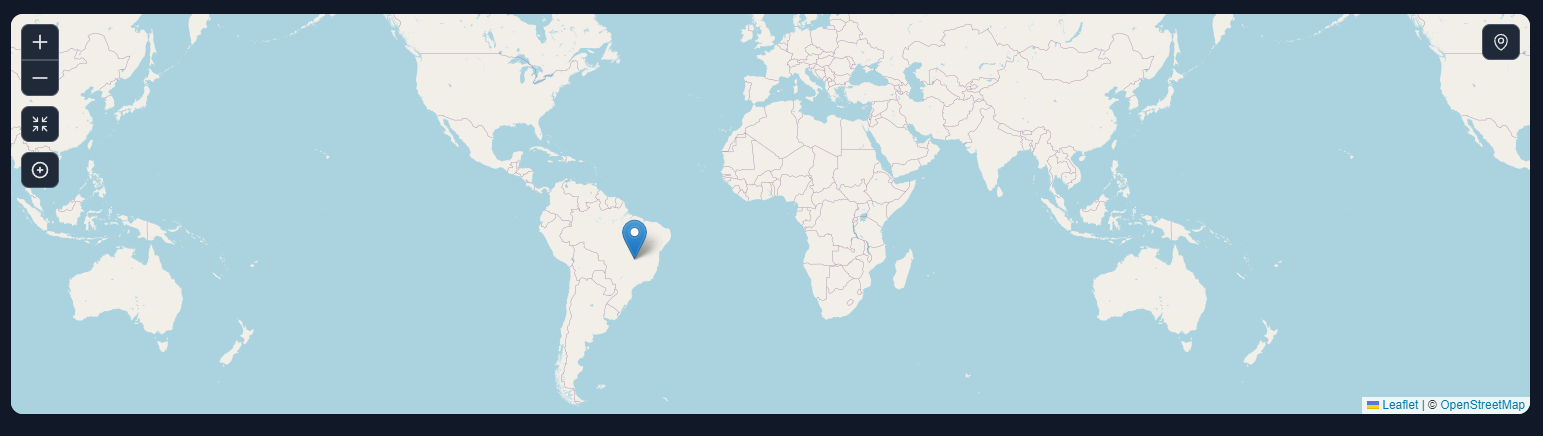
Render map widgets using Leaflet.
- Support for multiple maps on the same page
- Built-in actions:
CenterMapAction,ZoomAction,FullpageActionand ,FullscreenAction - Add Filament Actions directly on the as map control buttons
- Multiple layers support. A DarkModeTile layer is included.
- Marker clustering support
Note For Filament 2.x use 2.x branch
#Installation
composer require webbingbrasil/filament-maps
#Usage
Create a widget class and extend Webbingbrasil\FilamentMaps\Widgets\MapWidget:
use Webbingbrasil\FilamentMaps\Actions;
use Webbingbrasil\FilamentMaps\Marker;
use Webbingbrasil\FilamentMaps\Widgets\MapWidget;
class Map extends MapWidget
{
protected int | string | array $columnSpan = 2;
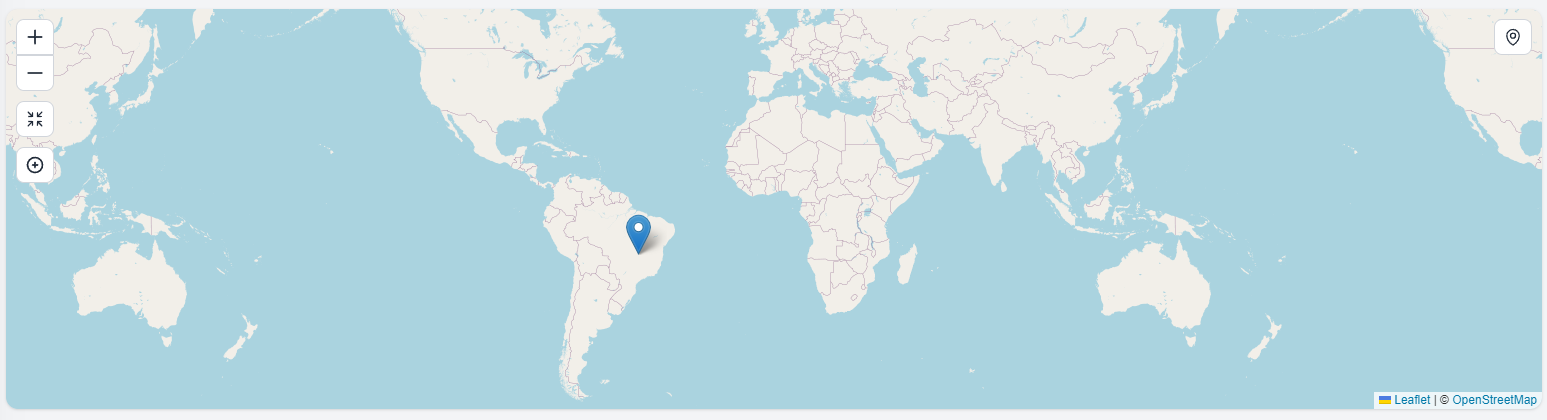
protected bool $hasBorder = false;
public function getMarkers(): array
{
return [
Marker::make('pos2')->lat(-15.7942)->lng(-47.8822)->popup('Hello Brasilia!'),
];
}
public function getActions(): array
{
return [
Actions\ZoomAction::make(),
Actions\CenterMapAction::make()->zoom(2),
];
}
}
If you create a new widget using the
make:filament-widgetcommand, remember to remove the view created along with it otherwise the map will not be rendered.
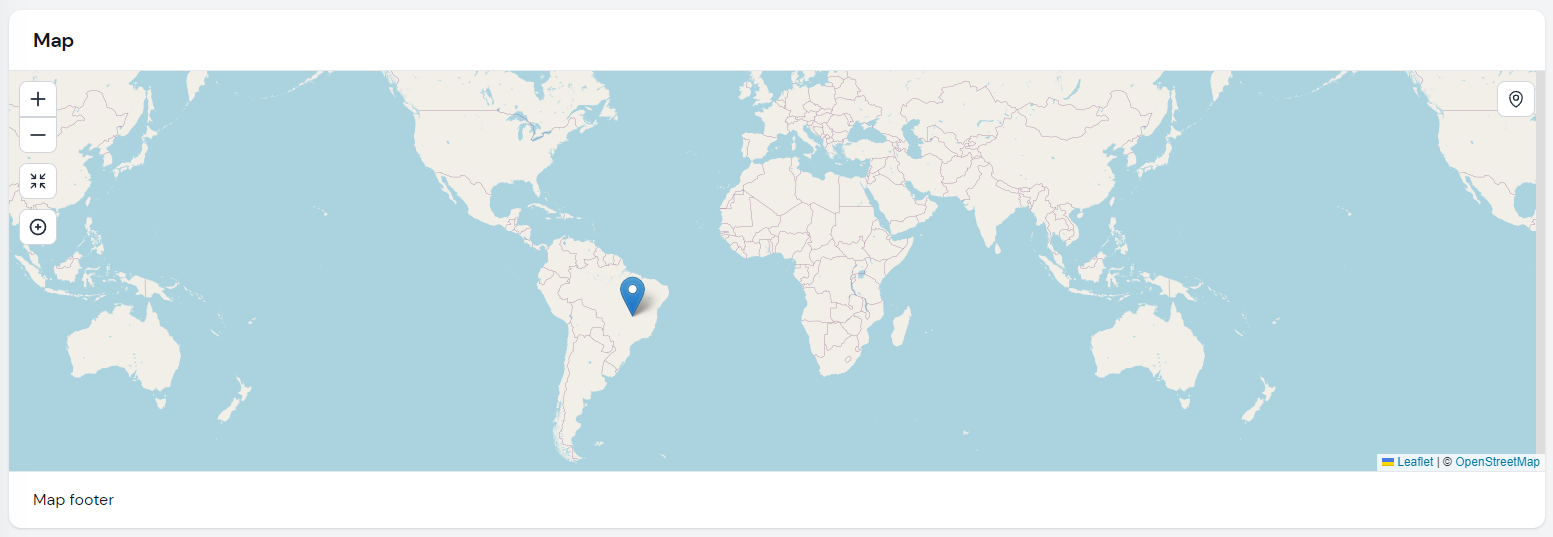
#Map Configuration
For some configuration its possible to use properties:
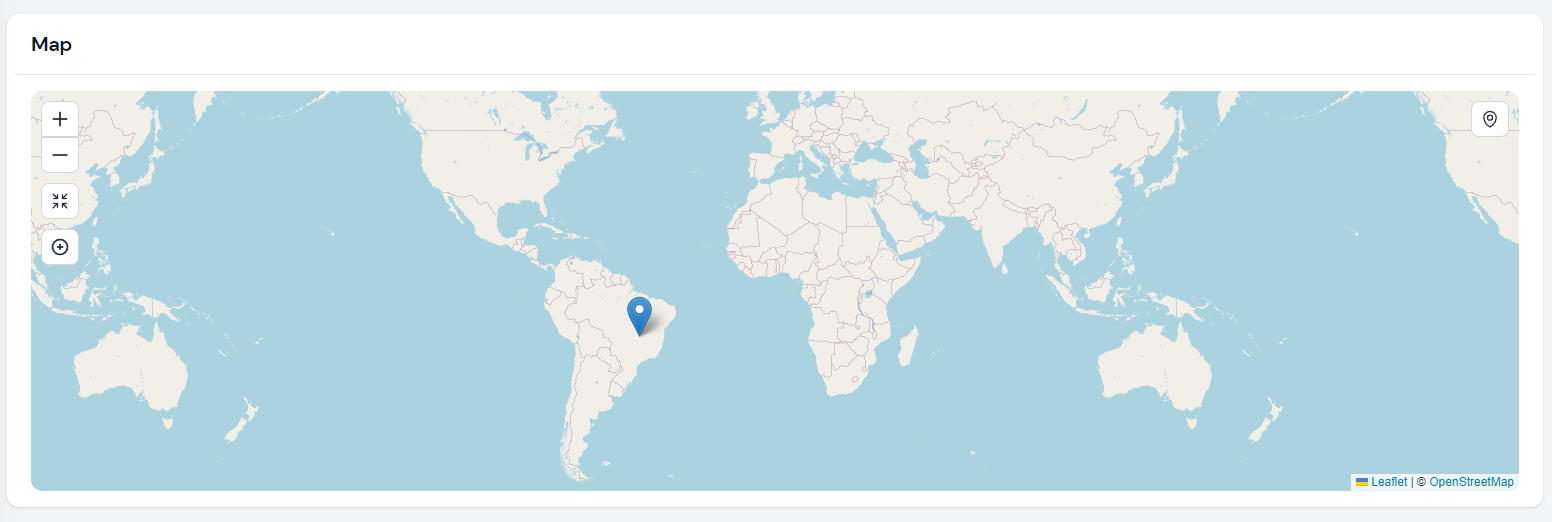
$mapOptions: array with options available on Leaftlet. See Leaflet documentation for more details.$tileLayerUrl: string or array with tile layer url`s. Default to OpenStreetMap.$hasBorder: show a border around the map. Default istrue.$rounded: show a rounded border around the map. Default istrue.$height: height of the map. Default is400px.$heading: set the heading of the map.$footer: set the footer of the map.$fullpage: show the map in fullpage mode. Default isfalse.
But you can also use the setUp method if you need more control:
public function setUp(): void
{
    $this
        ->tileLayerUrl(...)
        ->height(..)
        ->rounded(..)
        ->mapOptions(..)
        ->mapMarkers([
            ...
        ])
        ->fitBounds([
            [lat, lng],
            [lat, lng]
            ...
        ])
        ->actions([
            ..
        ]);
}
The
setUpmethod is called onmountof the widget. See livewire lifecycle hooks for more information.
#Tile Layers
The map uses OpenStreetMap tiles by default, but you can change it to use any other provider using $tileLayerUrl property or tileLayerUrl method. It's recommended to also use the tileLayerOptions to set correct attributions.
#Multiple Tile Layers
You can also use multiple tile layers:
protected string | array  $tileLayerUrl = [
    'OpenStreetMap' => 'https://{s}.tile.openstreetmap.org/{z}/{x}/{y}.png',
    'OpenTopoMap' => 'https://{s}.tile.opentopomap.org/{z}/{x}/{y}.png'
];

protected array $tileLayerOptions = [
    'OpenStreetMap' => [
        'attribution' => 'Map data © <a href="https://openstreetmap.org">OpenStreetMap</a> contributors',
    ],
    'OpenTopoMap' => [
        'attribution' => 'Map data © <a href="https://openstreetmap.org">OpenStreetMap</a> contributors, SRTM | Map style © <a href="https://opentopomap.org">OpenTopoMap</a> (<a href="https://creativecommons.org/licenses/by-sa/3.0/">CC-BY-SA</a>)',
    ],
];
And you can use a action to change the tile layer:
Actions\Action::make('mode')
                ->icon('filamentmapsicon-o-square-3-stack-3d')
                ->callback('setTileLayer(mode === "OpenStreetMap" ? "OpenTopoMap" : "OpenStreetMap")'),
#Dark Mode
If you want to use a dark mode tile layer, you can use the HasDarkModeTiles trait. This trait will automatically set two tiles layers and listen Filament dark-mode-toggled event. You can change the default tile layers using the $lightModeTileLayerUrl and $darkModeTileLayerUrl properties.
#Actions
You can add actions to the map widget. Actions are buttons that can be clicked to perform an action using a JS callback. You can create your own actions or use the ones provided by the package.
#Zoom Action
The ZoomAction action will add a button to the map that will zoom in or out the map. You can set the zoom level using the zoom() method:
use Webbingbrasil\FilamentMaps\Actions;
Actions\ZoomAction::make()->zoom(2), // Zoom in/out 2 levels
#Center Map Action
This action will center the map on a specific position.
use Webbingbrasil\FilamentMaps\Actions;

public function getActions(): array
{
    return [
        Actions\CenterMapAction::make()->centerTo([51.505, -0.09])->zoom(13),
    ];
}
You can also center the map on user position:
Actions\CenterMapAction::make()->centerOnUserPosition()->zoom(13)
Note: The center on user position feature will only work if the user browser supports Navigator.geolocation. Also, the user must be on a secure context (HTTPS) and needs to allow access to the location.
#Fit Bounds
You can use fitBounds() to adjusts the zoom level and center of the map to show a given geographical area
Actions\CenterMapAction::make()->fitBounds([
   [lat, lng],
   [lat, lng],
])
You can pass multiple points to be used in fitBounds or use the initial bounderies configured in setUp()
public function setUp(): void
{
    $this->fitBounds([
        [lat, lng],
        [lat, lng],
        ...
    ]);
}

public function getActions(): array
{
    return [
        CenterMapAction::make()->fitBounds($this->getFitBounds()),
    ];
}
#Full Page or Full Screen Action
You can add a button to the map to show it in full page or full screen mode.:
use Webbingbrasil\FilamentMaps\Actions;
Actions\FullpageAction::make()
Actions\FullscreenAction::make()
#Custom Action
You can create your own actions using Webbingbrasil\FilamentMaps\Actions\Action.
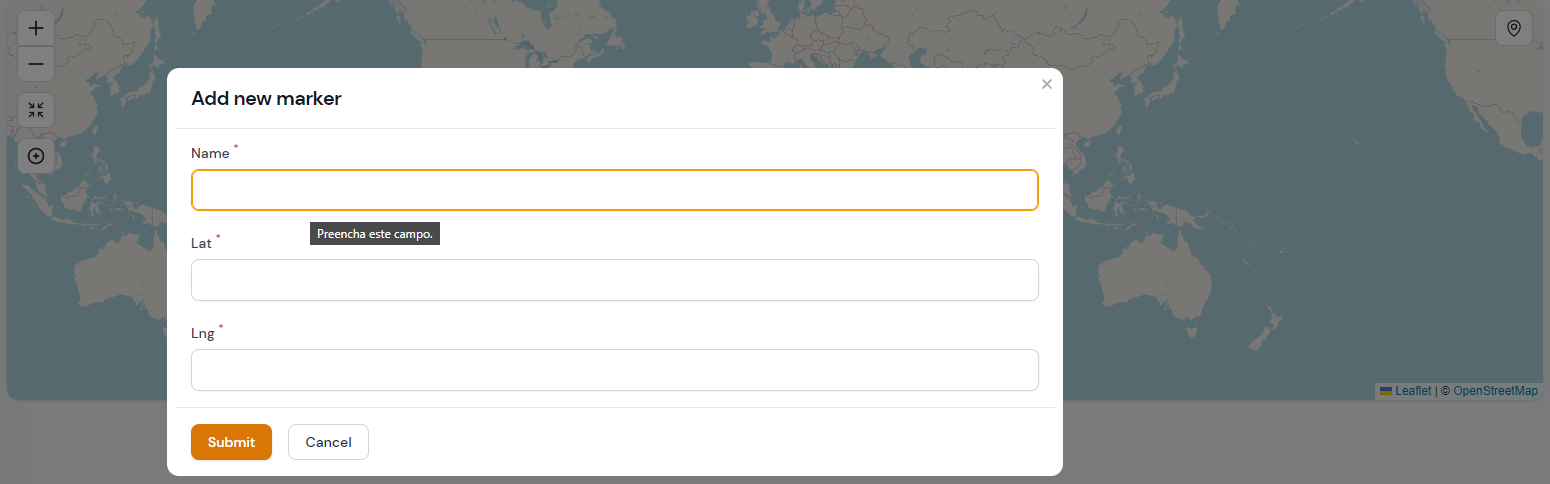
For example, a action to add new markers:
use Webbingbrasil\FilamentMaps\Actions;

Actions\Action::make('form')
        ->icon('filamentmapsicon-o-arrows-pointing-in')
        ->form([
            Forms\Components\TextInput::make('name')
                ->label('Name')
                ->required(),
            Forms\Components\TextInput::make('lat')
                ->label('Latitude')
                ->required(),
            Forms\Components\TextInput::make('lng')
                ->label('Longitude')
                ->required(),
        ])
        ->action(function (array $data, self $livewire) {
            $livewire
                ->addMarker(
                    Marker::make(Str::camel($data['name']))
                        ->lat($data['lat'])
                        ->lng($data['lng'])
                        ->popup($data['name'])
                )
                ->centerTo(location: [$data['lat'], $data['lng']], zoom: 13)
        })
In this example we use addMarker() method to add a new marker dynamically and centerTo() to set new map center and zoom level.
You can manipulate markers data using:
$liveWire->mapMarkers(array $markers); // update the markers
$livewire->addMarker(Marker $marker); // add a new marker
$livewire->removeMarker(string $id); // remove a marker
$livewire->updateMarker(string $id, Marker $marker); // update a marker
Note: Markers need to have a unique name. If you try to add a marker with the same name as an existing one, the existing one will be replaced.
#Using JS
This approach is useful if you want to use a custom javascript to manipulate the map without using Livewire.
Actions\Action::make('center')
    ->alpineClickHandler(<<<JS
        map.setView([0,0], 2)
    JS)
Use
mapproperty to access the Leaflet instance on your action handler.
#Action Position
You can set the position of the action using position() method:
$this
    ->actions([
        Actions\CenterMapAction::make()->position('topright'),
    ])
}
#Action Icon
You can set the icon of the action using icon() method:
Actions\Action::make()->icon('heroicon-o-home')
#Markers
You can add markers to the map widget. Markers are points on the map that can be clicked to open a info popup or execute a JS callback.
use Webbingbrasil\FilamentMaps\Marker;

$this
    ->mapMarkers([
        Marker::make('id')
            ->lat(51.505)
            ->lng(-0.09)
            ->popup('I am a popup'),
        Marker::make('id')
            ->lat(51.505)
            ->lng(-0.09)
            ->tooltip('I am a tooltip')
            ->callback(<<<JS
                alert('Hello World!');
            JS),
    ])
}
The callback method is called during the rendering of the marker and must return a JS that will be executed on event click. Use
mapto access the Leaflet instance in your callback.
#Marker Cluster
You can use the MarkerCluster class to group markers in clusters. This is useful if you have a lot of markers on the map.
use Webbingbrasil\FilamentMaps\MarkerCluster;

$this
    ->mapMarkers([
        MarkerCluster::make([
            Marker::make('id')
                ->lat(51.505)
                ->lng(-0.09)
                ->popup('I am a popup'),
            Marker::make('id')
                ->lat(51.505)
                ->lng(-0.09)
                ->tooltip('I am a tooltip')
                ->callback(<<<JS
                    alert('Hello World!');
                JS),
        ]),
    ])
}
#Marker Icon Color
You can set the color of the marker icon using color() method:
Marker::make('id')
    ->color(Marker::COLOR_RED)
See the Marker::COLOR_* constants for all available colors. Default color is Marker::COLOR_BLUE.
#Marker Custom Icon
You can set a custom icon for the marker using icon() method:
Marker::make('id')
    ->icon(
        string $iconUrl,
        string $shadowUrl,
        array $iconSize,
        array $iconAnchor,
        array $popupAnchor,
        array $shadowSize
    )
You can get extra icons and reledate config from leaflet-color-markers
#Display Marker Details
At the time, markers do not have the same functionality as Actions but using livewire events you can do something similar, for example:
Add a callback to yout marker:
Marker::make('place')->callback('Livewire.emit("updateFooter", ' . $placeId . ')');
Register event listener in map widget:
protected $listeners = ['updateFooter' => 'showMarkerData'];

public function showMarkerData($placeId)
{
    $place = Place::find($placeId);
    $this->footer = view('marker-details', $place);
}
#Polylines
You can add polylines to the map widget. Polylines are lines on the map drawn on the map between two lat/lng points. If your have multiple polylines, each polyline must have an unique name.
public function getPolylines(): array
{
    return [
        Polyline::make('polyline')
        ->latlngs([
            [45.51, -122.68],
            [37.77, -122.43],
            [34.04, -118.2]
        ])->options(['color' => 'blue', 'weight' => 5])
        ->tooltip('I am a tooltip')
        ->popup('I am a popup'),
    ];
}
You can use options listed at Leaflet Polyline options
#Polylines actions
You can use actions as described above to manipulate polylines:
Actions\Action::make('add line')
    ->tooltip('Add line')
    ->icon('filamentmapsicon-o-map-pin')
    ->form([
        Forms\Components\TextInput::make('name')
            ->label('Name')
            ->required(),
        Forms\Components\Section::make('Start')
            ->schema([
                Forms\Components\TextInput::make('lat1')
                    ->label('Latitude')
                    ->required(),
                Forms\Components\TextInput::make('lng1')
                    ->label('Longitude')
                    ->required(),
            ]),
        Forms\Components\Section::make('End')
            ->schema([
                Forms\Components\TextInput::make('lat2')
                    ->label('Latitude')
                    ->required(),
                Forms\Components\TextInput::make('lng2')
                    ->label('Longitude')
                    ->required(),
            ]),
    ])
    ->action(function (array $data, self $livewire) {
        $livewire
            ->addPolyline(
                Polyline::make(Str::camel($data['name']))
                    ->latlngs([
                        [$data['lat1'], $data['lng1']],
                        [$data['lat2'], $data['lng2']]
                    ])
            );
    })
In this example we use addPolyline() method to add a new polyline dynamically. You can also use removePolyline() and updatePolyline() methods.
$livewire->addPolyline(Polyline::make('polyline-name')->latlngs([...])->options([..]));
$livewire->removePolyline('polyline-name');
$livewire->updatePolyline(Polyline::make('polyline-name')->latlngs([...])->options([...]));
#Polygones
You can add polygones to the map widget. Polygones are lines on the map drawn on the map between two lat/lng points. If your have multiple polygones, each polygone must have an unique name.
public function getPolylgones(): array
{
    return [
        Polygone::make('polygone')
        ->latlngs([
            [45.51, -122.68],
            [37.77, -122.43],
            [34.04, -118.2]
        ])->options(['color' => 'blue', 'weight' => 5])
        ->tooltip('I am a tooltip')
        ->popup('I am a popup'),
    ];
}
You can use options listed at Leaflet Polygone options
#Polygones actions
$livewire->addPolygone(Polygone::make('polygone-name')->latlngs([...])->options([..]));
$livewire->removePolygone('polygone-name');
$livewire->updatePolygone(Polygone::make('polygone-name')->latlngs([...])->options([...]));
#Rectangles
You can add rectangles to the map widget. If your have multiple rectangles, each rectangle must have an unique name.
public function getRectangles(): array
{
    return [
            Rectangle::make('rectangle')
                ->bounds([
                    [54.559322, -5.767822],
                    [56.1210604, -3.021240]
                ])->tooltip('rectangle')
                ->options(['color' => 'red'])
    ];
}
You can use options listed at Leaflet Rectangle options
#Rectangles actions
$livewire->addRectangle(Polygone::make('rectangle-name')->bounds([...])->options([..]));
$livewire->removeRectangle('rectangle-name');
$livewire->updateRectangle(Polygone::make('rectangle-name')->bounds([...])->options([...]));
#Circles
You can add circles to the map widget. If your have multiple circles, each circle must have an unique name.
public function getCircles(): array
{
    return [
            Circle::make('circle')
                ->lat(-15.7942)
                ->lng(-47.8822)
                ->options(['radius' => 200000])
                ->popup('Hello Brasilia!')
                ->tooltip('test2'),
    ];
}
You can use options listed at Leaflet Circle options
#Rectangles actions
$livewire->addCircle(Circle::make('circle-name')->lat(...)->lng(...)->options([..]));
$livewire->removeCircle('circle-name');
$livewire->updateCircle(Circle::make('circle-name')->lat(...)->lng(...)->options([...]));
#Images
#Credits
The author
Danilo is a senior full-stack developer and partner at Devise, he contributes to the Filament community with the AdvancedFilter, Maps and plugins.
From the same author
AdvancedFilter
A collection of easy-to-use filters with clause conditions
Author:
Danilo Andrade
CopyActions
An easy-to-use copy actions for Pages, Tables and Form Fields.
Author:
Danilo Andrade
Featured Plugins
A selection of plugins curated by the Filament team
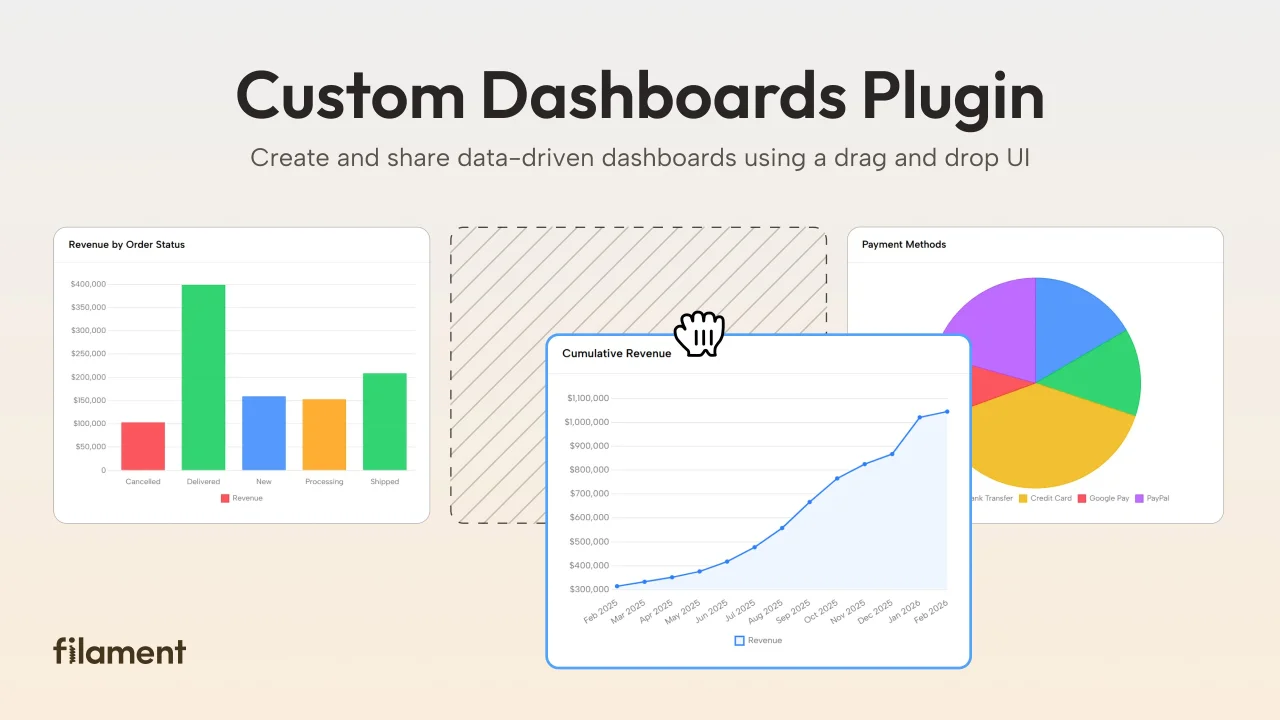
Custom Dashboards
Let your users build and share their own dashboards with a drag-and-drop interface. Define your data sources in PHP and let them do the rest.
 Filament
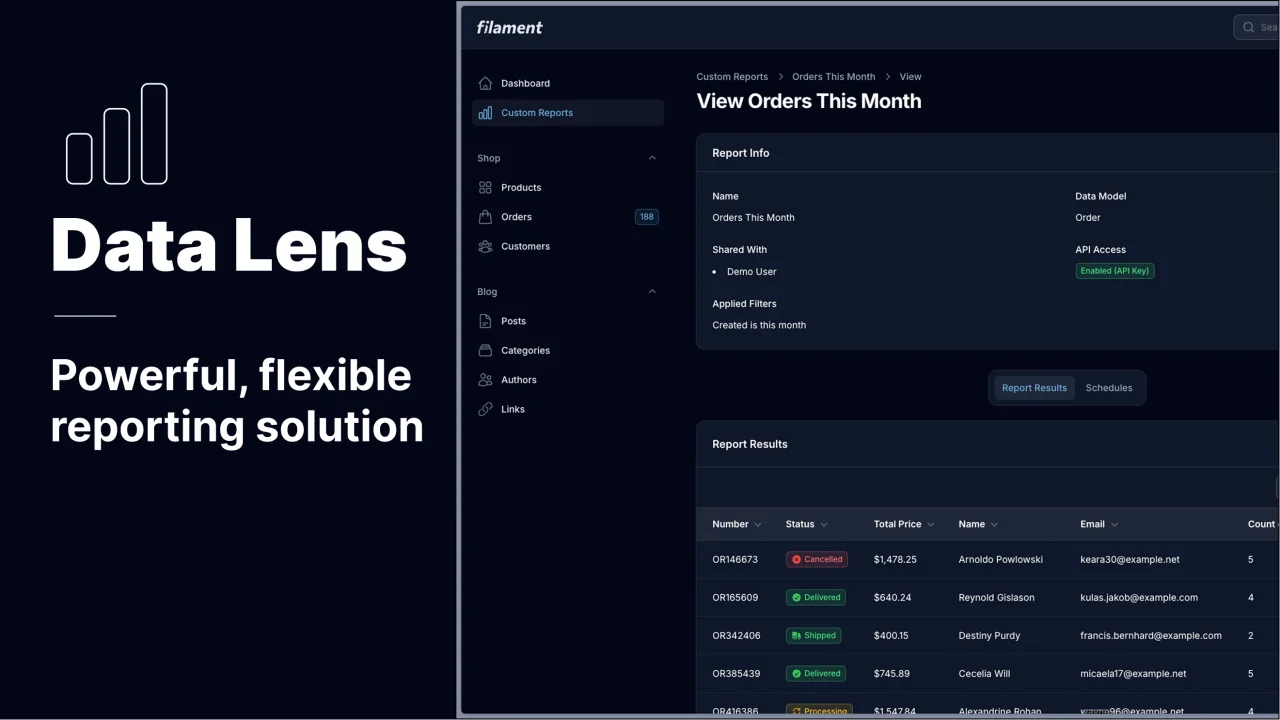
Data Lens
Advanced Data Visualization for Laravel Filament - a premium reporting solution enabling custom column creation, sophisticated filtering, and enterprise-grade data insights within admin panels.
 Padmission
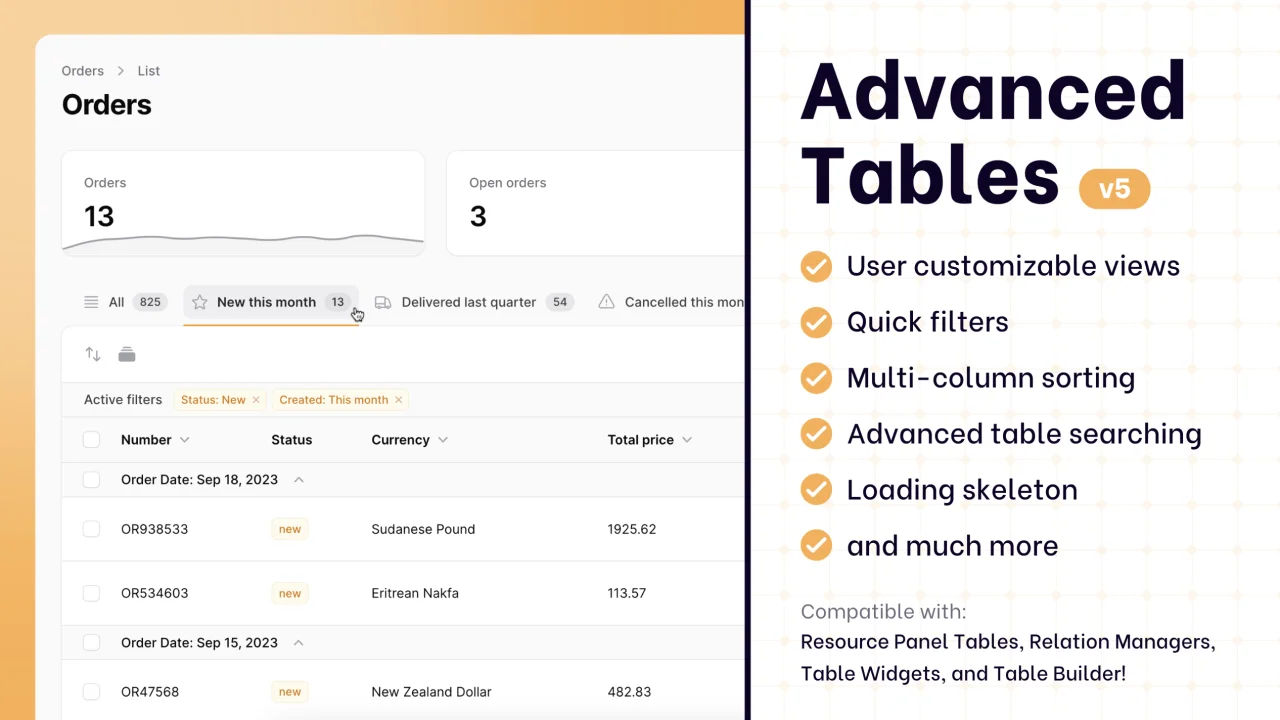
Advanced Tables (formerly Filter Sets)
Supercharge your tables with powerful features like user-customizable views, quick filters, multi-column sorting, advanced table searching, convenient view management, and more. Compatible with Resource Panel Tables, Relation Managers, Table Widgets, and Table Builder!
 Kenneth Sese