- 📑 Table of Contents
- Introduction
- Installations
- Google credentials
- Features & Updates
- Community & Support
- Visual Demonstrations
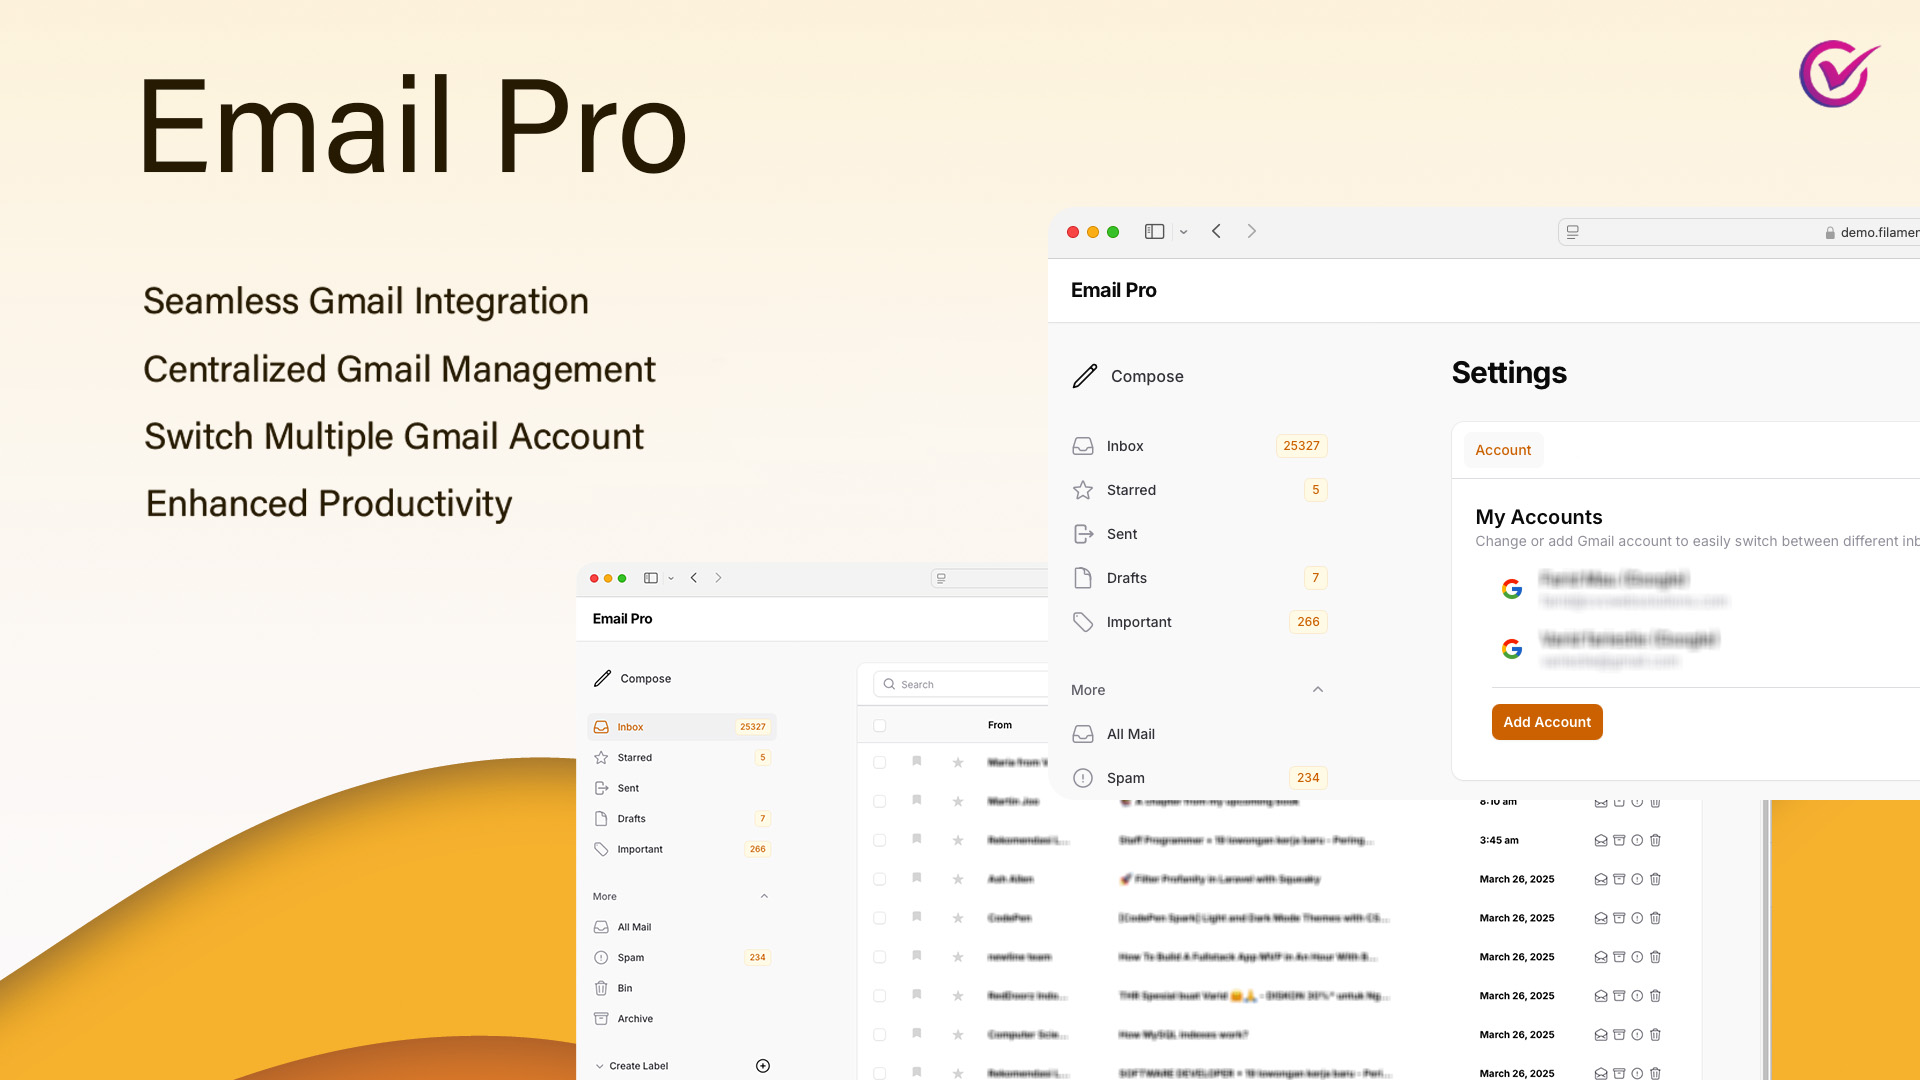
EmailPro is a powerful FilamentPHP plugin designed to seamlessly synchronize and manage emails within your application.
With EmailPro, you can effortlessly integrate Gmail, view and organize emails, and perform essential email actions—all within the FilamentPHP admin panel.
#📑 Table of Contents
- ✉️ Email Pro
- 📑 Table of Contents
- Introduction - Gmail Integration – Built for Developers Who Mean Business
- Installations
- Google credentials
- Features & Updates
- Community & Support
- Visual Demonstrations
#Introduction
#Gmail Integration – Built for Developers Who Mean Business
Effortlessly connect your Gmail account to your FilamentPHP app and unlock seamless, in-app email management that just works—no context switching, no hassle
#Centralized Management & Built-In Email Hub
Turn your admin panel into a communication powerhouse with native Gmail integration that feels tailor-made for your team. View, organize, and search emails directly within the FilamentPHP admin panel.

#Essential Gmail Integration
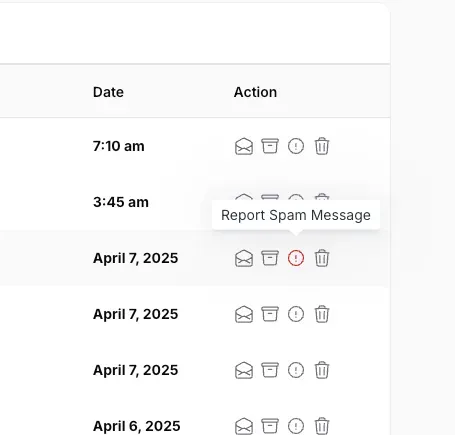
Transform your FilamentPHP app into a full-featured Gmail client—sync, manage, and take action on emails without leaving your dashboard. Perform key email actions like reading, archiving, deleting, and labeling without leaving your panel.
#Installations
#Requirements
- Filament v3
- Laravel 11+
- PHP 8.2+
- A Google Cloud Project with Gmail API enabled
#Activating Your License
💡 Email Pro leverages AnyStack for seamless payment processing, licensing, and distribution. You can buy it here
Add the following repository to your composer.json file:
"repositories": [ { "type": "composer", "url": "https://email-pro.composer.sh" }],Then install the package:
composer require cvcwebsolutions/email-proYou will be prompted to provide your username and password:
Username: [licensee-email]Password: [license-key]#Configure Google API in Laravel
Configure your Google OAuth credentials in .env:
GOOGLE_CLIENT_ID=YOUR_GOOGLE_CLIENT_IDGOOGLE_CLIENT_SECRET=YOUR_GOOGLE_CLIENT_SECRETGOOGLE_REDIRECT_URI="https://your_domain.com/mail/oauth/callback/google"#Add Google credentials in config/services.php:
'google' => [ 'client_id' => env('GOOGLE_CLIENT_ID'), 'client_secret' => env('GOOGLE_CLIENT_SECRET'), 'redirect' => env('GOOGLE_REDIRECT_URI'),],#Publishing Configuration and Migrations
Publish the config file:
php artisan vendor:publish --tag="email-pro-config"Publish and run migrations:
php artisan vendor:publish --tag="email-pro-migrations"php artisan migrateOptionally, publish the views:
php artisan vendor:publish --tag="email-pro-views"#Usage
#Updating User Model
Add the HasEmailProviders trait to the User model:
use Cvcwebsolutions\EmailPro\Support\Traits\HasEmailProviders;use Illuminate\Database\Eloquent\Model; YourUserModel extends Model { use HasEmailProviders;}#Registering the Plugin
To use this package, register the plugin in your Filament Panel Provider class:
use Cvcwebsolutions\EmailPro\EmailProPlugin; // ...->plugins([ EmailProPlugin::make()]);#Setting Up Queues
💡 To ensure smooth and efficient email operations, we highly recommend setting up a queue system. This helps handle API requests asynchronously, improving performance and user experience!
QUEUE_CONNECTION=databaseorQUEUE_CONNECTION=redisStart the queue worker for development or testing environments using the following command:
php artisan queue:workorphp artisan queue:listenIt will generate a navigation menu item based on config('email-pro.filament.menu_item')
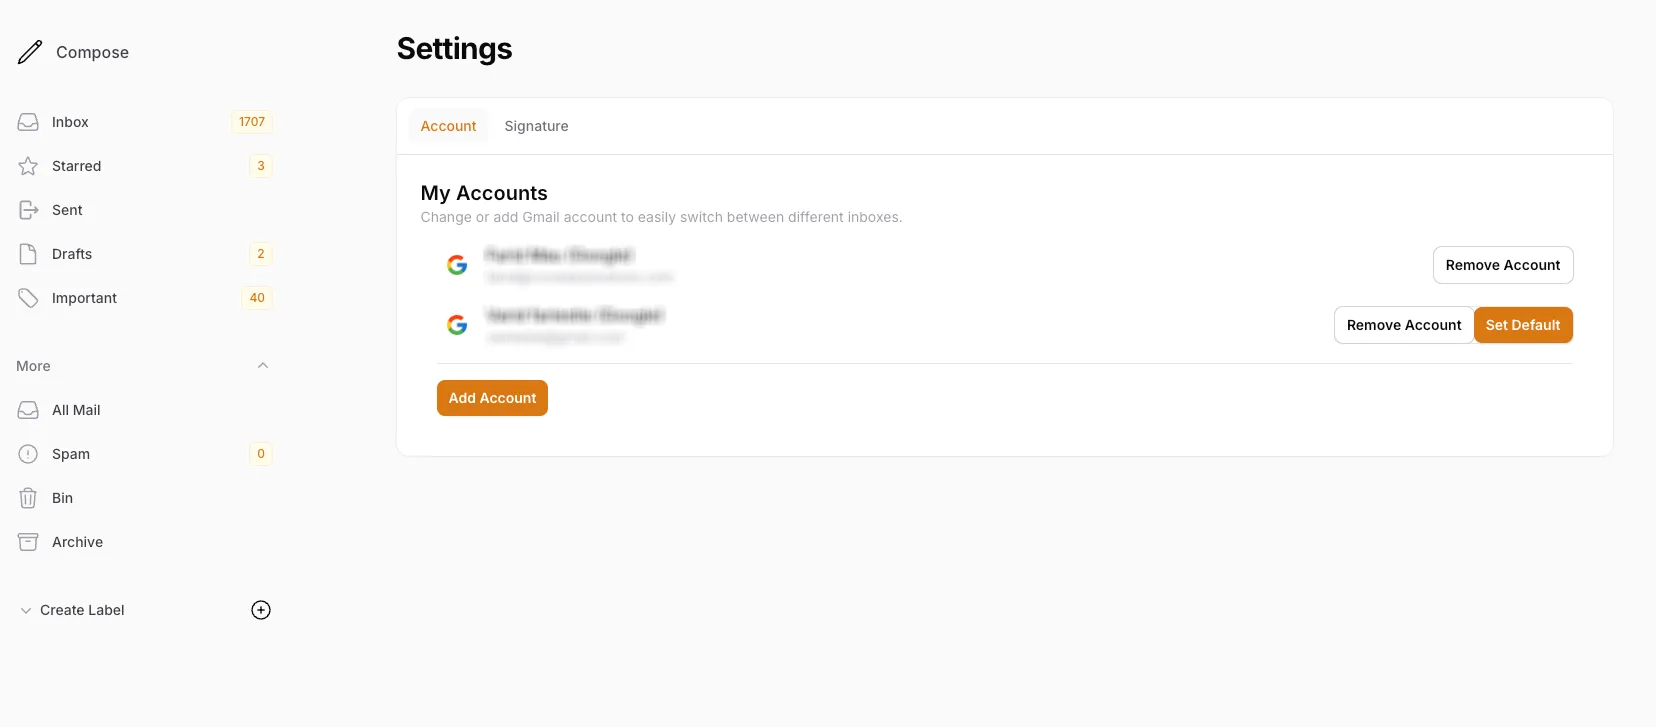
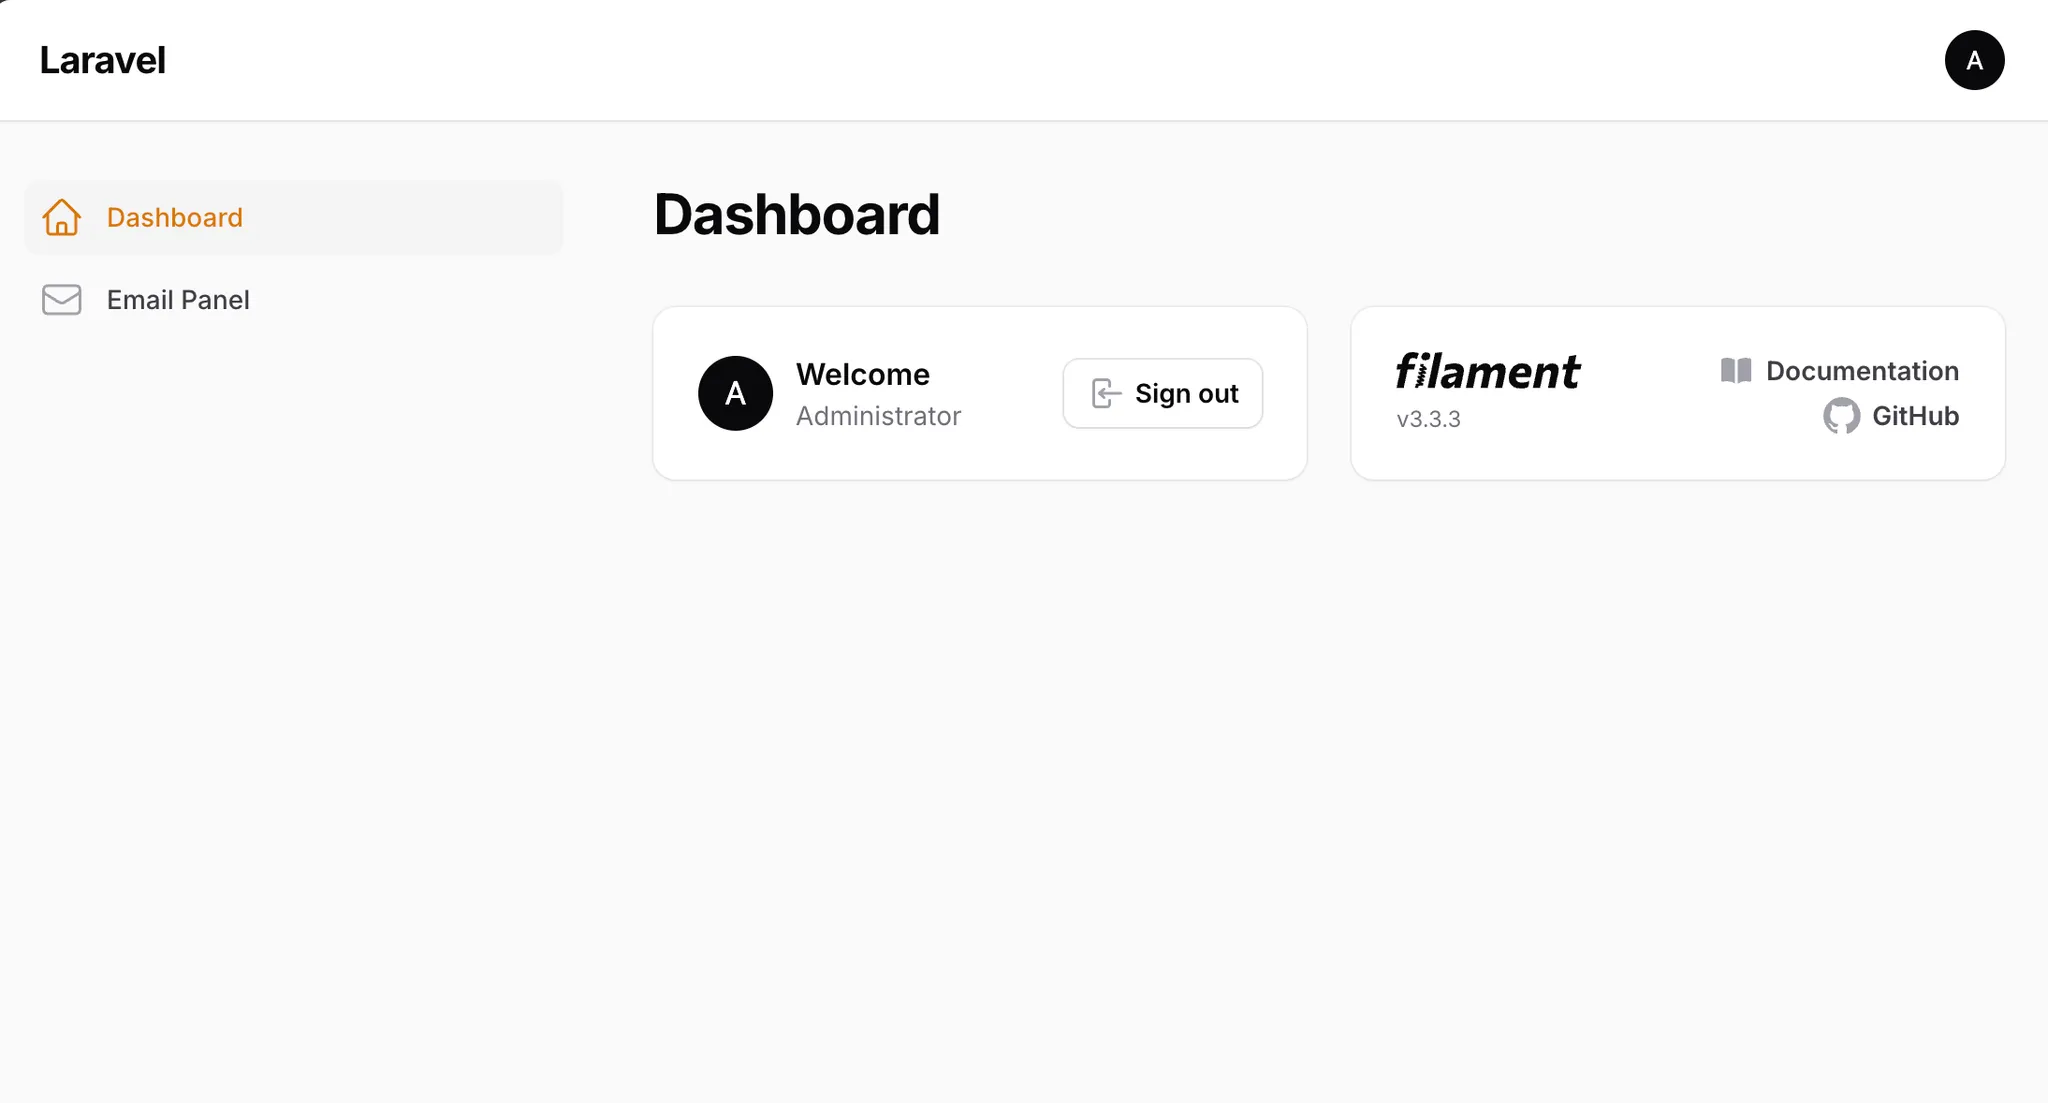 Clicking the menu will lead to the settings page:
#Google credentials
How to Enable Gmail API and Create Google API Credentials
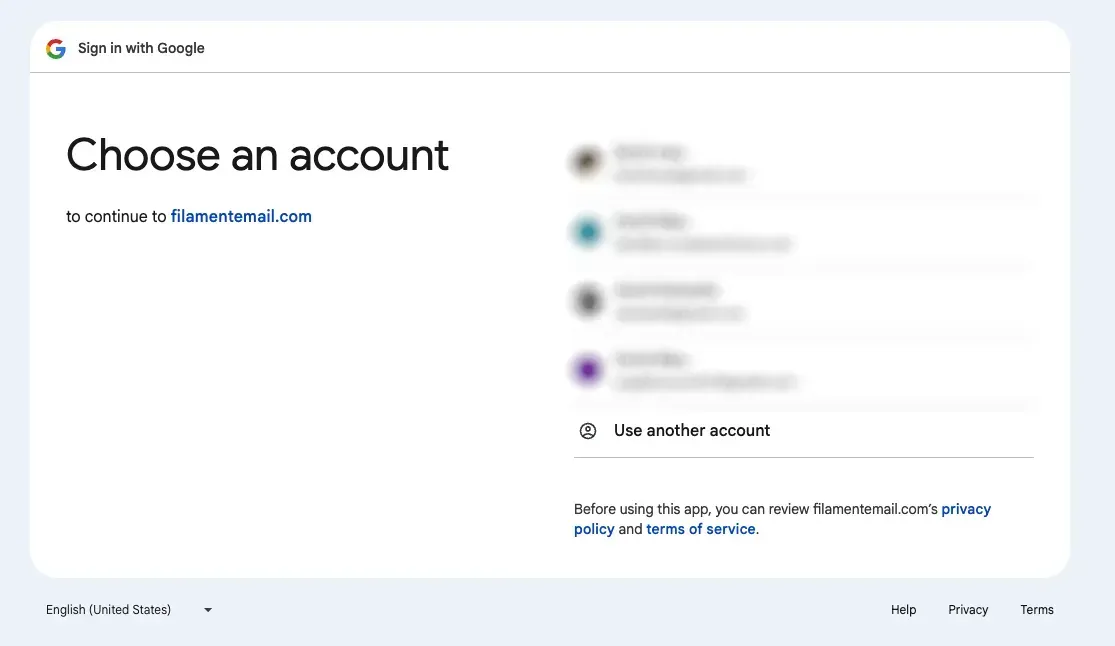
#Step 1: Go to Google Cloud Console
Open your browser and go to: https://console.cloud.google.com/. (I’m assuming that you’ve already created a Google account and are signed in. )
#Step 2: Select or Create a Project
- Click the project dropdown in the top-left corner (next to the Google Cloud logo).
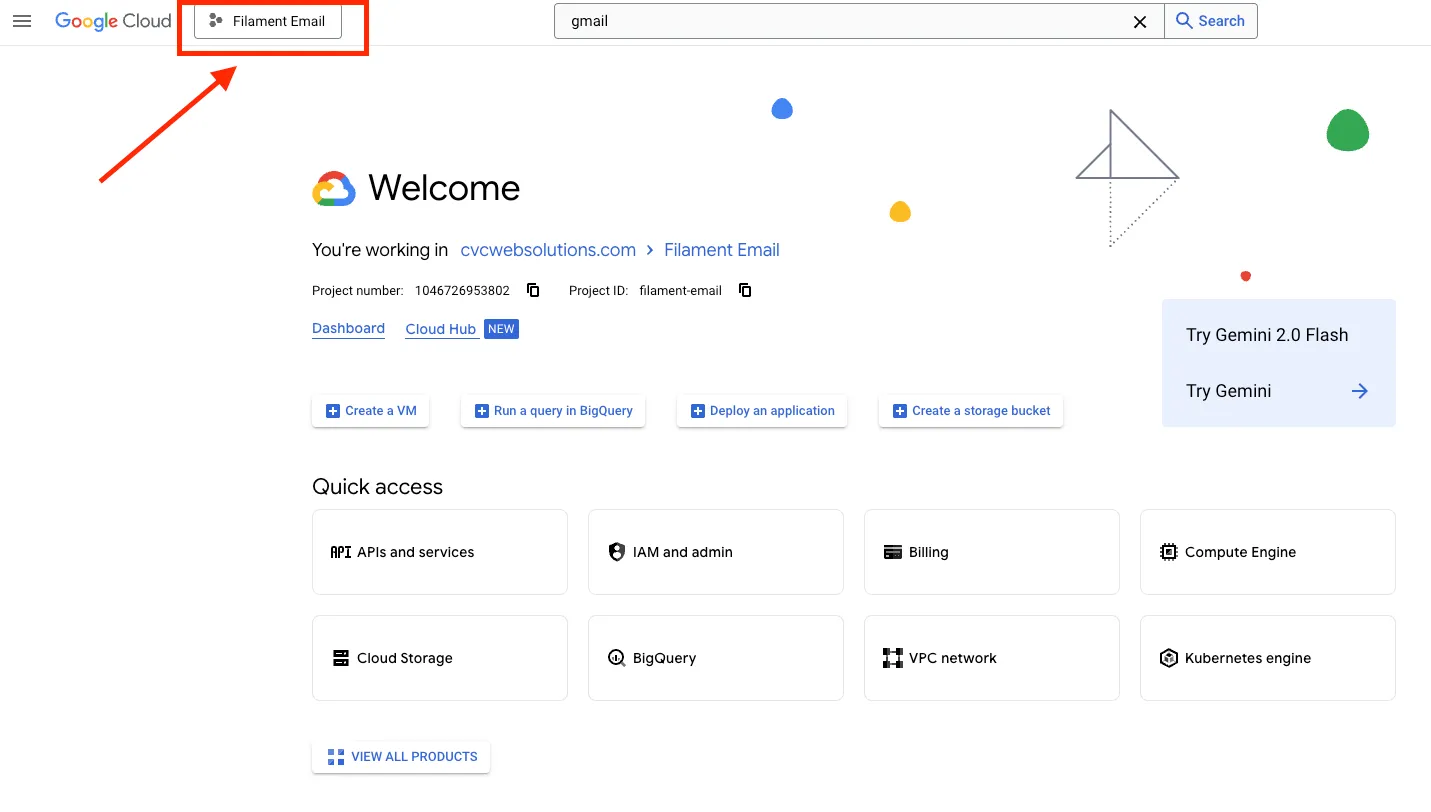
- Choose an existing project, or click “New Project” to create a new one.
- Give it a name and click Create.
- After it’s created, make sure the project is selected.
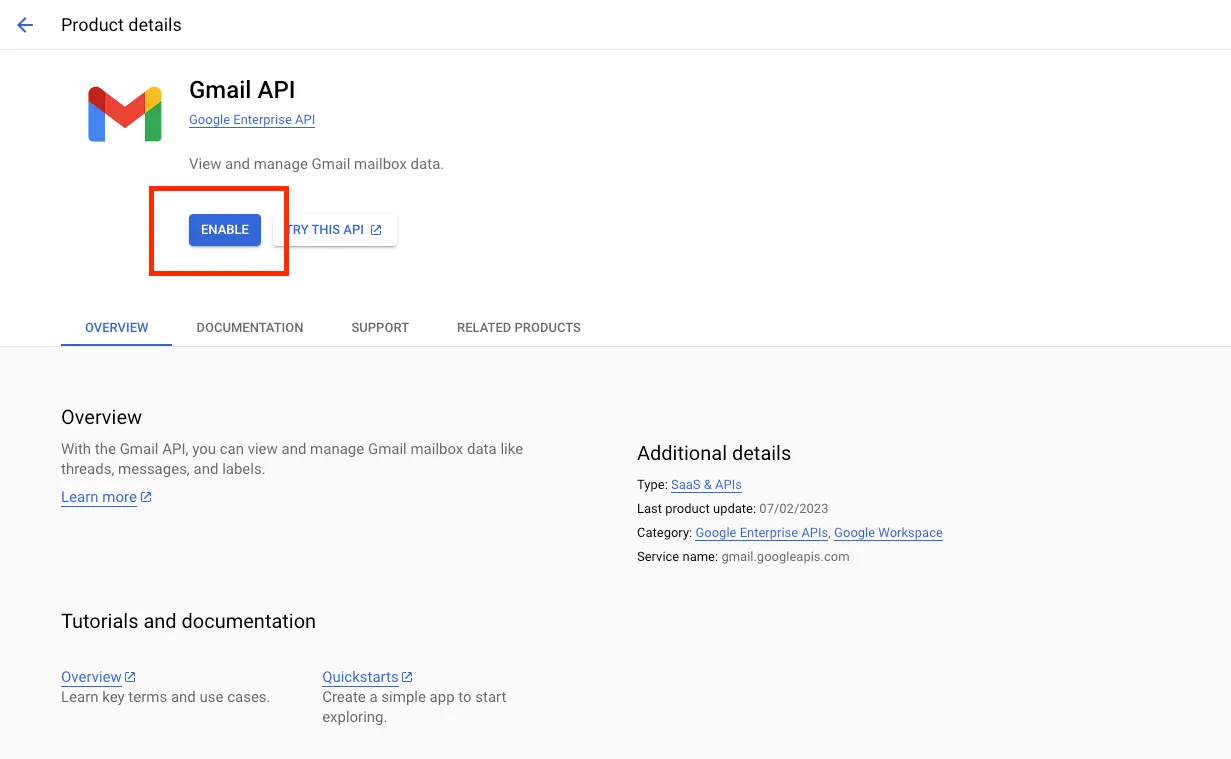
#Step 3: Enable APIs and Enable Gmail API Services
- In the top navigation bar, try to type “Gmail” and choose the Gmail API from the search results.
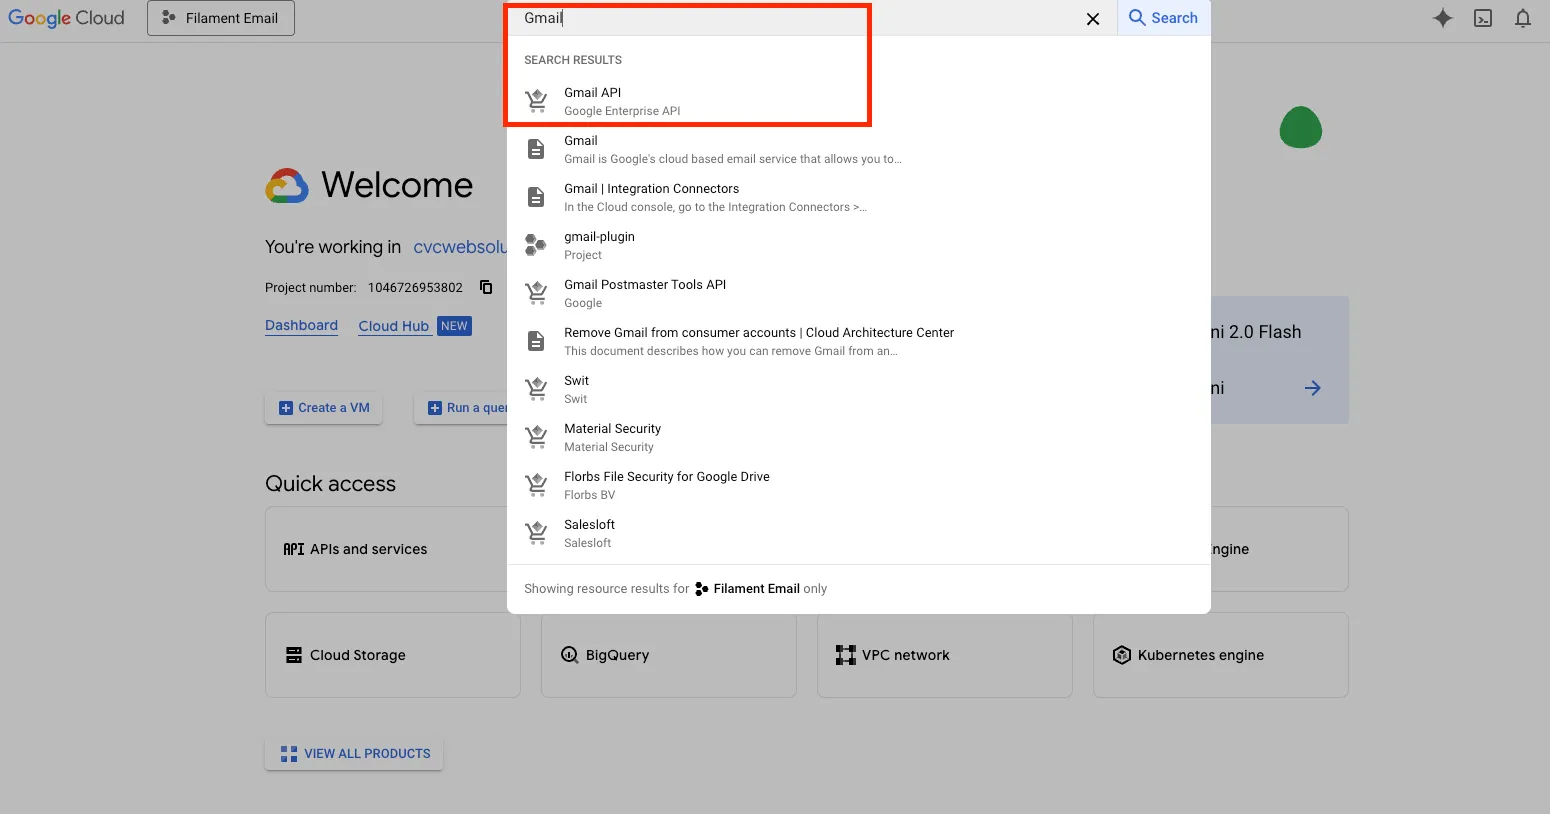
- Click the “Enable” button. This gives your project access to the Gmail API.
#Step 4: Create OAuth 2.0 Credentials
- After enabling the API, go to Credentials page
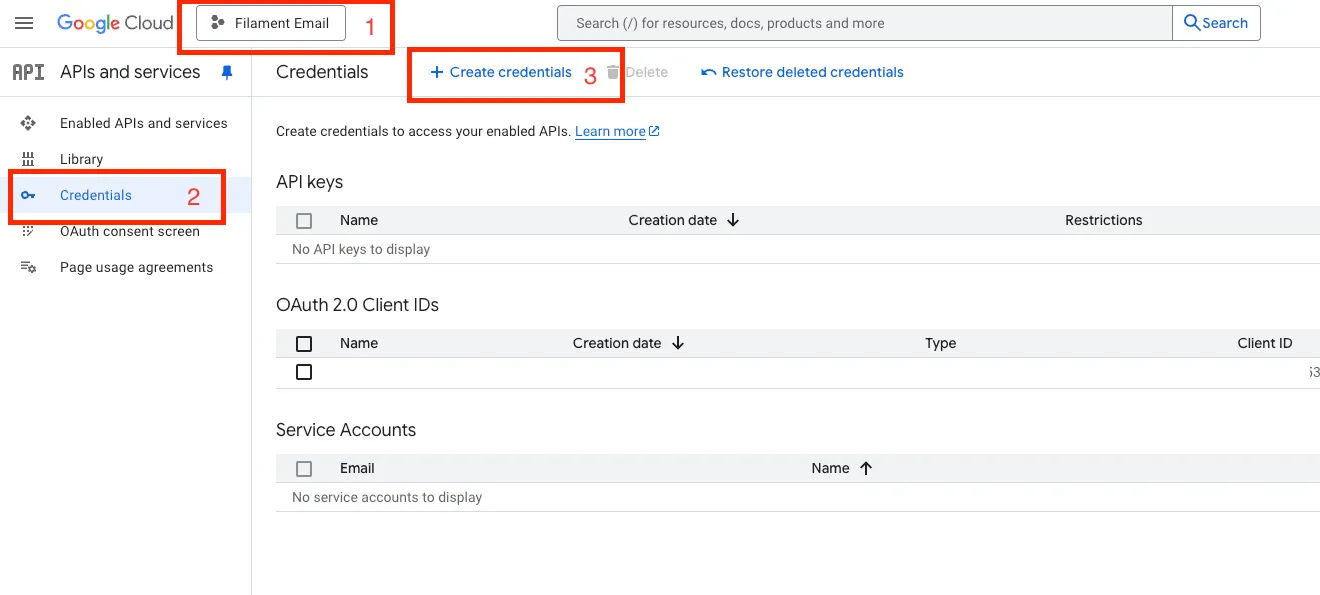
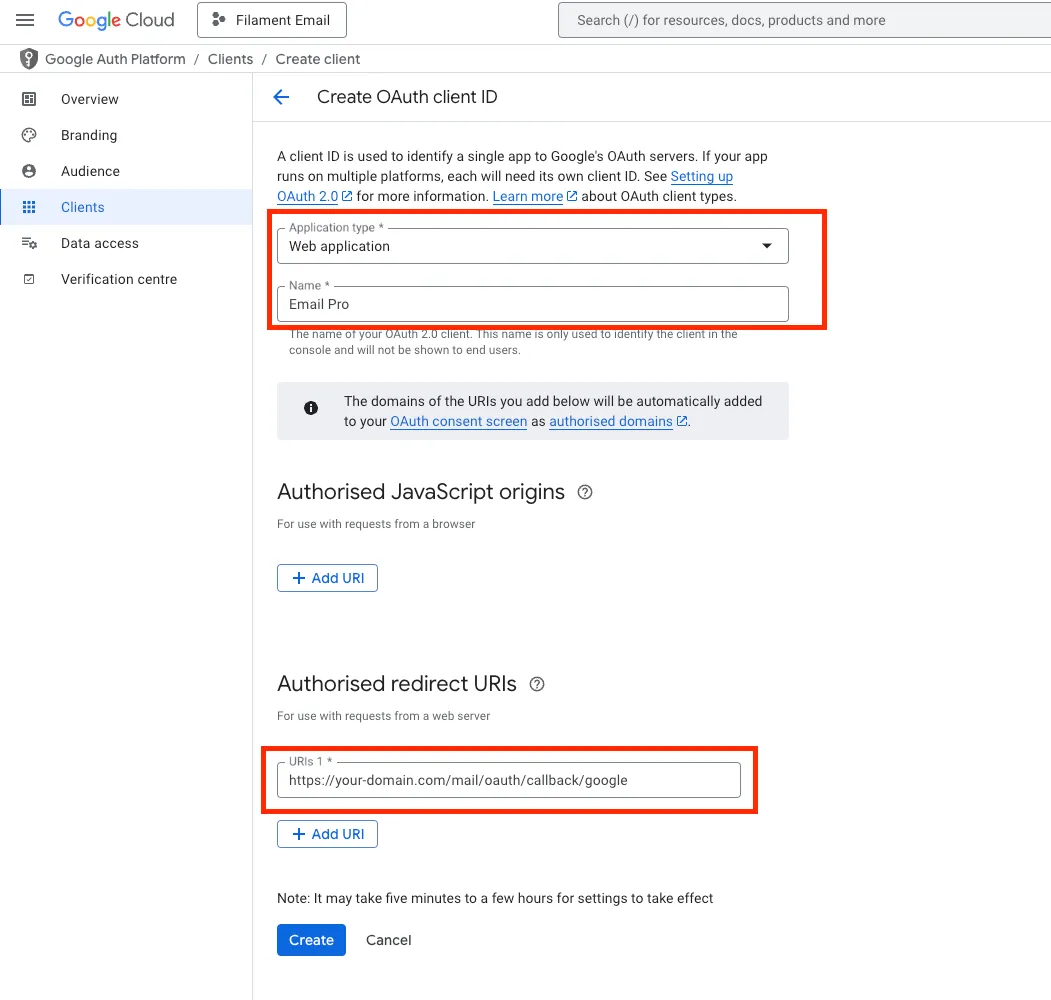
- Create OAuth client ID, You’ll be prompted to configure the OAuth consent screen:
- Choose application type (e.g., Web application).
- Enter a name for your credentials.
- Under Authorized redirect URIs, add your redirect URL (https://your-domain.com/mail/oauth/callback/google).
💡 Important Make sure to define your Authorized redirect URI correctly. This is the URL Google will redirect to after the user grants access. This must exactly match the redirect URI used in your application, otherwise authentication will fail. https://your-domain.com/mail/oauth/callback/google.
You now have:
— A Google Cloud project with Gmail API enabled
— OAuth 2.0 credentials ready to use in your app
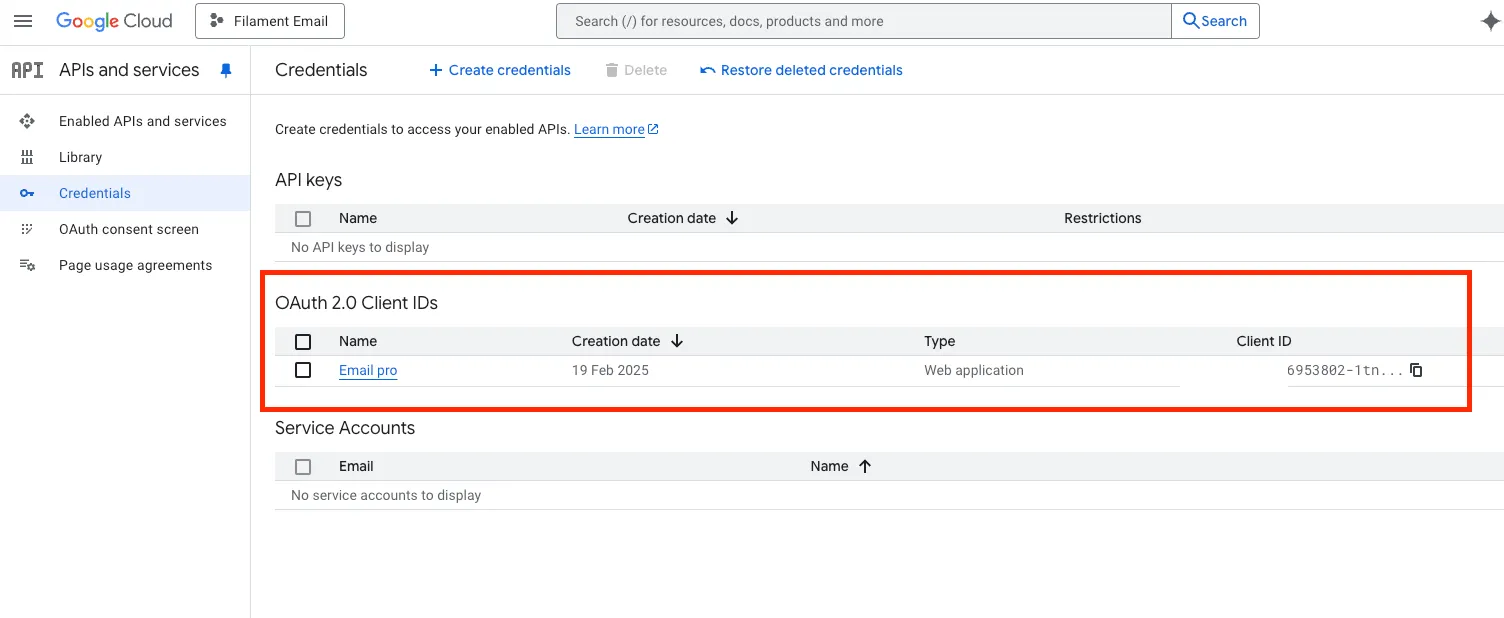
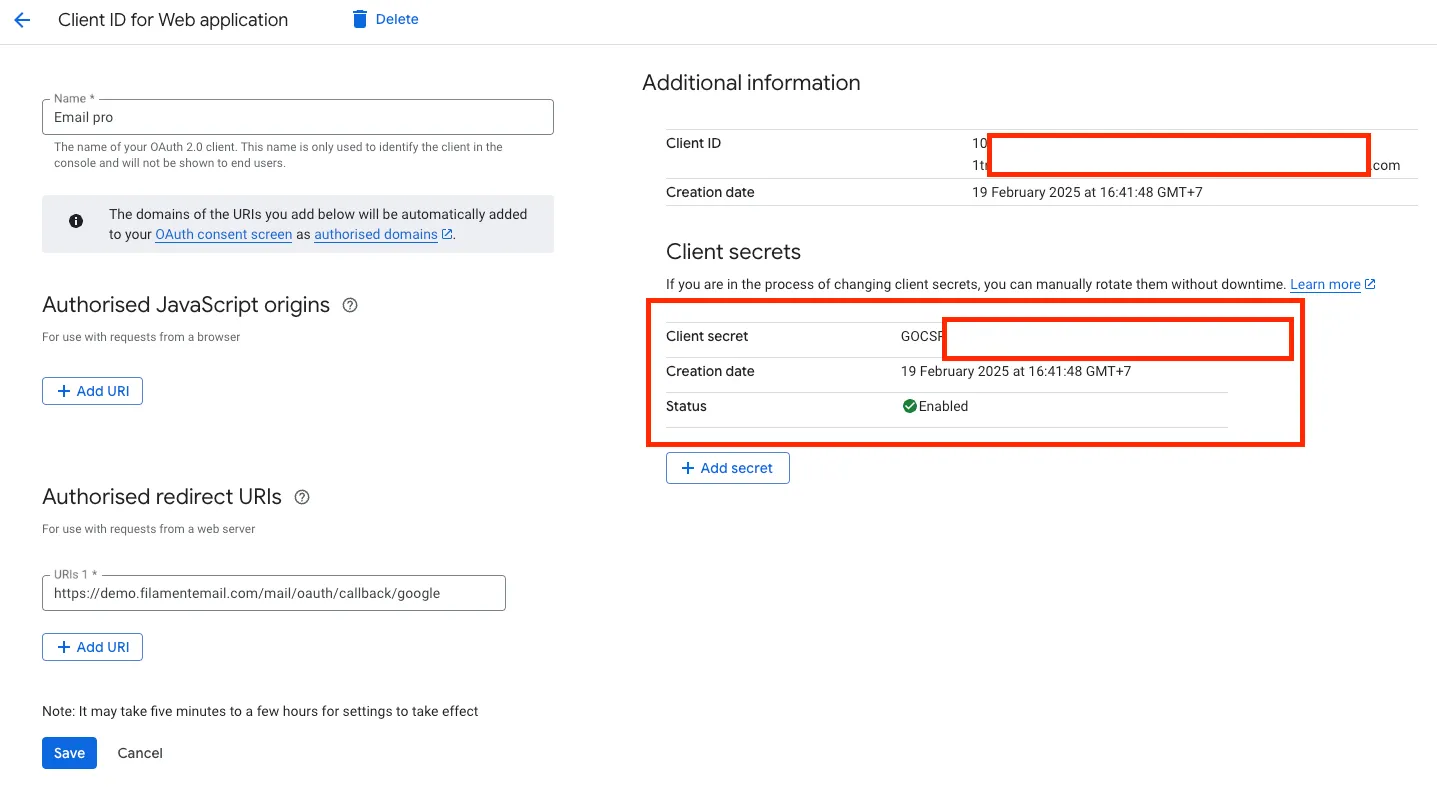
#Client ID & Client secret
Now we have Client ID and Client Secret, this credential we will use Installation section
#Features & Updates
- SMTP (WIP)
#Community & Support
Join our Discord community to connect with other developers, ask questions, and get support.
Explore more plugins like Email Pro on the FilamentPHP Plugin Directory.
#Visual Demonstrations

Inbox Page

Settings Page

Detail Page

Setting Page

Stared Page

Sent Page

Draft Page