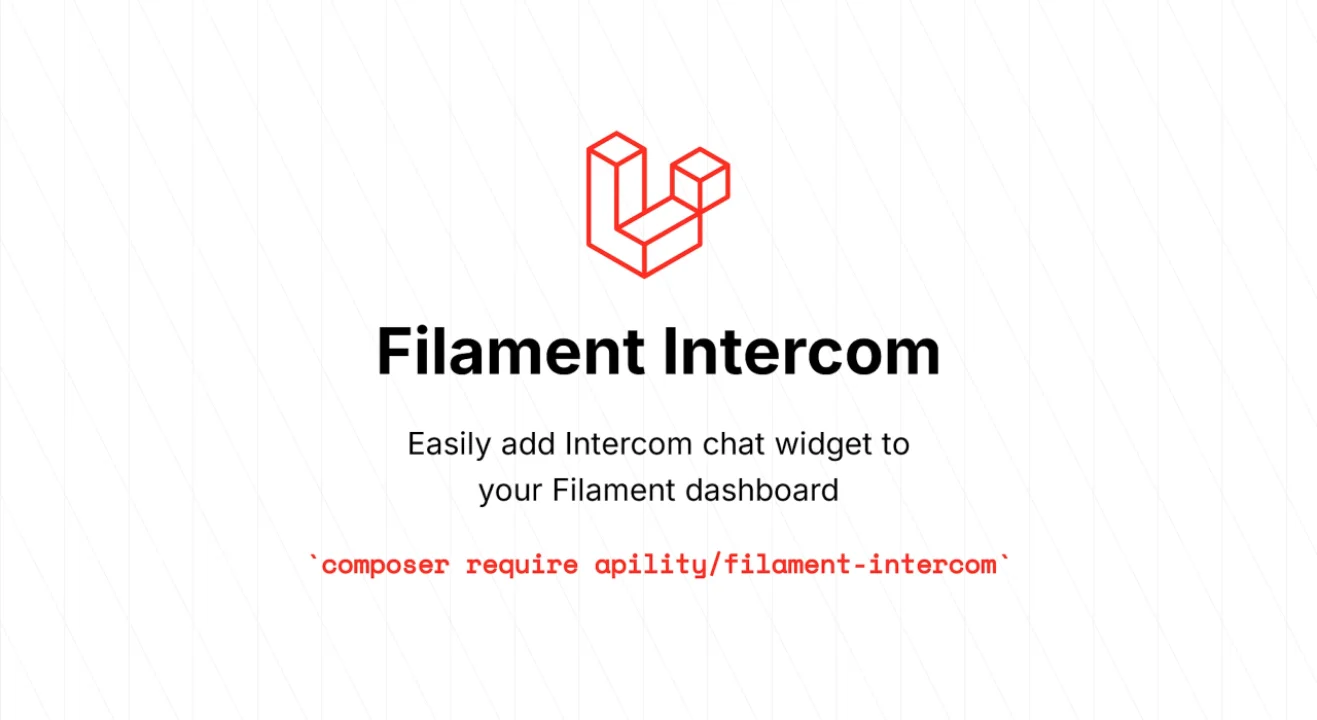
Intercom
Intercom Chat widget for Filament
 Author:
Apility AS
Author:
Apility AS
Documentation
#🛠 Installation and Setup
You can install this plugin via Composer.
#Step 1: Install the Plugin
Run the following command to install the package via Composer:
composer require apility/filament-intercom
#Step 2: Add this into your Filament PanelProvider class panel()
use Apility\FilamentIntercom\FilamentIntercomPlugin;

$panel->...
    ->plugins([
      ...
      FilamentIntercomPlugin::make()      //required to enable this extension
    ]);
#Step 3: Add the folloing to your config/services.php file
'intercom' => [
    'app_id' => env('INTERCOM_APP_ID'),
],
#Step 4: Add your Intercom App ID to your .env
INTERCOM_APPID=<your app id>
#Usage
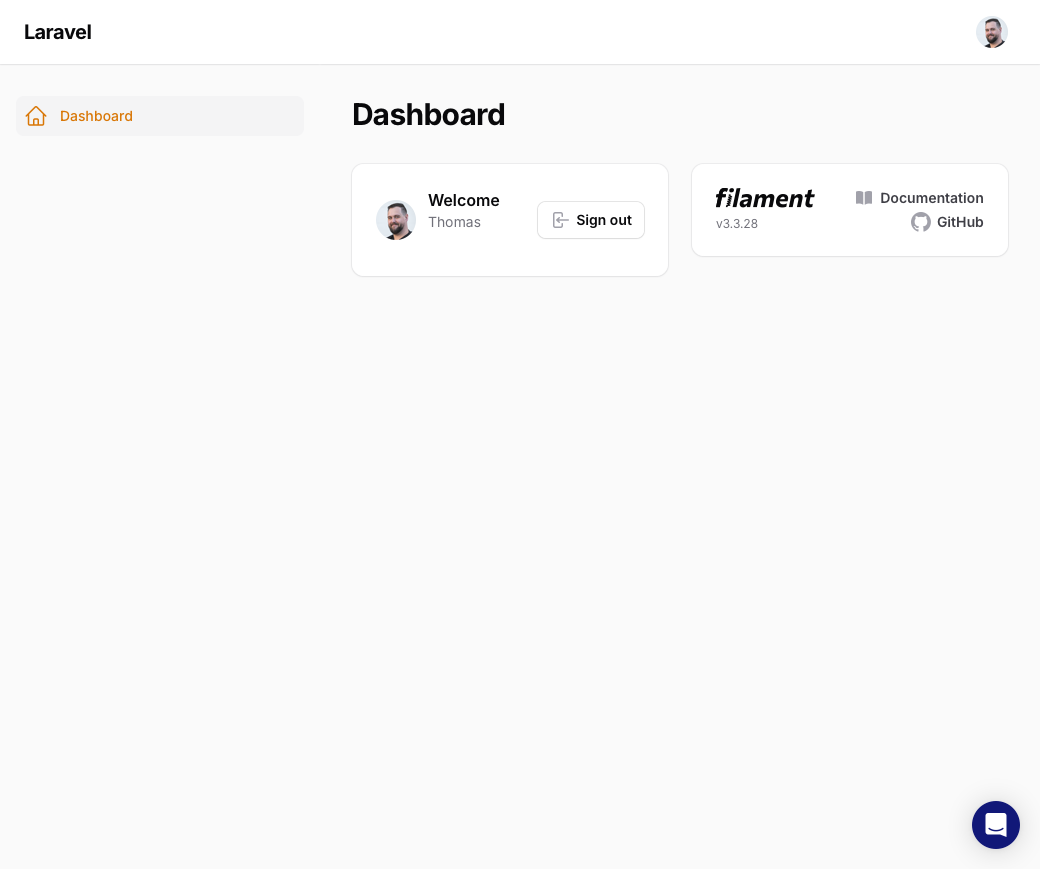
Once installed and registered, the Intercom Chat widget will appear when logged in to the Filament panel
#Advanced
If you need to customize the parameters from the authenticated user thats sent to Intercom, simply implement the Apility\FilamentIntercom\Contracts\IntercomUser interface to your User model. This data will be merged with the default values (id, email, name, created_at).
namespace App\Models;

// use Illuminate\Contracts\Auth\MustVerifyEmail;
use Illuminate\Database\Eloquent\Factories\HasFactory;
use Illuminate\Foundation\Auth\User as Authenticatable;
use Illuminate\Notifications\Notifiable;
use Apility\FilamentIntercom\Contracts\IntercomUser;

class User extends Authenticatable implements IntercomUser
{
    ...

    public function getIntercomUserData(): array {
        return [
            'company' => [
                'id' => $this->company->id,
                'name' => $this->company->name,
            ],
        ];
    }
}
Featured Plugins
A selection of plugins curated by the Filament team
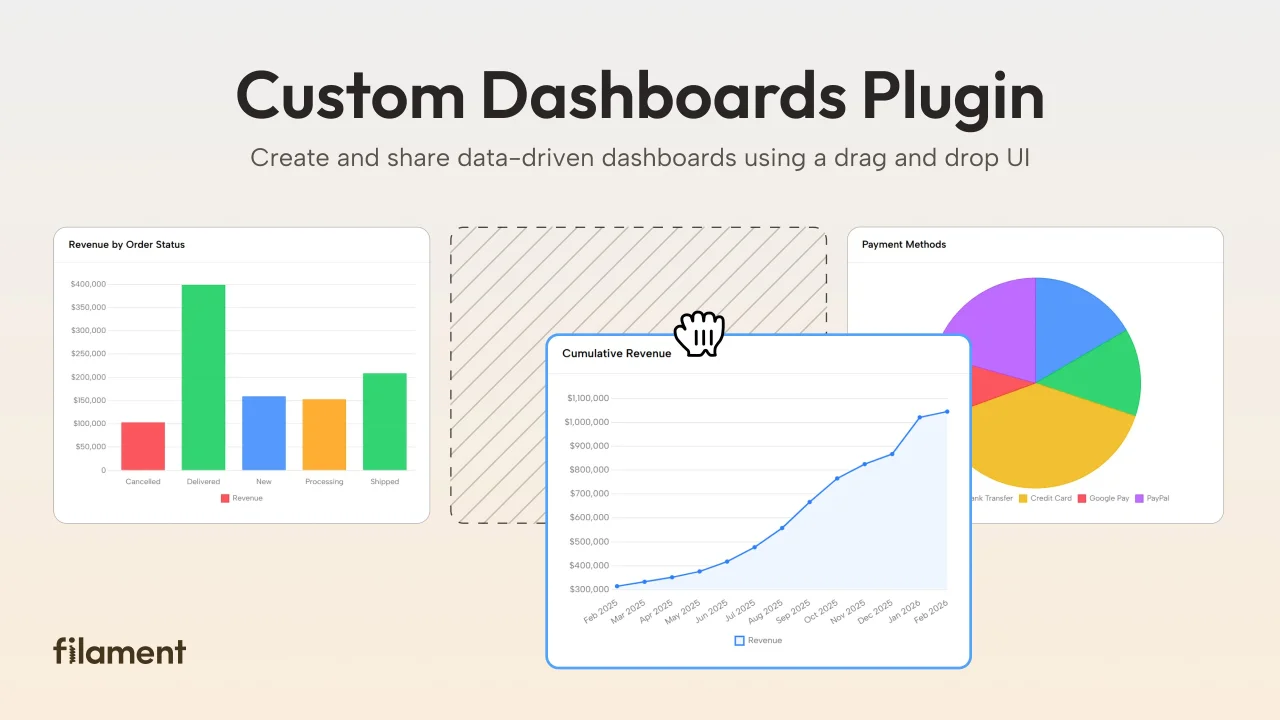
Custom Dashboards
Let your users build and share their own dashboards with a drag-and-drop interface. Define your data sources in PHP and let them do the rest.
 Filament
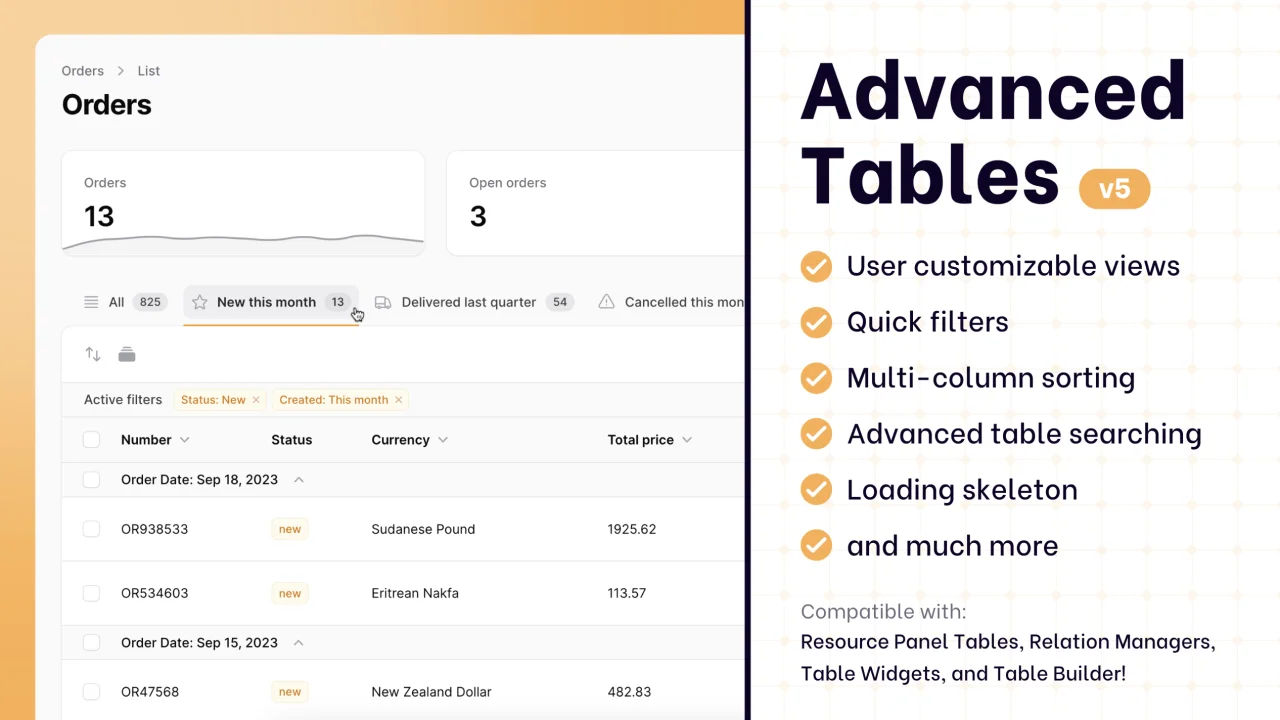
Advanced Tables (formerly Filter Sets)
Supercharge your tables with powerful features like user-customizable views, quick filters, multi-column sorting, advanced table searching, convenient view management, and more. Compatible with Resource Panel Tables, Relation Managers, Table Widgets, and Table Builder!
 Kenneth Sese
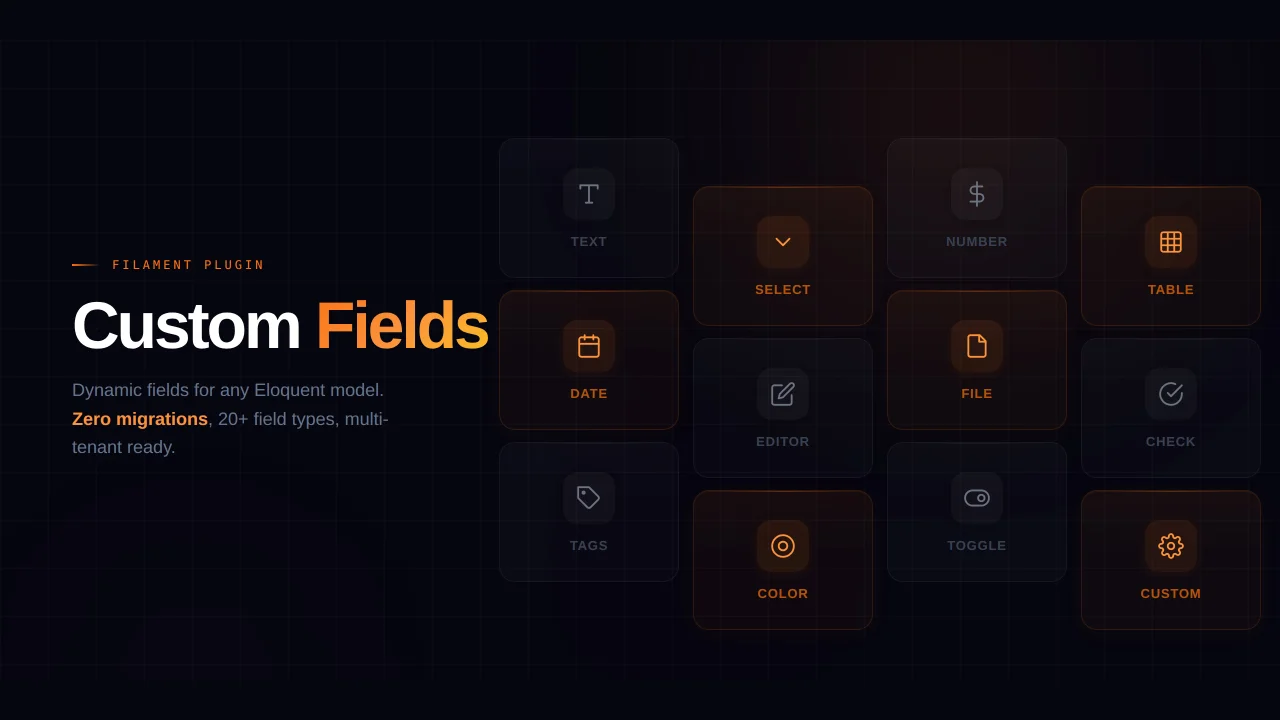
Custom Fields
Eliminate custom field migrations forever. Let your users create and manage form fields directly in Filament admin panels with 20+ built-in field types, validation, and zero database changes.
 Relaticle