- Installation
- Screenshots
- Features
- Add Custom Type to CMS
- Add More Author Types
- Use Post-Events
- Extend Post Resource
- Extend Category Resource
- Integrate more Import Actions
- Publish Assets
- Testing
- Code Style
- PHPStan
- Other Filament Packages
Full CMS System with support of importing integrations and multi meta functions
#Installation
[!CAUTION] Don't update to v4.0 if you are using v1.0 or less because you will lose some features but you can update and use this features from integrated packages.
composer require tomatophp/filament-cmsafter installing your package, please run this command
php artisan filament-cms:installfinally register the plugin on /app/Providers/Filament/AdminPanelProvider.php
->plugin( \TomatoPHP\FilamentCms\FilamentCMSPlugin::make() ->useCategory() ->usePost() ->allowExport() ->allowImport())#Screenshots
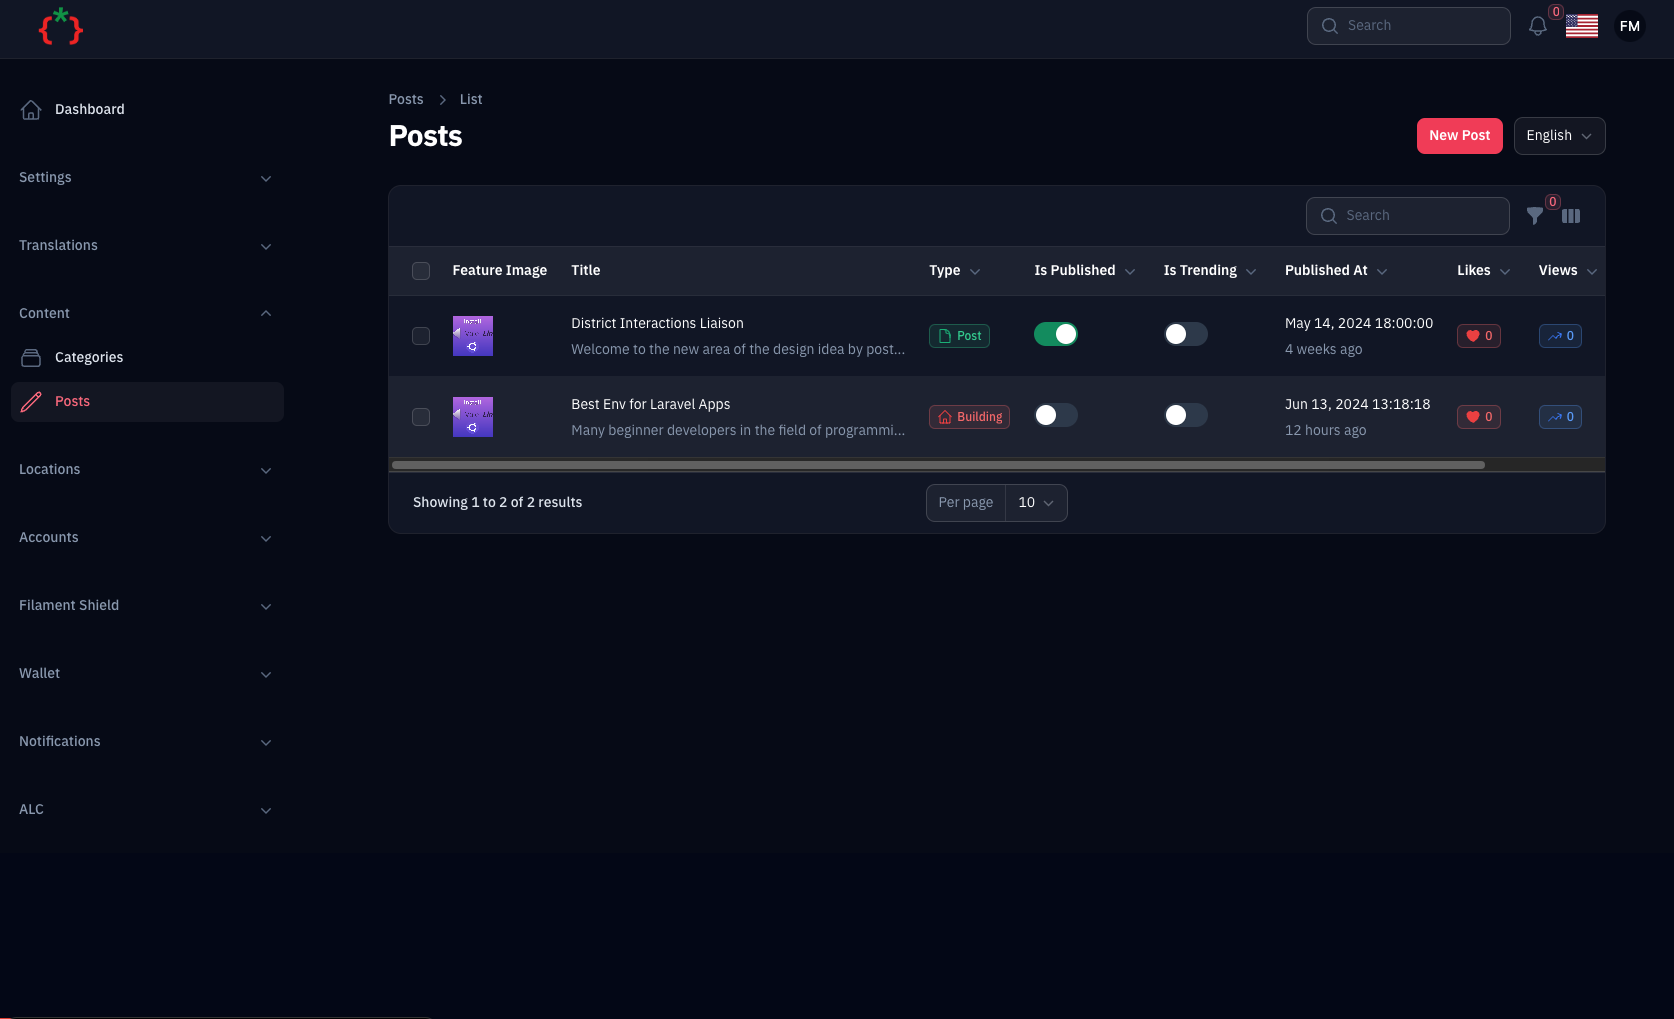
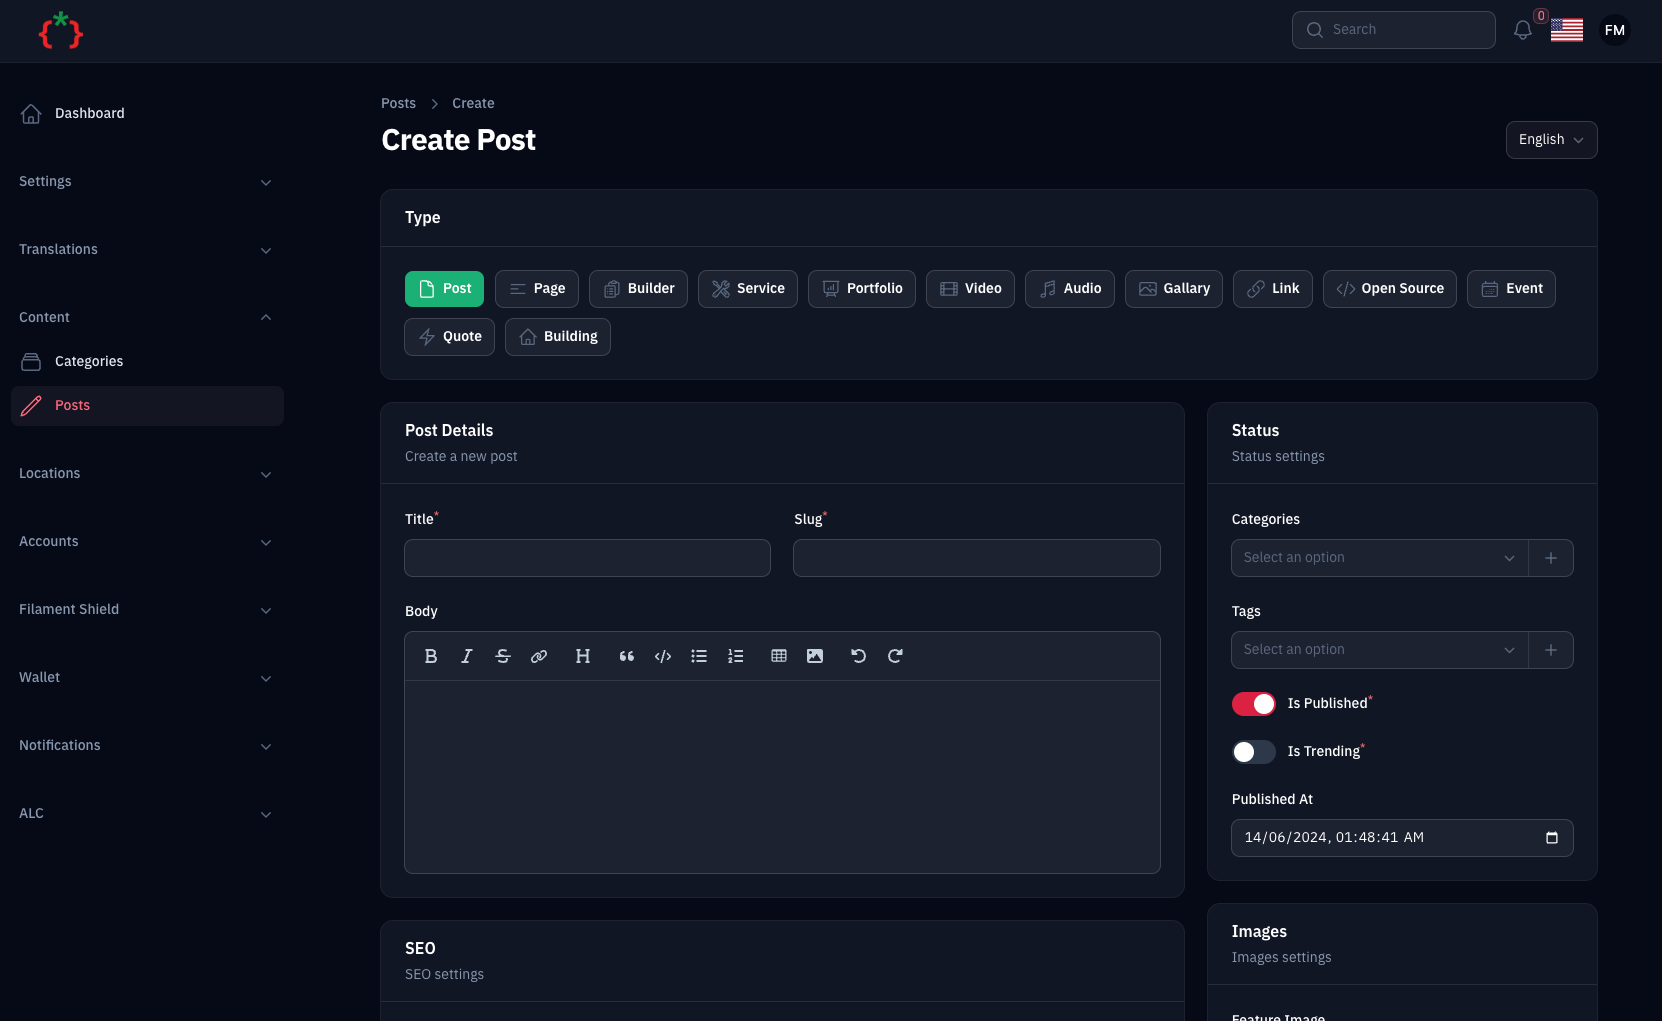
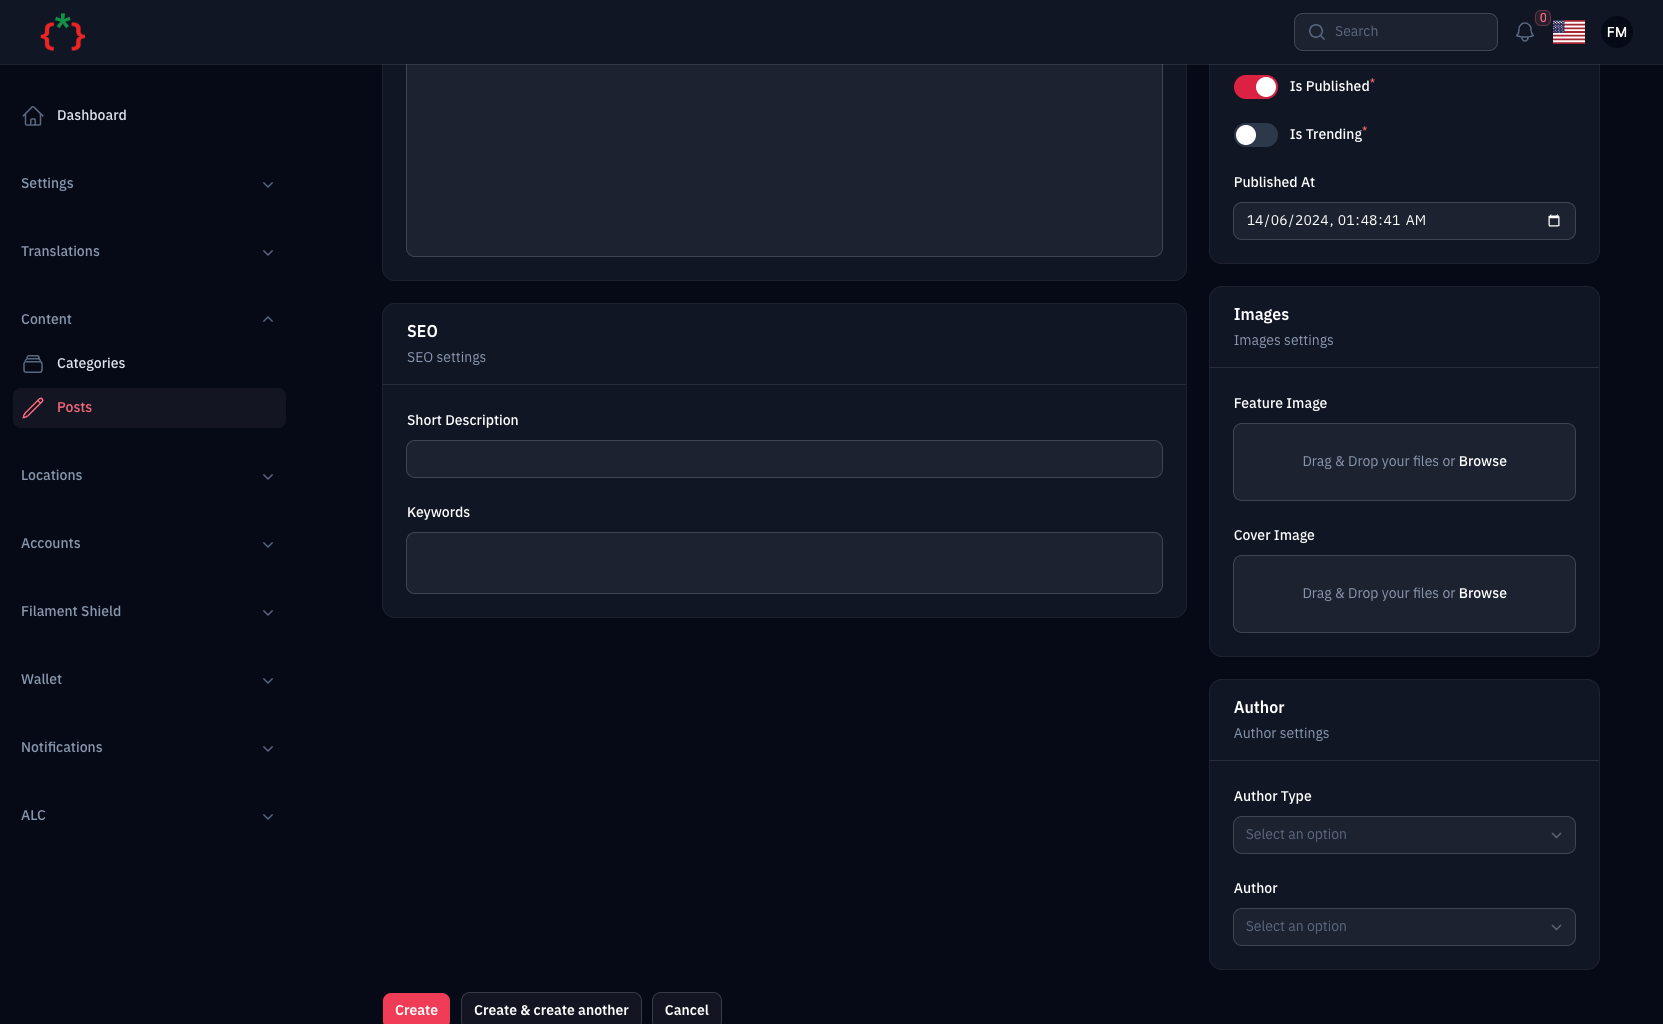
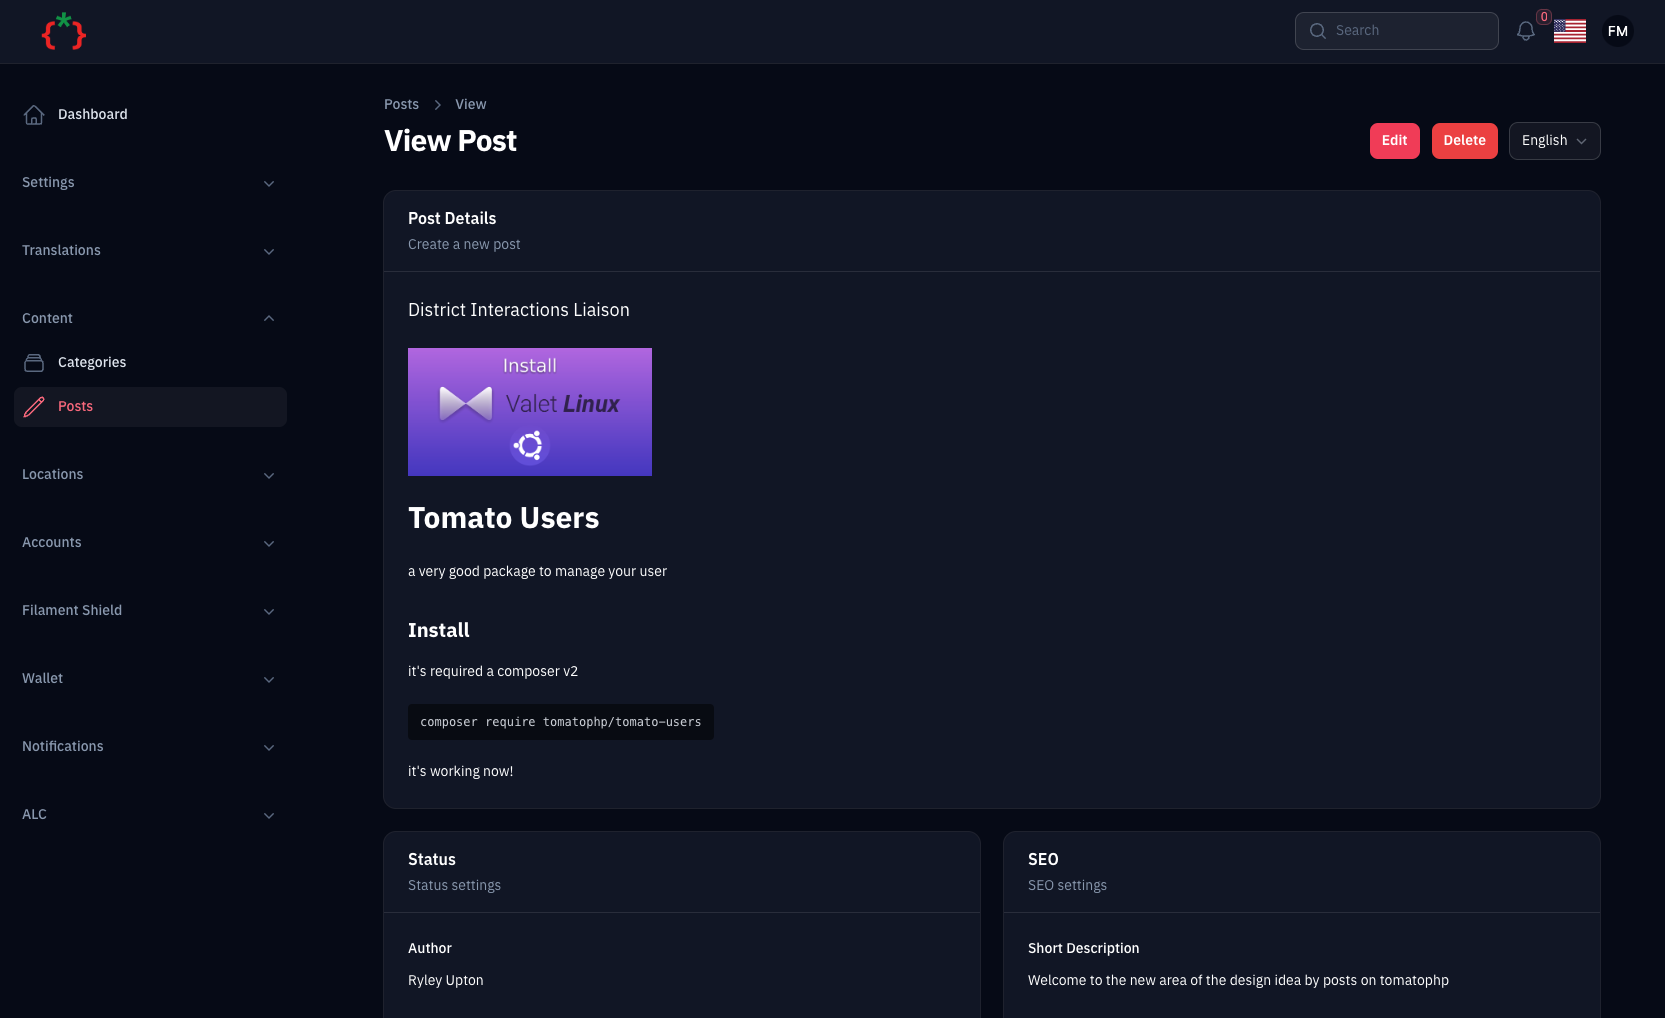
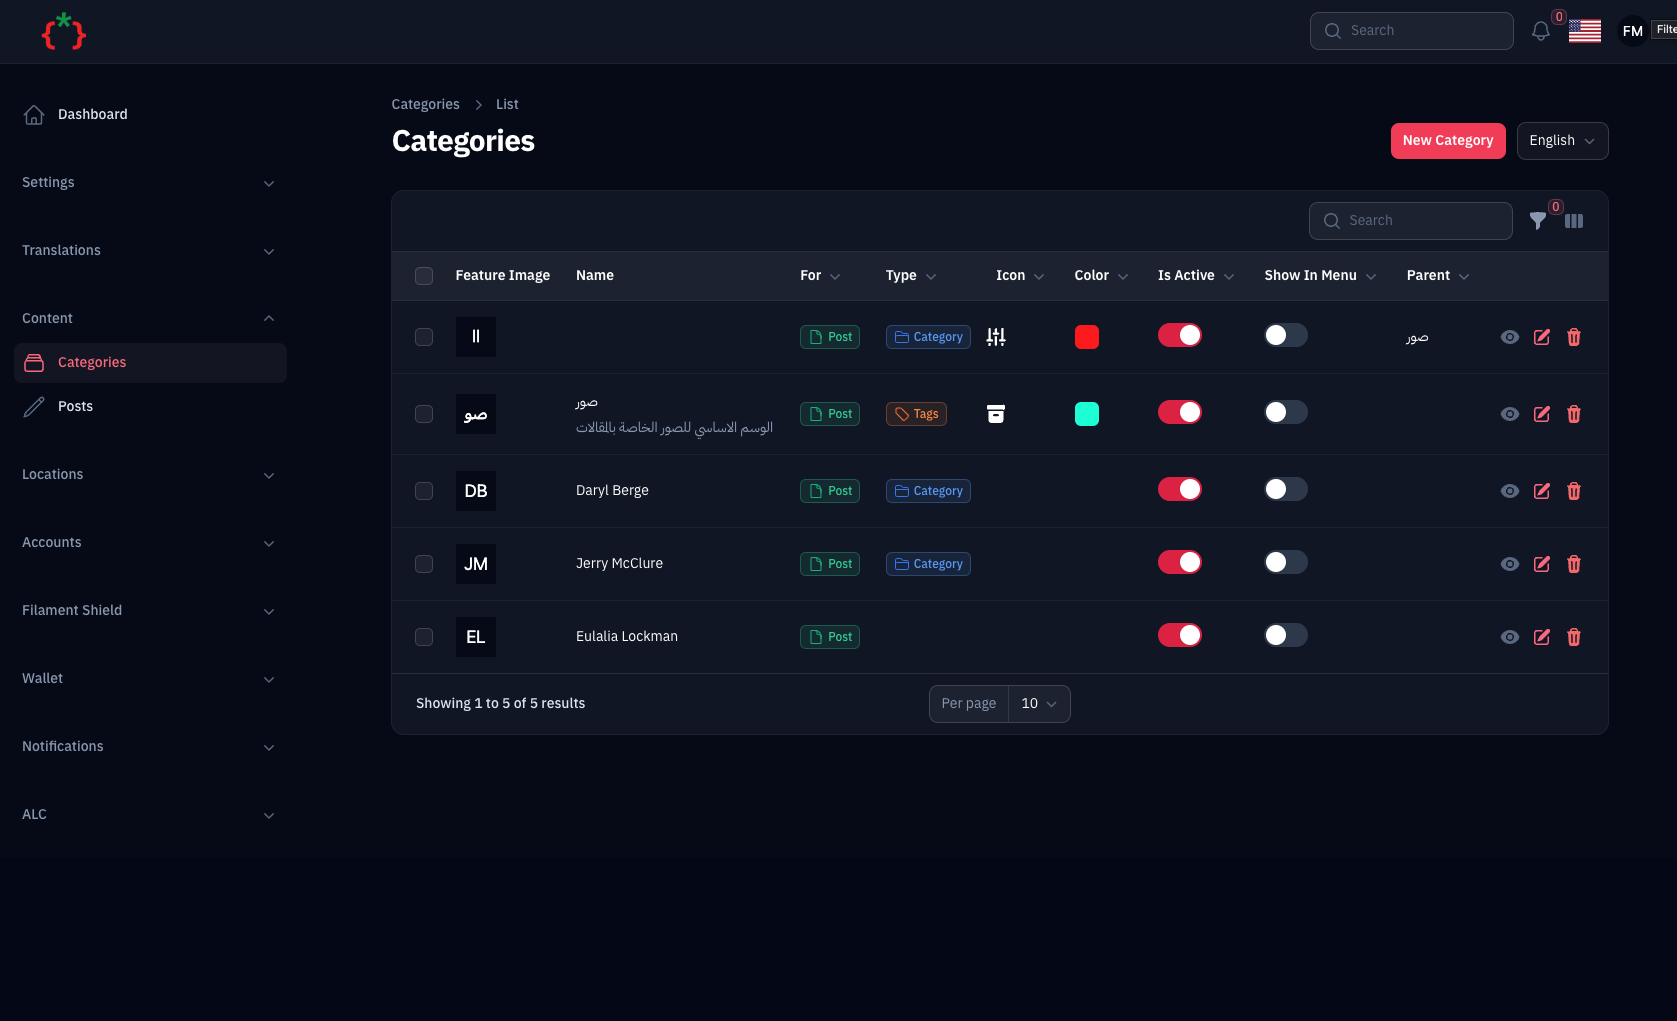
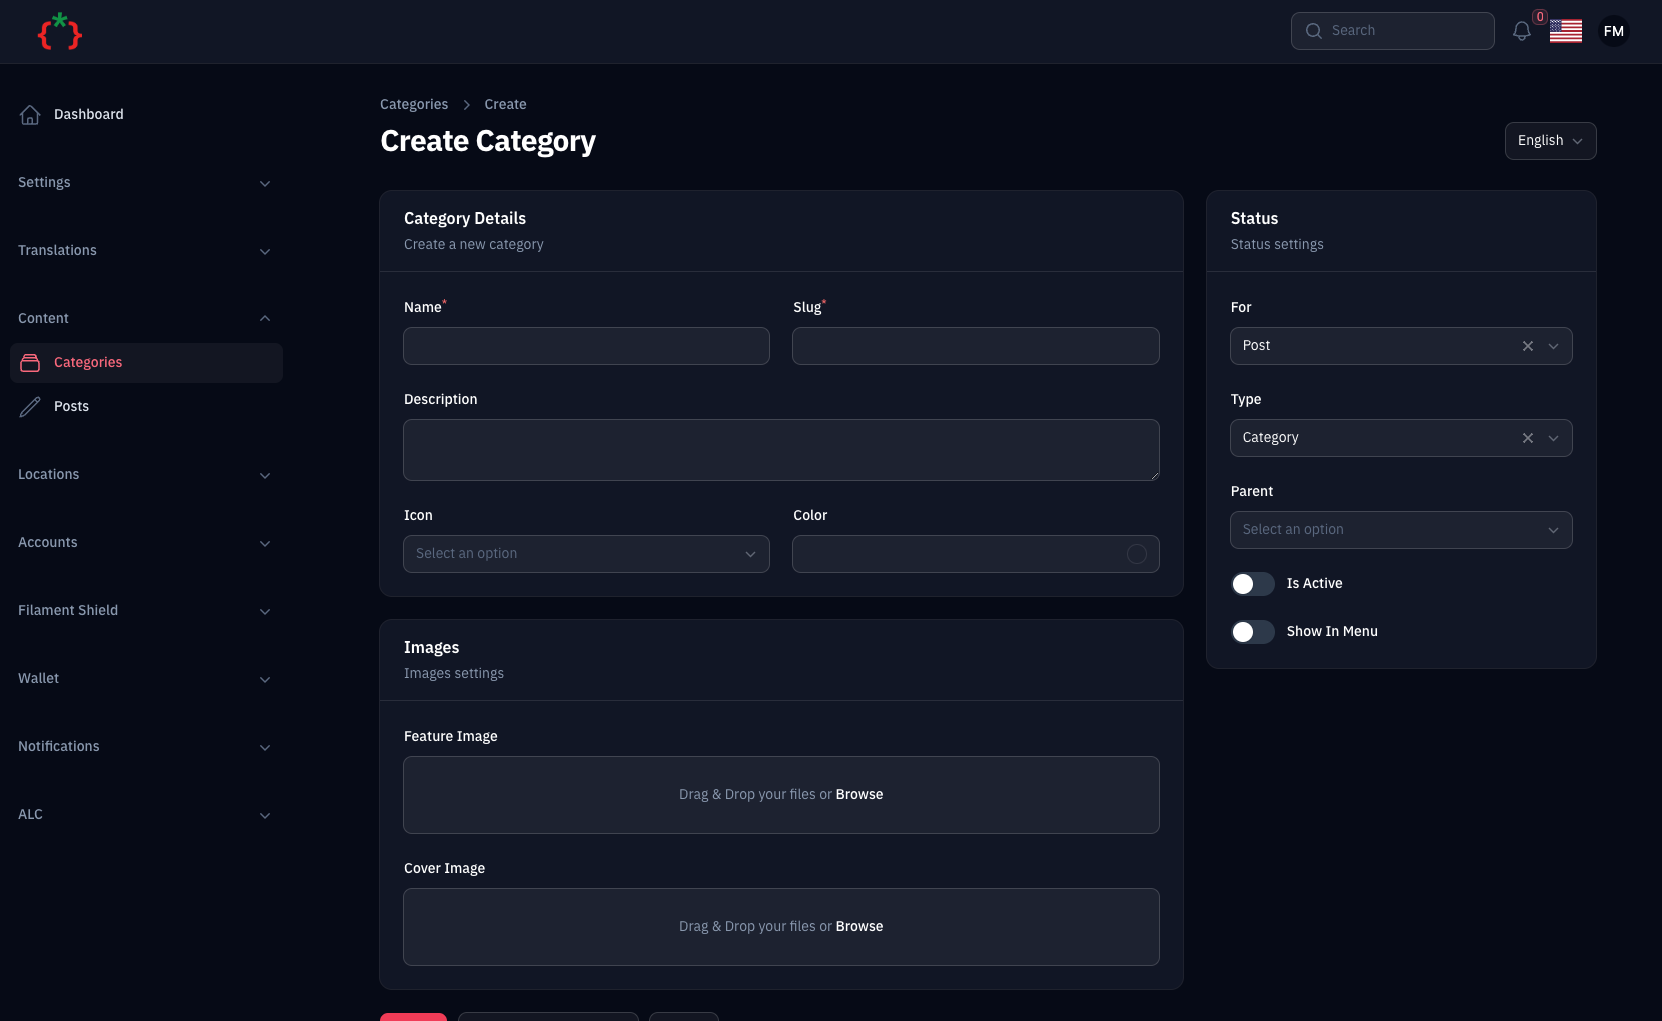
#Features
- [x] Content Manager
- [x] Content Comments & Ratings
- [x] Multi Imports Integrations
- [x] Content Import & Export
#Add Custom Type to CMS
you can add a custom type to the CMS by using Facade method on your AppServiceProvider boot() method
use TomatoPHP\FilamentCms\Facades\FilamentCMS;use TomatoPHP\FilamentCms\Services\Contracts\CmsType; public function boot(){ FilamentCMS::types()->register([ CmsType::make('building') ->label('Buildings') ->icon('heroicon-o-home') ->color('danger') ]);}#Add More Author Types
you can add more authors types by using Facade method on your AppServiceProvider boot() method
use TomatoPHP\FilamentCms\Facades\FilamentCMS;use TomatoPHP\FilamentCms\Services\Contracts\CmsAuthor; public function boot(){ FilamentCMS::authors()->register([ CmsAuthor::make('Admin') ->model(\App\Models\User::class) ]);}#Use Post-Events
sometimes you need to add some custom logic to your post like send email or notify user you can use the post events to do this, and the supported events is:
\TomatoPHP\FilamentCms\Events\PostCreated::class\TomatoPHP\FilamentCms\Events\PostUpdated::class\TomatoPHP\FilamentCms\Events\PostDeleted::class#Extend Post Resource
The Post resource is built with a modular architecture that allows you to easily extend and customize forms, tables, and infolists by registering custom components.
#Register Custom Form Components
Add custom form fields to the Post resource form in your AppServiceProvider boot() method:
use TomatoPHP\FilamentCms\Filament\Resources\PostResource\Form\PostForm;use Filament\Forms\Components\TextInput; public function boot(){ PostForm::register([ TextInput::make('custom_field') ->label('Custom Field') ->required(), ]);}#Register Custom Table Columns
Add custom columns to the Post resource table:
use TomatoPHP\FilamentCms\Filament\Resources\PostResource\Table\PostTable;use Filament\Tables\Columns\TextColumn; public function boot(){ PostTable::register([ TextColumn::make('custom_field') ->label('Custom Field') ->sortable() ->searchable(), ]);}#Register Custom Table Actions
Add custom row actions to the Post resource table:
use TomatoPHP\FilamentCms\Filament\Resources\PostResource\Table\PostActions;use Filament\Tables\Actions\Action; public function boot(){ PostActions::register([ Action::make('custom_action') ->label('Custom Action') ->icon('heroicon-o-bolt') ->action(function ($record) { // Your custom action logic }), ]);}#Register Custom Bulk Actions
Add custom bulk actions to the Post resource table:
use TomatoPHP\FilamentCms\Filament\Resources\PostResource\Table\PostBulkActions;use Filament\Tables\Actions\BulkAction; public function boot(){ PostBulkActions::register([ BulkAction::make('custom_bulk_action') ->label('Custom Bulk Action') ->icon('heroicon-o-bolt') ->action(function ($records) { // Your custom bulk action logic }), ]);}#Register Custom Table Filters
Add custom filters to the Post resource table:
use TomatoPHP\FilamentCms\Filament\Resources\PostResource\Table\PostFilters;use Filament\Tables\Filters\Filter; public function boot(){ PostFilters::register([ Filter::make('custom_filter') ->form([ // Your filter form fields ]) ->query(function ($query, array $data) { // Your filter query logic }), ]);}#Register Custom InfoList Entries
Add custom entries to the Post resource infolist (view page):
use TomatoPHP\FilamentCms\Filament\Resources\PostResource\InfoList\PostInfoList;use Filament\Infolists\Components\TextEntry; public function boot(){ PostInfoList::register([ TextEntry::make('custom_field') ->label('Custom Field'), ]);}#Extend Category Resource
The Category resource follows the same modular architecture pattern as the Post resource.
#Register Custom Form Components
Add custom form fields to the Category resource form:
use TomatoPHP\FilamentCms\Filament\Resources\CategoryResource\Form\CategoryForm;use Filament\Forms\Components\TextInput; public function boot(){ CategoryForm::register([ TextInput::make('custom_field') ->label('Custom Field') ->required(), ]);}#Register Custom Table Columns
Add custom columns to the Category resource table:
use TomatoPHP\FilamentCms\Filament\Resources\CategoryResource\Table\CategoryTable;use Filament\Tables\Columns\TextColumn; public function boot(){ CategoryTable::register([ TextColumn::make('custom_field') ->label('Custom Field') ->sortable(), ]);}#Register Custom Table Actions
Add custom row actions to the Category resource table:
use TomatoPHP\FilamentCms\Filament\Resources\CategoryResource\Table\CategoryActions;use Filament\Tables\Actions\Action; public function boot(){ CategoryActions::register([ Action::make('custom_action') ->label('Custom Action') ->icon('heroicon-o-bolt') ->action(function ($record) { // Your custom action logic }), ]);}#Register Custom Bulk Actions
Add custom bulk actions to the Category resource table:
use TomatoPHP\FilamentCms\Filament\Resources\CategoryResource\Table\CategoryBulkActions;use Filament\Tables\Actions\BulkAction; public function boot(){ CategoryBulkActions::register([ BulkAction::make('custom_bulk_action') ->label('Custom Bulk Action') ->icon('heroicon-o-bolt') ->action(function ($records) { // Your custom bulk action logic }), ]);}#Register Custom Table Filters
Add custom filters to the Category resource table:
use TomatoPHP\FilamentCms\Filament\Resources\CategoryResource\Table\CategoryFilters;use Filament\Tables\Filters\Filter; public function boot(){ CategoryFilters::register([ Filter::make('custom_filter') ->form([ // Your filter form fields ]) ->query(function ($query, array $data) { // Your filter query logic }), ]);}#Create Custom Modular Components
You can also create your own modular components by extending the base classes:
#Custom Form Component
namespace App\Filament\Components\Post; use TomatoPHP\FilamentCms\Filament\Resources\PostResource\Form\Component;use Filament\Forms\Components\TextInput; class CustomFieldComponent extends Component{ public static function make(): \Filament\Forms\Components\Field | \Filament\Schemas\Components\Component { return TextInput::make('custom_field') ->label('Custom Field') ->required(); }}Then register it:
use TomatoPHP\FilamentCms\Filament\Resources\PostResource\Form\PostForm;use App\Filament\Components\Post\CustomFieldComponent; public function boot(){ PostForm::register([ CustomFieldComponent::make(), ]);}#Custom Table Column
namespace App\Filament\Columns\Post; use TomatoPHP\FilamentCms\Filament\Resources\PostResource\Table\Column;use Filament\Tables\Columns\TextColumn; class CustomColumn extends Column{ public static function make(): \Filament\Tables\Columns\Column { return TextColumn::make('custom_field') ->label('Custom Field') ->sortable() ->searchable(); }}Then register it:
use TomatoPHP\FilamentCms\Filament\Resources\PostResource\Table\PostTable;use App\Filament\Columns\Post\CustomColumn; public function boot(){ PostTable::register([ CustomColumn::make(), ]);}#Custom InfoList Entry
namespace App\Filament\Entries\Post; use TomatoPHP\FilamentCms\Filament\Resources\PostResource\InfoList\Entry;use Filament\Infolists\Components\TextEntry; class CustomEntry extends Entry{ public static function make(): \Filament\Infolists\Components\Entry { return TextEntry::make('custom_field') ->label('Custom Field'); }}Then register it:
use TomatoPHP\FilamentCms\Filament\Resources\PostResource\InfoList\PostInfoList;use App\Filament\Entries\Post\CustomEntry; public function boot(){ PostInfoList::register([ CustomEntry::make(), ]);}#Integrate more Import Actions
you can integrate more import actions by using the FilamentCMS::registerImportAction() method on your AppServiceProvider boot() method like this
use TomatoPHP\FilamentCms\Facade\FilamentCMS;use Filament\Actions\Action; public function boot(){ FilamentCMS::registerImportAction(Action::make('import'));}#Publish Assets
you can publish a config file by use this command
php artisan vendor:publish --tag="filament-cms-config"you can publish a view file by using this command
php artisan vendor:publish --tag="filament-cms-views"you can publish a language file by using this command
php artisan vendor:publish --tag="filament-cms-lang"you can publish the migration file by using this command
php artisan vendor:publish --tag="filament-cms-migrations"#Testing
if you like to run PEST testing just use this command
composer test#Code Style
if you like to fix the code style just use this command
composer format#PHPStan
if you like to check the code by PHPStan just use this command
composer analyse#Other Filament Packages
Check out our Awesome TomatoPHP