Documentation
#Installation
- Create a Laravel project and configure Filament on this project
laravel new MyProject
Refer to Filament documentation: https://filamentphp.com/docs/2.x/admin/installation#installation
- Install the package
composer require heloufir/filament-workflow-manager
- Register the package into your application providers
config/app.php
\Heloufir\FilamentWorkflowManager\FilamentWorkflowManagerServiceProvider::class,
- Run migrations
php artisan migrate
-
Create a new Filament user (refer to the Filament documentation)
https://filamentphp.com/docs/2.x/admin/installation#installation
-
Serve your project
php artisan serve
Here you can see a menu named Workflows under Settings menu group, it's where you can manage your workflows.
#Configuration
- Create your model
php artisan make:model MyModel
- Configure your model to implement Workflow manager
use Heloufir\FilamentWorkflowManager\Core\HasWorkflow;
use Heloufir\FilamentWorkflowManager\Core\InteractsWithWorkflows;
// ...
class MyModel extends Model implements HasWorkflow
{
use InteractsWithWorkflows;
// ...
}
Here you need to add the implementation of the interface InteractsWithWorkflows and add the use of the trait InteractsWithWorkflows to your model.
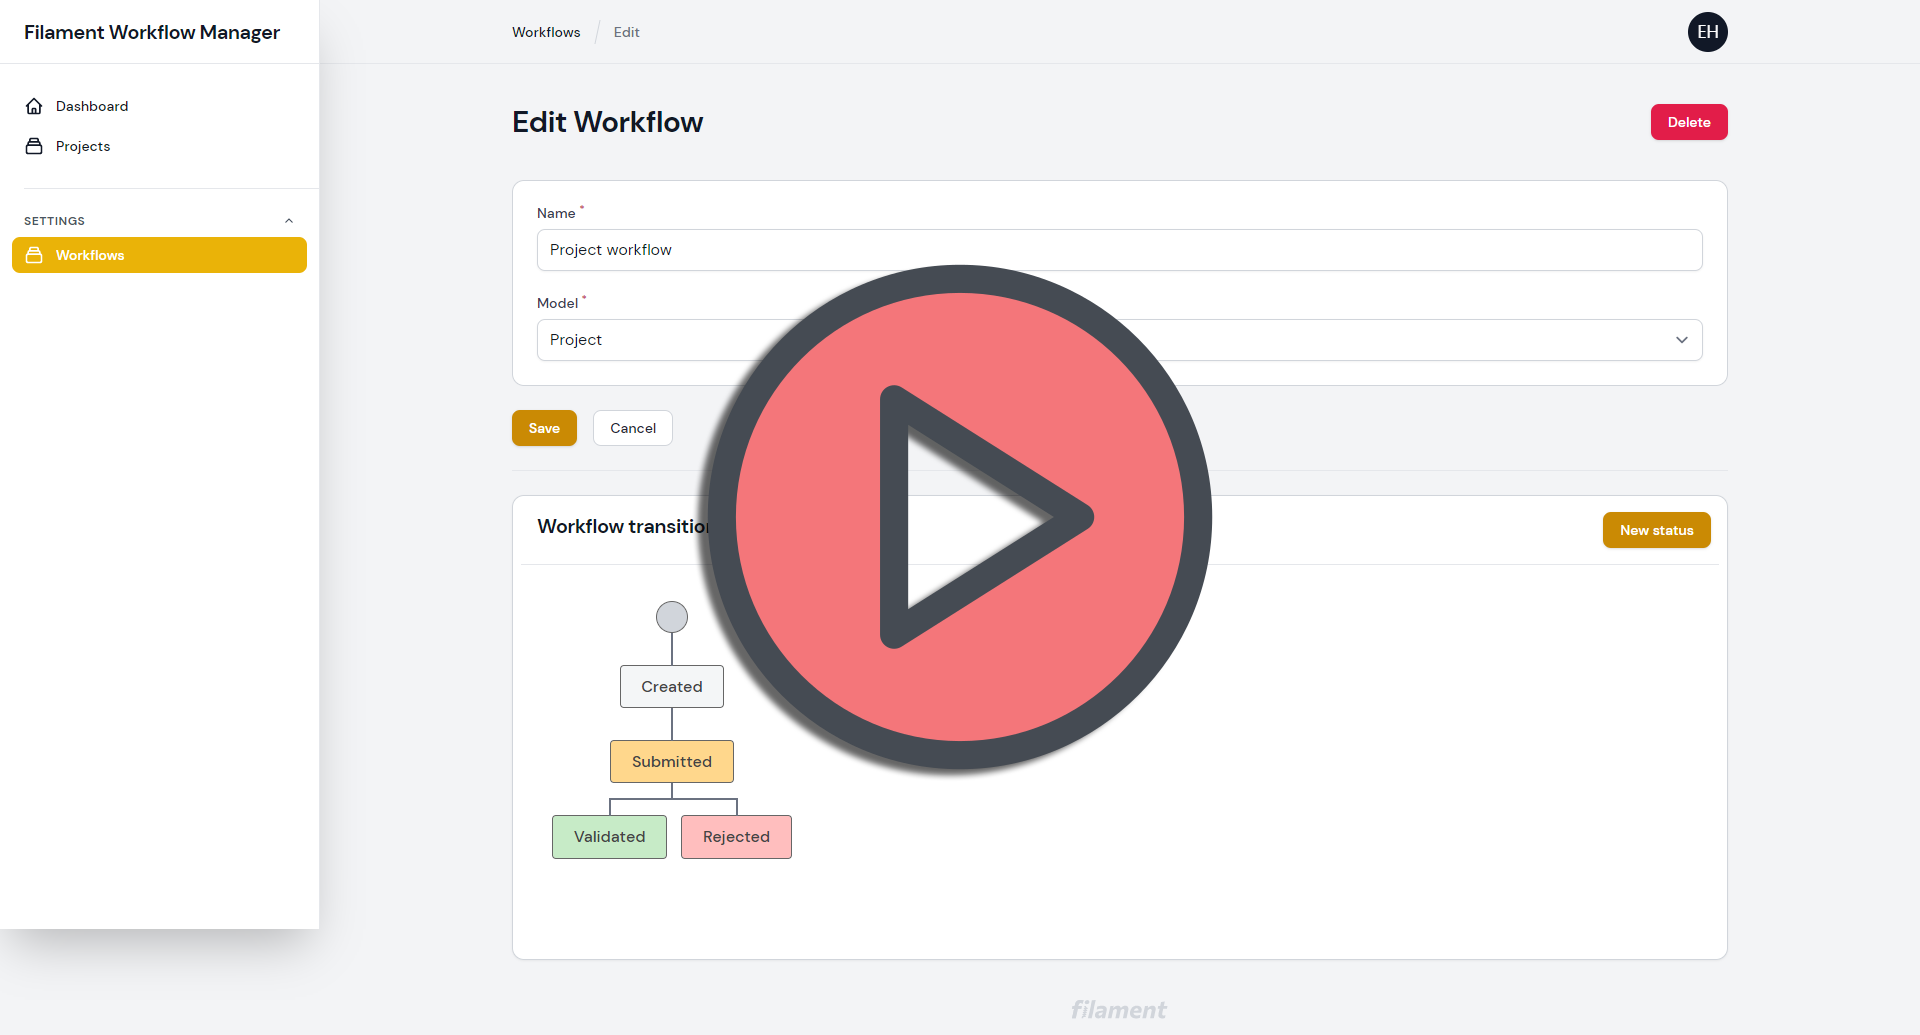
- Create a workflow
After you have configured your model, you can now create a workflow linked to this model, watch the following demo video:
- Add a Filament resource to manage your model
Refer to the Filament documentation: https://filamentphp.com/docs/2.x/admin/resources/getting-started#creating-a-resource
- Configure the Filament resource
- In your
form Filament resource declaration you need to add WorkflowStatusInput::make() so your users can change the status of YourModel depending on your workflow configuration:
use Heloufir\FilamentWorkflowManager\Forms\Components\WorkflowStatusInput;
public static function form(Form $form): Form
{
return $form
->schema([
// ...
WorkflowStatusInput::make()
]);
}
- If you wan't to show the model current status in the Filament resource table, you need to add the
WorkflowStatusColumn::make() column definition:
use Heloufir\FilamentWorkflowManager\Tables\Columns\WorkflowStatusColumn;
public static function table(Table $table): Table
{
return $table
->columns([
// ...
WorkflowStatusColumn::make()
]);
}
The last configuration needed, is to add WorkflowResource trait to the EditRecord and CreateRecord components of your model
EditRecord component
// ...
use Heloufir\FilamentWorkflowManager\Core\WorkflowResource;
class EditMyModel extends EditRecord
{
use WorkflowResource;
// ...
}
CreateRecord component
// ...
use Heloufir\FilamentWorkflowManager\Core\WorkflowResource;
class CreateMyModel extends CreateRecord
{
use WorkflowResource;
// ...
}
#History system
From the version 1.1.3 of this package, the history system is now available, and you can use it as below:
Important: Automatically the package will create an history row in the database after all status update of your models
To show the history inside your Filament resource table you only need to add workflow_resources_history() function call in your table's actions:
// ...
->actions([
// ...
workflow_resources_history()
])
// ...
This helper function will show a link action History.
When the user clicks on this link, a new tab will open and will display a table containing the history of all status changes.
#Events handler
From the version 1.1.4 of this package, on each status update the event WorkflowStatusUpdated is fired with a details object.
#Details object definition
| Field |
Type |
Description |
| type |
string |
This field will contain update if the event is fired after the model update, or create if the event is fired after the model creation |
| old_status |
Heloufir\FilamentWorkflowManager\Models\WorkflowStatus |
The model old status (before update) |
| new_status |
Heloufir\FilamentWorkflowManager\Models\WorkflowStatus |
The model new status (after update) |
| model |
Illuminate\Database\Eloquent\Model |
The model updated |
| user |
App\Models\User or your customized User model |
The user that performed the action |
#Details object example
{
"type": "update",
"old_status": {
"id": 1,
"name": "Created",
"color": "#f4f6f7",
"is_end": 0,
"created_at": "2022-07-05T13:56:50.000000Z",
"updated_at": "2022-07-05T13:56:50.000000Z",
"deleted_at": null
},
"new_status": {
"id": 2,
"name": "Submitted",
"color": "#bacef7",
"is_end": 0,
"created_at": "2022-07-05T13:56:50.000000Z",
"updated_at": "2022-07-05T13:56:50.000000Z",
"deleted_at": null
},
"model": {
"id": 3,
"name": "My model name",
"created_at": "2022-07-05T14:23:33.000000Z",
"updated_at": "2022-07-05T14:23:33.000000Z",
"workflow_status_id": 1,
"workflow_status": {
"id": 3,
"modelable_type": "App\\Models\\MyModel",
"modelable_id": 3,
"workflow_status_id": "2",
"created_at": "2022-07-05T14:23:33.000000Z",
"updated_at": "2022-07-05T14:23:36.000000Z",
"status": {
"id": 2,
"name": "Submitted",
"color": "#bacef7",
"created_at": "2022-07-05T13:56:50.000000Z",
"updated_at": "2022-07-05T13:56:50.000000Z",
"deleted_at": null
}
}
},
"user": {
"id": 1,
"name": "EL OUFIR Hatim",
"email": "eloufirhatim@gmail.com",
"email_verified_at": null,
"created_at": "2022-07-05T13:43:57.000000Z",
"updated_at": "2022-07-05T13:43:57.000000Z"
}
}
#Usage example
So to listen to this event you can define a function like below:
<?php
namespace App\Filament\Resources\MyModelResource\Pages;
use Heloufir\FilamentWorkflowManager\Core\WorkflowResource;
use App\Filament\Resources\MyModelResource;
use Filament\Resources\Pages\EditRecord;
class EditMyModel extends EditRecord
{
use WorkflowResource;
protected $listeners = ['WorkflowStatusUpdated' => 'status_updated'];
protected static string $resource = MyModelResource::class;
public function status_updated($obj)
{
dd($obj); // $obj is the details object defined before
}
}
#End of workflow
From the version 1.1.6 of this package, you can add an end flag to a workflow status to detect if it's the end of the workflow.
Important: You cannot add a transition after another transition based on a to status flagged as end of workflow.
#Permissions
From the version 1.1.8 of this package, you can manage workflow permissions of your users.
#Configuration
To configure your User model to use workflow permissions, you need to use the WorkflowPermissions trait:
use Heloufir\FilamentWorkflowManager\Core\WorkflowPermissions;
use Illuminate\Foundation\Auth\User as Authenticatable;
class User extends Authenticatable
{
use WorkflowPermissions;
// ...
}
After that, in you Filament user resource, you need to add the WorkflowPermissions relation:
use Heloufir\FilamentWorkflowManager\Resources\UserResource\WorkflowPermissions;
public static function getRelations(): array
{
return [
WorkflowPermissions::class,
];
}
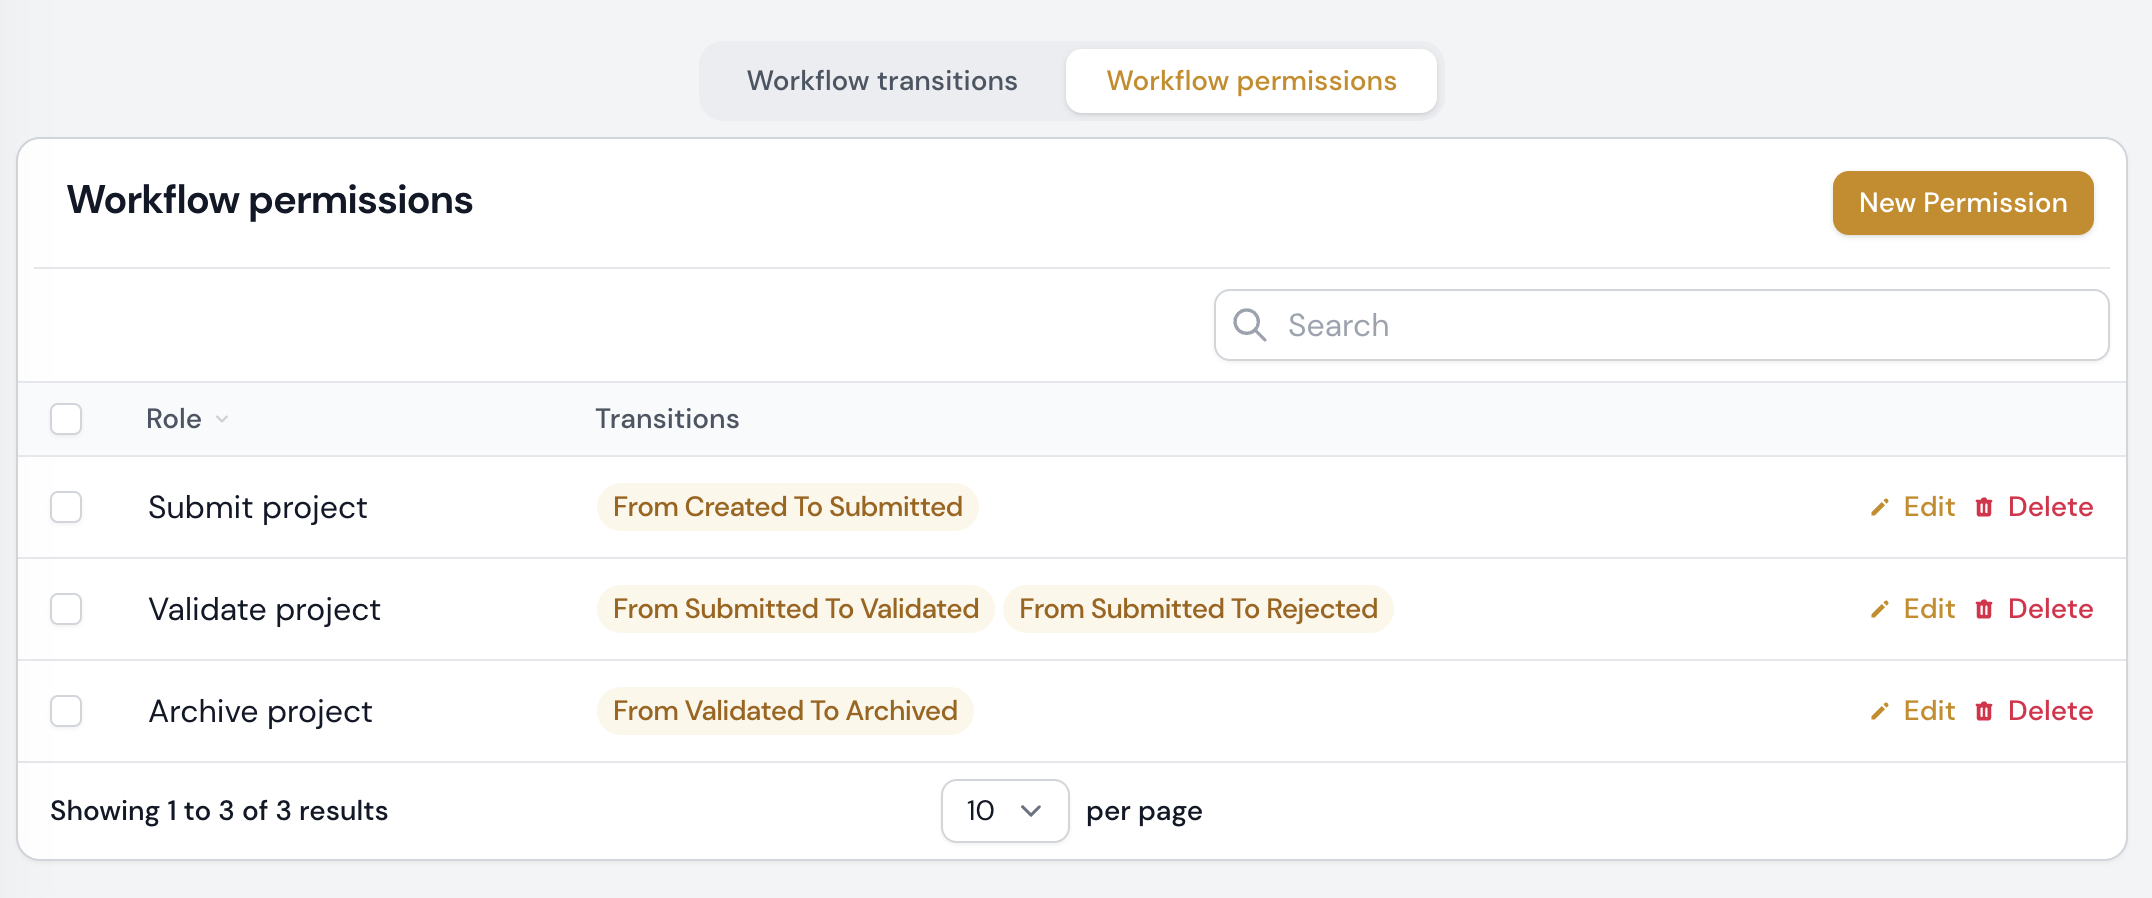
#Usage example
In the workflow manage page you can create multiple access level to your workflow transitions, as below:
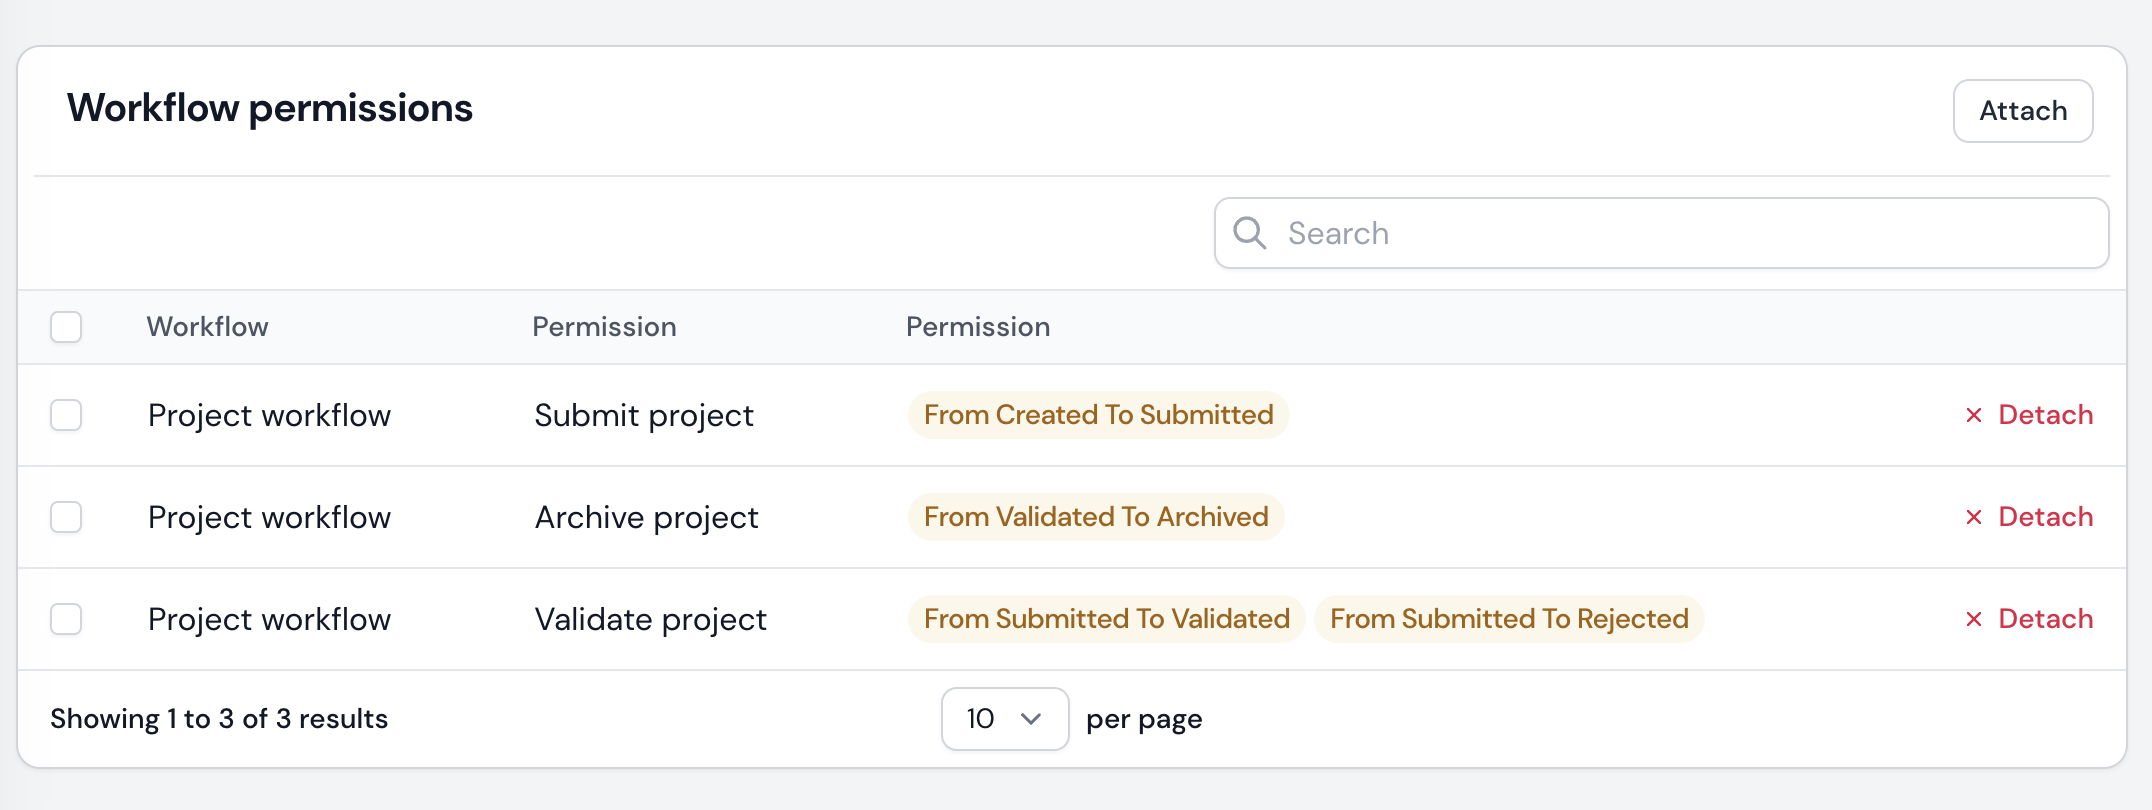
After you have created your workflow permissions, you can attach them to your users: